|
Choose: |
|
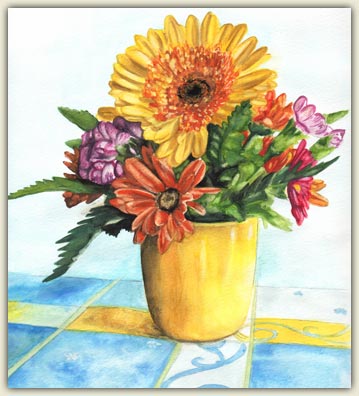
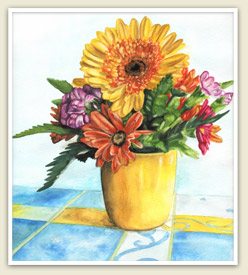
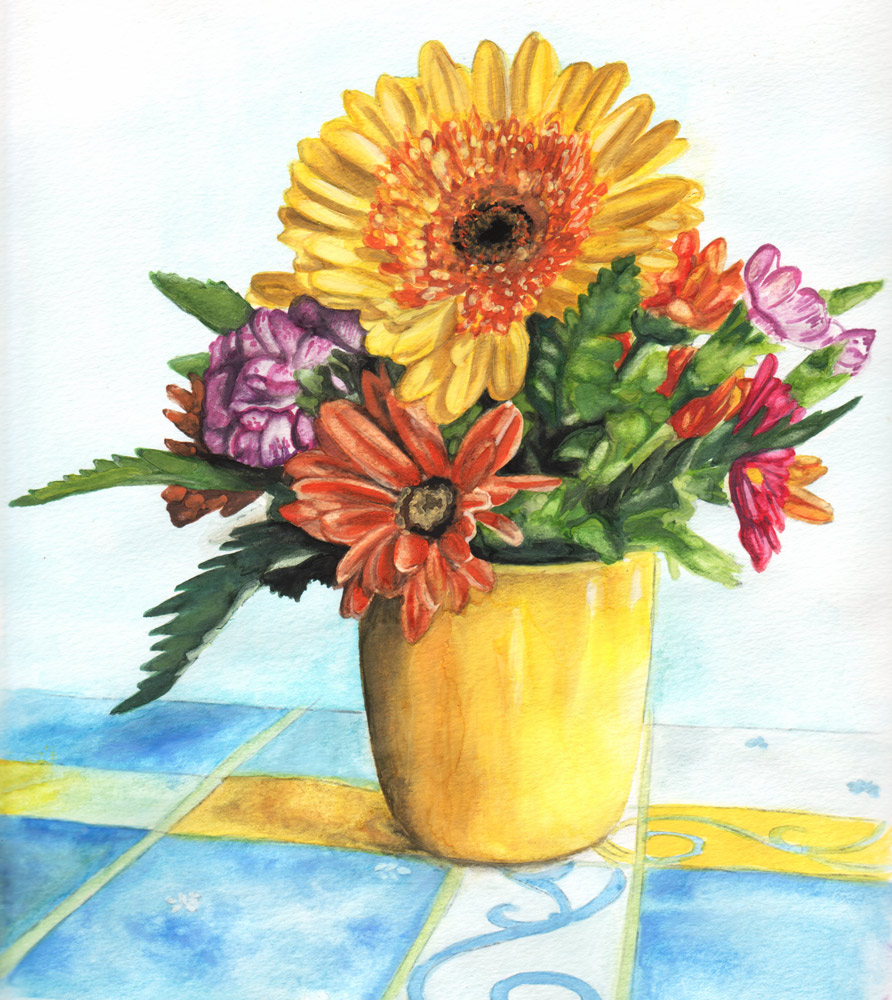
Still Life of Flowers, Thaneeya McArdle, 2009. Watercolors are a translucent medium, often resulting in luminescent and ethereal paintings that sensitively portray the subject matter. |
|
The translucent quality of watercolor lends itself well to paintings that are atmospheric, nostalgic, and even otherworldly. The aqueous nature of watercolors accurately captures a sense of timelessness. For this reason, watercolors are an excellent medium for depicting natural scenery, such as landscapes and seascapes, as well as flowers, animals and portraits. Compared to other, more solid mediums (such as acrylic, pastels or oils), watercolors appear to simultaneously reflect light and project a sense of fluidity. Point at the numbers to the right and follow the stages of painting with watercolor.
What is Watercolor?
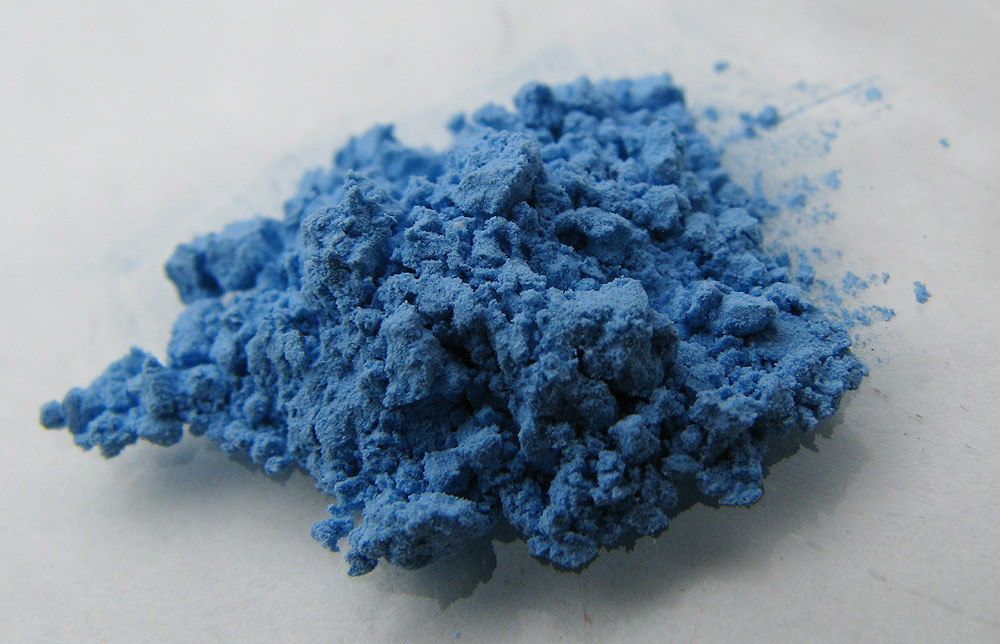
Watercolor paints are pigments held together by a water soluble binder, along with additives and solvents.
Pigments provide the color. The ground pigments are the same as those used for other applications, such as printing inks, cosmetics, and textiles. The proportion of pigments in paint, relative to other ingredients, can vary widely — from under 10% to over 50%.
In commercially made watercolor paints, the binder is either natural gum arabic or synthetic glycol. This is what holds the pigment in suspension. The binder also allows the pigment to adhere to the support (e.g. paper) once it is applied. Additives, such as plasticizers (e.g. glycerin) and humectants (e.g. honey or corn syrup), are mixed in to alter various characteristics of the watercolors, such as viscosity and durability of the paint. Other additives include extenders and dispersants.
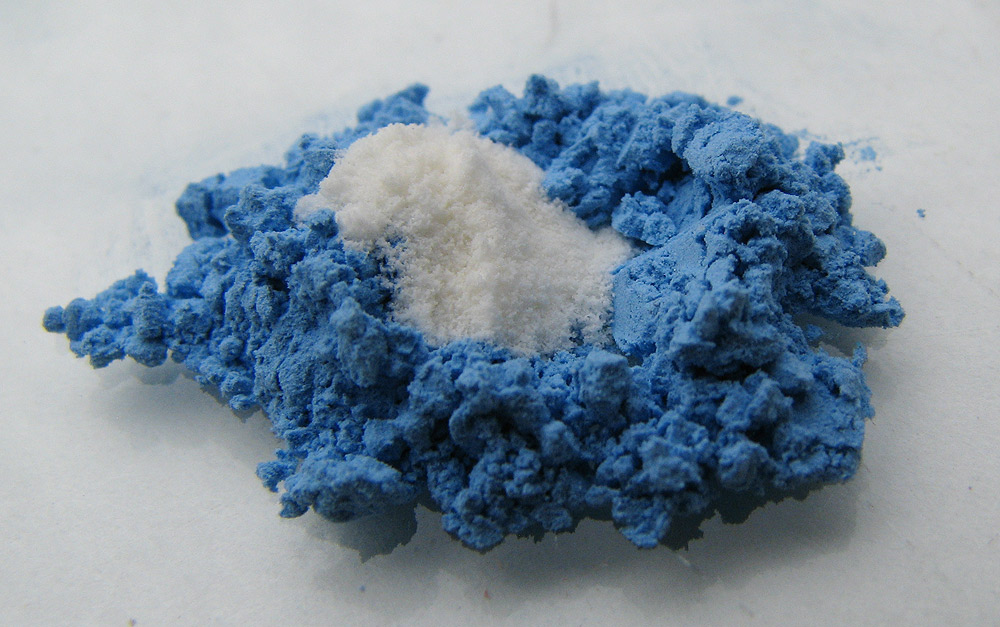
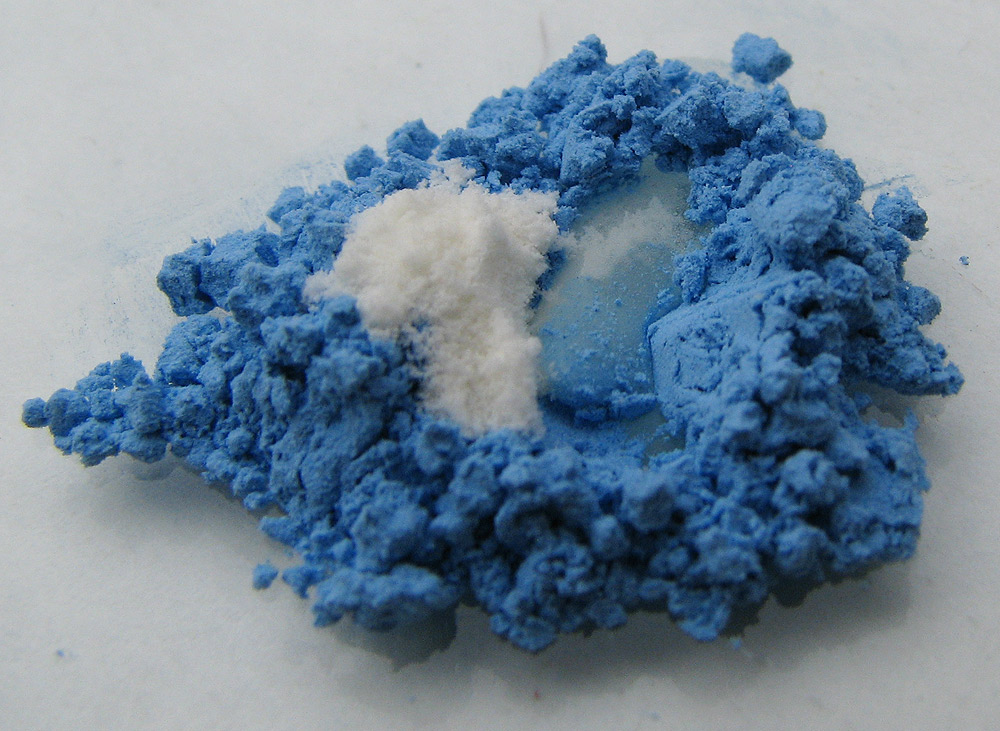
Artists can create their own watercolor paints using a simple technique involving a small number of basic materials: powdered pigment, gum arabic, and water. Additives are not imperative when creating your own watercolors, so they can be left out.
Below are the steps to create your own watercolor paints:

Listen: The artist talks about making watercolor paint.
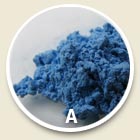
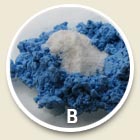
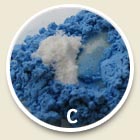
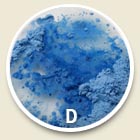
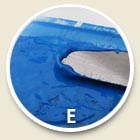
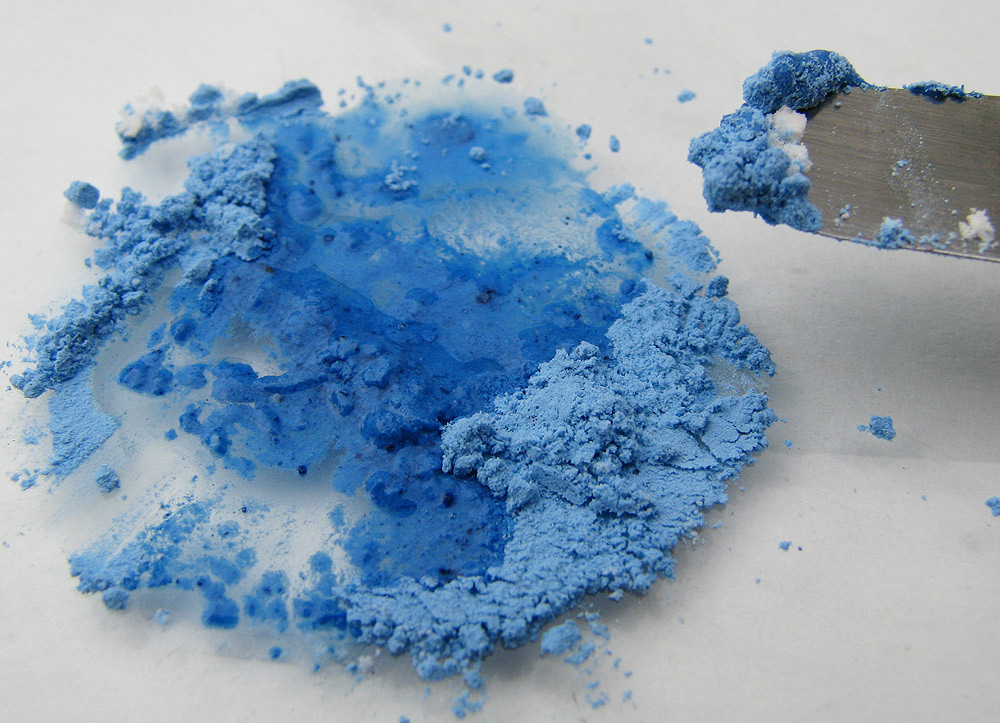
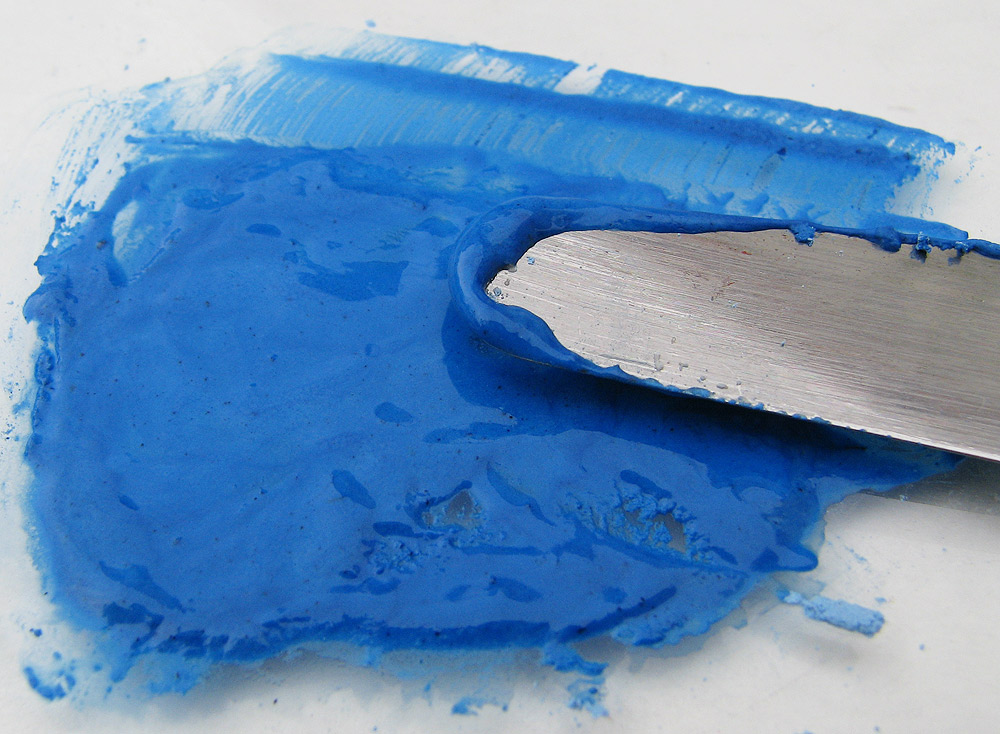
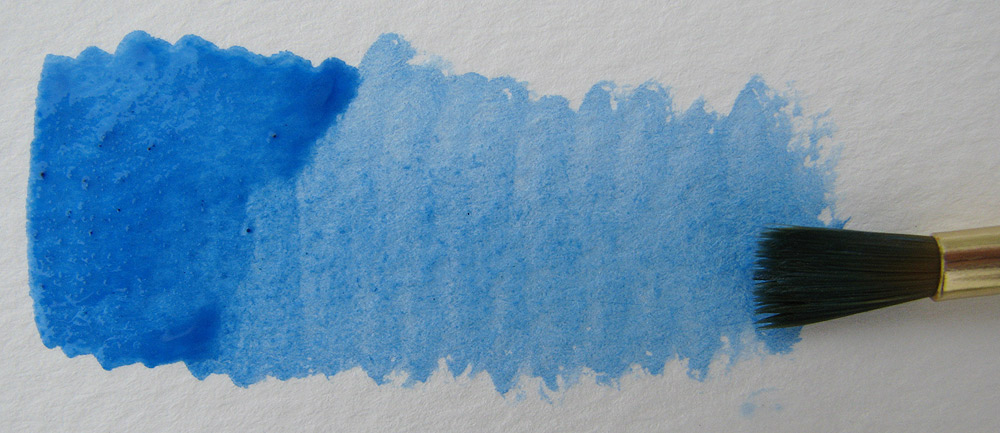
You can make watercolor paints using pure powdered pigment mixed with a binder and a solvent. (A) A pile of pure ground pigment on a glass palette. (B) Add gum arabic. (C) Add water. (D) Mix with spatula. Adding a few drops of rubbing alcohol helps the pigments disperse. (E) The result resembles watercolor from tubes. (F) The resulting watercolor paint applied to watercolor paper using a paintbrush.
Other Types of Watercolors
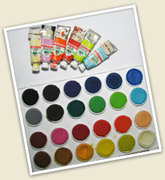
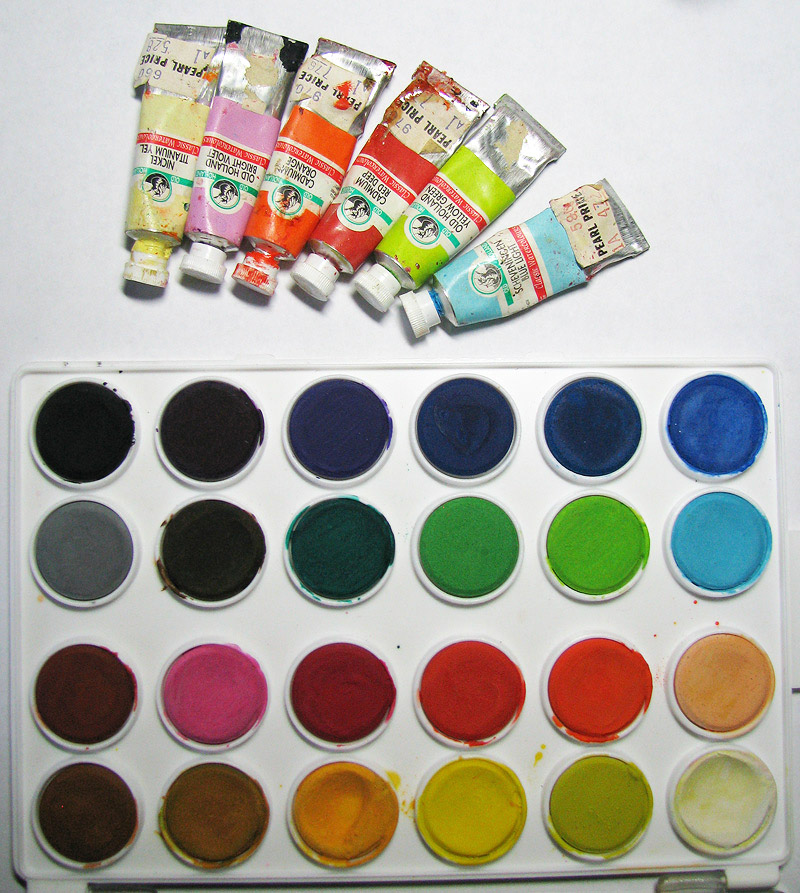
Aside from making your own watercolors, commercial watercolors can be purchased in two forms: pans and tubes. This painting was created using watercolors from a pan, rather than watercolors in tubes. Watercolors in tubes have a consistency similar to toothpaste. Tube paints are easier to mix with water because they contain more binder. In contrast, watercolors in pans are hard, dry “cakes” of paint that need to be moistened in order to work.
Mixing Paints
Over the course of painting with watercolor, the paints are continually mixed, as the artist works on the image. This same process is used whether an artist uses watercolors from a pan, watercolors from a tube, or watercolors they made themselves. A solvent (usually water) is used to dilute the paint, and it evaporates once the paint has dried. Below are views of the artist’s palette while working on this floral still life painting:
Listen: Using watercolor.
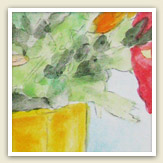
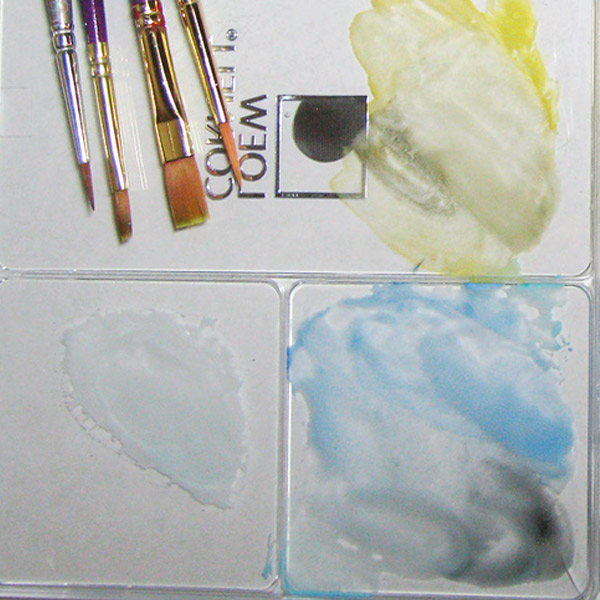
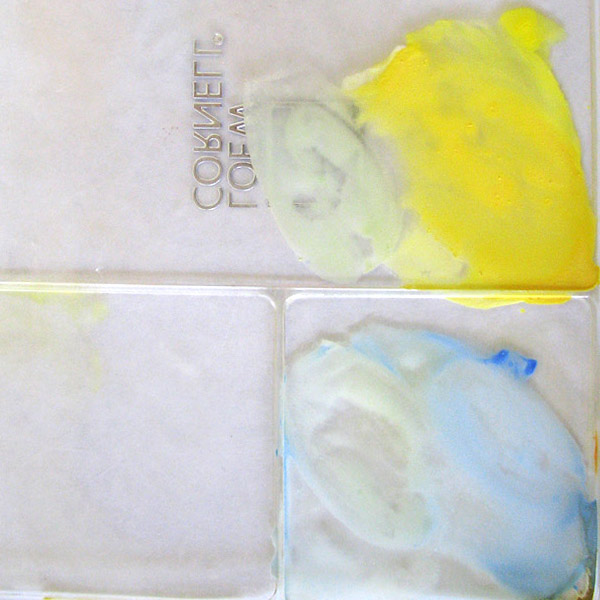
Colors are blended on the palette. New colors, as well as tints and shades, are created by mixing new paint with paint already on the palette. (A) Colors for the background wash, in this case, white, yellow, blues, and black. (B) The paints used on the yellow gerbera daisy are primarily yellow and orange colors. Later when painting, reds and browns are worked in. The color blends create various hues, such as the yellows that blend into orange and brown. (C) Colors can also be mixed to create blends that can range from light to dark within a single hue, such as the range of greens for the leaves. (D) To paint the vase and tablecloth, the palette has been cleaned of all previous pigments, and new colors are used.
To create gradations of color, new colors are mixed with the colors already on the palette to slightly change the hues. This way, all of the colors are related to each other. Because watercolors can be made wet again at any time — in the pan, on the palette, and in the painting — the pigments are re-workable. This is convenient if certain color families will be needed in the future. It makes sense to leave pre-mixed colors on the palette for future use, rather than wash them off (as you would with dried acrylic paint).
Because the pigments in watercolors easily wash out with water, it is often not even necessary to wash the brush with soap in between colors. Swishing the paintbrushes in water is often enough to rinse the pigments out. Dabbing the brush dry on a paper towel removes any excess pigment from the brush hairs.
Next, explore how a floral still life is created using watercolors in a pan.

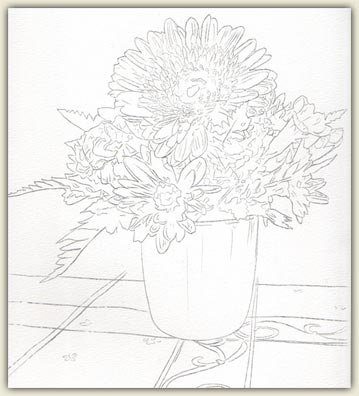
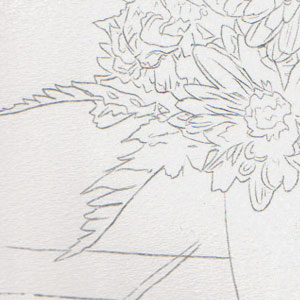
The first step in creating a watercolor painting is a pencil sketch based on a real-life image or a photo reproduction. Light pencil sketches are preferable over dark pencil sketches. Keeping the characteristics of watercolors in mind, why do you think it is better to draw a light pencil sketch than a dark one?
Sketch & Mask
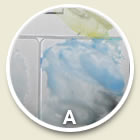
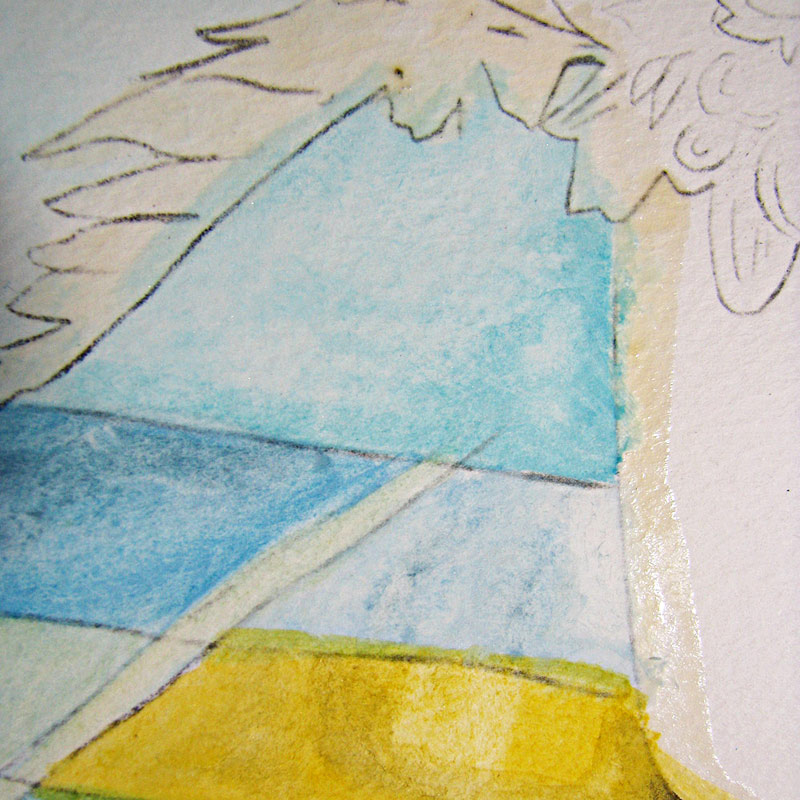
After sketching the image, masking fluid is applied around the inside contour of the flowers and vase. The masking fluid allows the background to be painted in a quick wash.
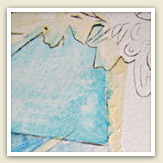
Masking fluid is applied over the edges of the pencil sketch, allowing the background to be painted without tinting the masked areas. When the masking fluid is rubbed off, the space underneath will be free from paint, but the unmasked areas will be painted.
What is masking fluid?
Masking fluid is a handy tool for creating watercolor paintings. The main ingredients in masking fluid are ammonia and latex rubber. When a thin layer of masking fluid is applied on parts of the paper and left to dry, it is called a “mask."
The purpose of a mask is to protect the area underneath the mask from being exposed to the pigments that are brushed over top. This technique is helpful for retaining white or light areas, or for easily painting in backgrounds without touching the foreground. Can you think of other reasons why an artist might use masking fluid to mask an area of a painting?
Once the paint is dry, the masking fluid can easily be rubbed off with your fingers.
Background Wash
The background wash is typically created by using a wide or flat paintbrush that can quickly fill in a large area with the desired color. The background wash it usually not detailed, nor is it a laborious process. The main goal of the background wash is to apply a light layer of pigment to the paper.
When using a pan of watercolors (as used in this demonstration), the painting process involves dipping the paintbrush in water, then rubbing the moistened paintbrush against the dry watercolor cakes. As the watercolor cakes become wet, the pigment loosens and sticks to the paintbrush. The paint can then be applied either directly to the paper or to the palette, where it can be mixed with other colors.
The underpainting is created very quickly, with the goal of identifying and demarcating the main color areas of the painting. The underpainting forms the foundation upon which the painting will be built.
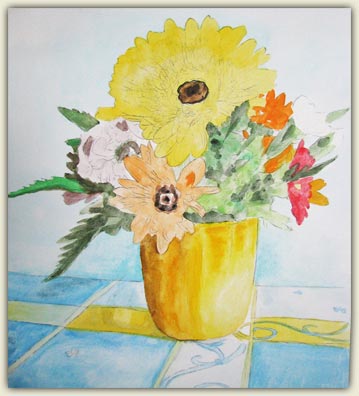
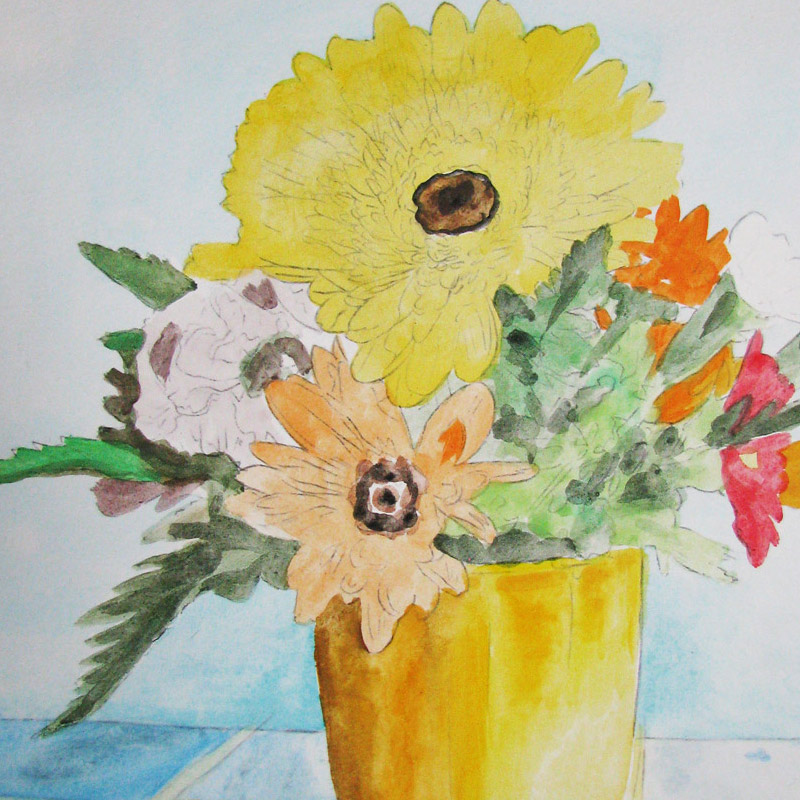
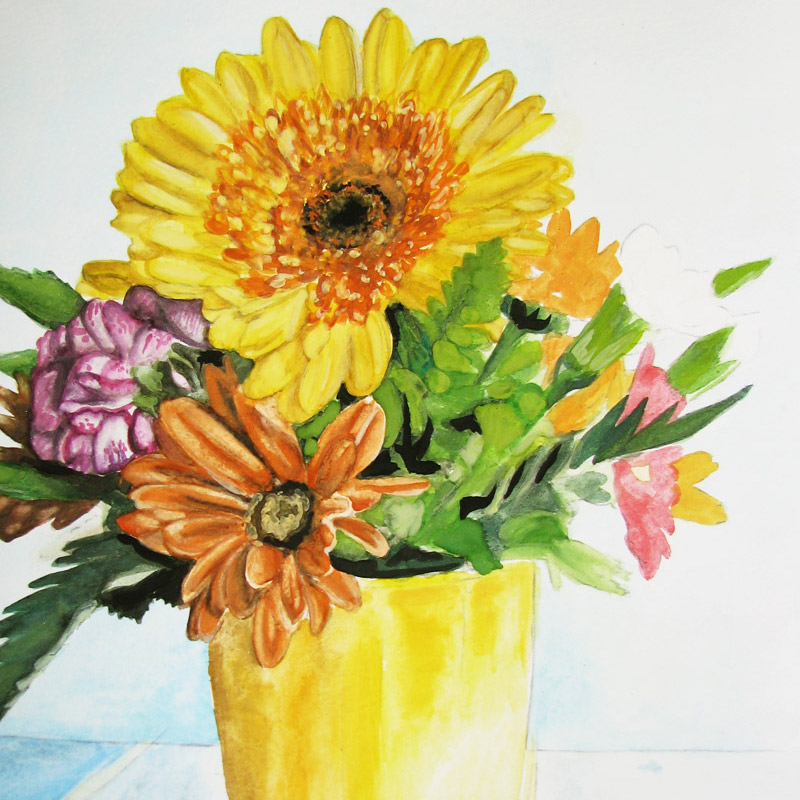
Underpainting
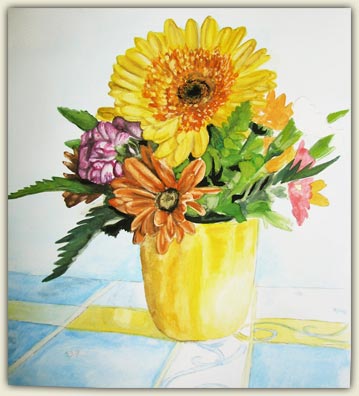
After the background wash has dried and the masking fluid has been removed, the underpainting is created by quickly blocking in the pencil drawing with areas of relevant pigment. The objective is to make the main elements of the composition more visible by assigning the correct color to each element. Underpainting is ideally very light and translucent, with much of the paper still showing through the paint.
Why do you think it is best for the underpainting to be translucent?
When the watercolor paint is applied thinly, it is easier to make changes. If too much paint is applied too soon, it is difficult to fix mistakes later on. It is better to slowly build up a painting, starting with a translucent underpainting.
Adding lots of water to the pigment creates the thin, watery, translucent effect that is desirable for underpainting. Acrylic paint can also mimic this quality when it is watered down.
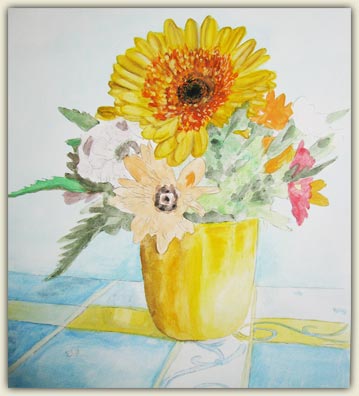
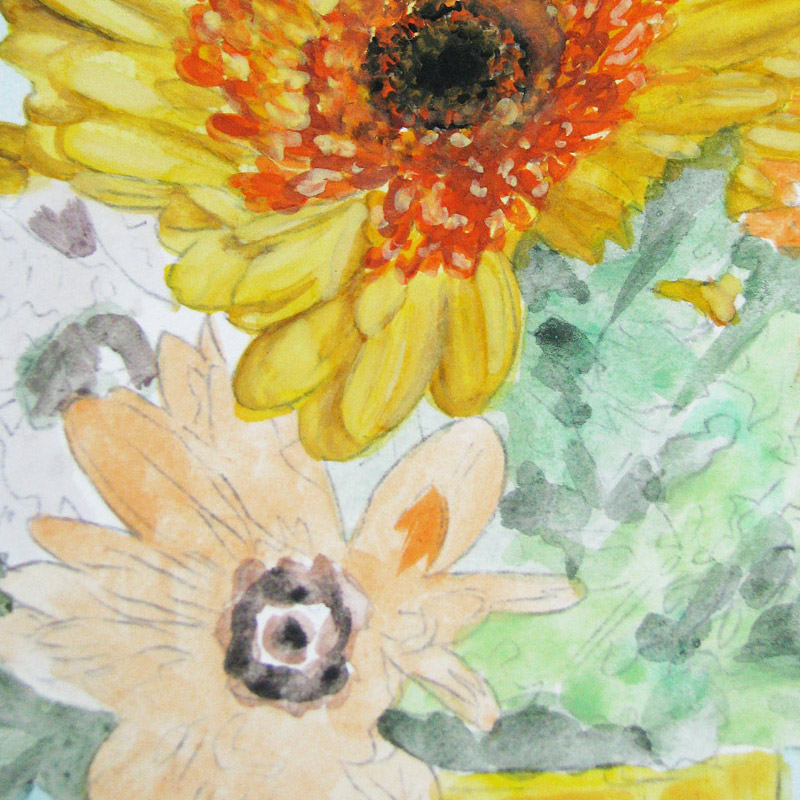
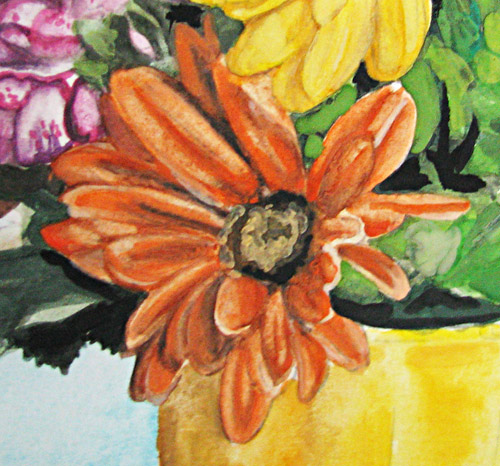
Details
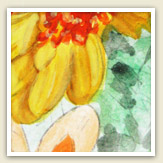
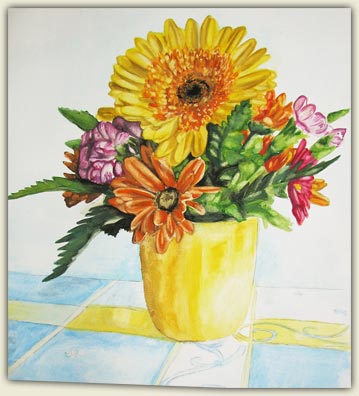
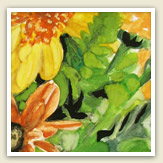
In the image above, you can see a difference between the areas that have been painted with details (above), as contrasted with the underpainting (below). This close-up shows the contrast between the areas with heavy pigment (the yellow gerbera daisy) with areas of less pigment (the underpainting).
Now that the underpainting is complete, attention is focused on the details. To do this, the artist chooses a specific object or element in the painting to work on. Concentrating on the yellow gerbera daisy, first the pigment is applied thinly, building up layers upon layers of subtle color until the daisy starts to look realistic. By the time the daisy nears completion, the pigment is applied relatively more thickly in order to boldly capture various features, such as highlights and shadows. The higher the concentration of pigment on the brush (i.e., the less water it contains), the more saturated the color will be.
|
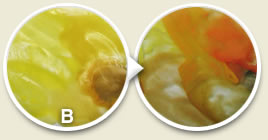
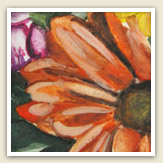
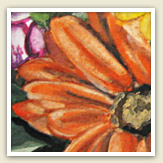
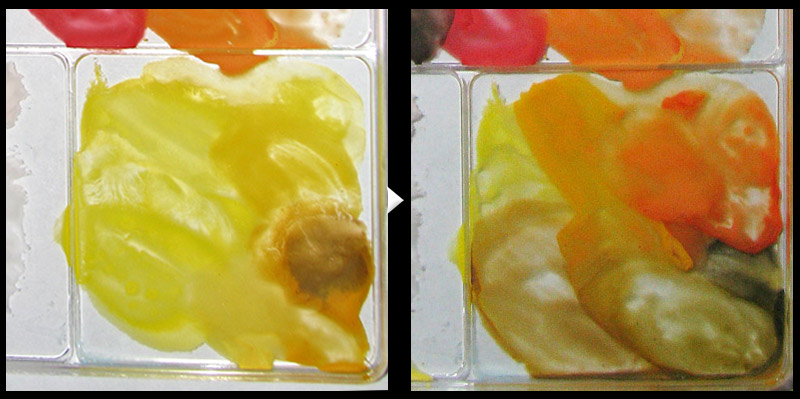
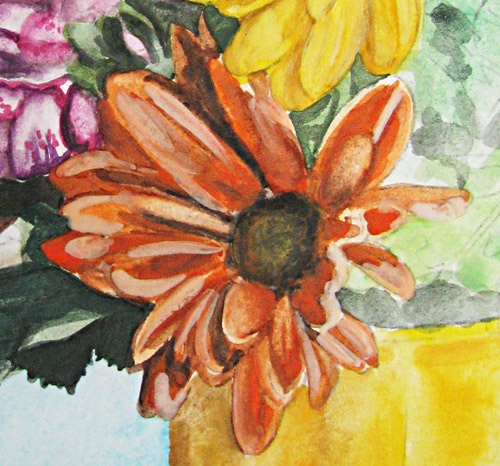
Left: This close-up shows the orange flower before the lifting technique was applied on the petals. Right: This close-up shows the orange flower after the lifting technique, with much of the excess pigment removed and the rest more carefully blended together. |
|
|
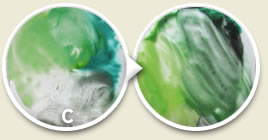
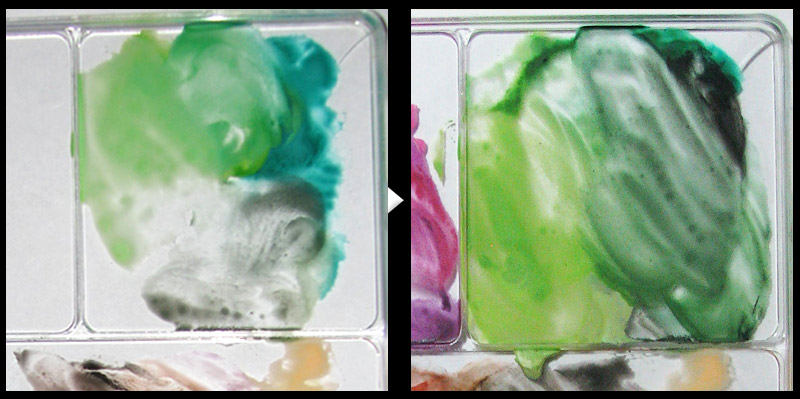
Left: Black paint has been added to the leaves and allowed to dry. Right: The black paint has been re-wet and worked into the painting in a more natural manner. |
|
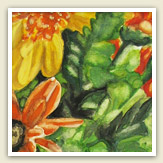
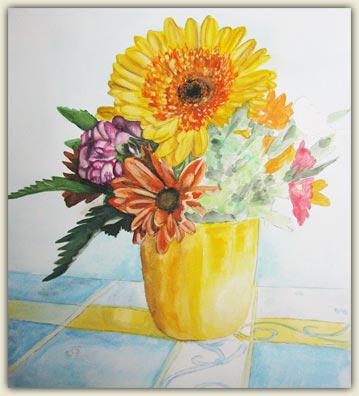
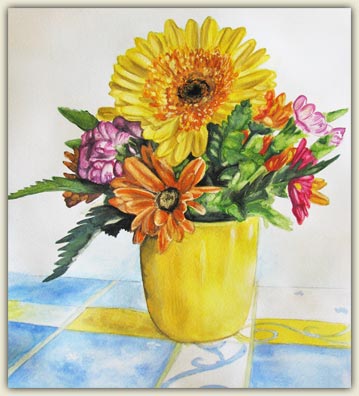
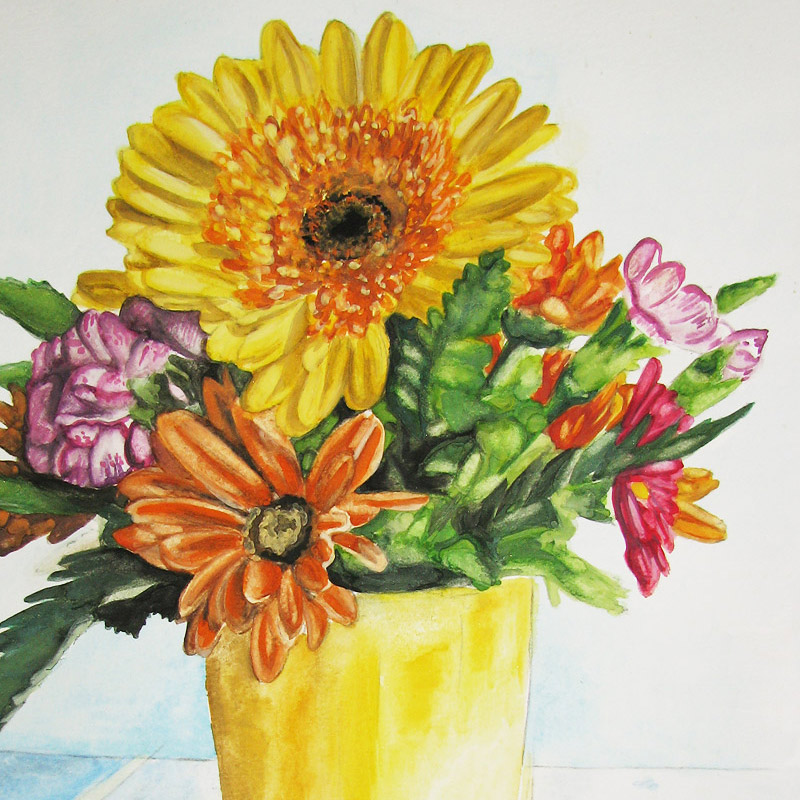
The same process continues with other areas of the painting, as shown in the pictures to the right and below. As colors and pigments are added, the painting begins to come to life. The painting that started out as translucent gradually becomes stronger and bolder through repeated applications of paint.
Blending & Lifting
A lifting technique can be used to create various effects, but is most often used to lighten areas. The pigments in watercolor paints can easily be lightened or lifted by wetting the paintbrush with clean water and then rubbing the paintbrush against the area to be lifted. This technique is also used in the green leaves, which you can see to the left.
Can you think of other instances where you might want to lift dried watercolor paint off of the paper?
Listen: Rewetting watercolor paint.
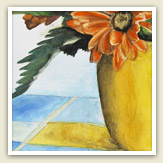
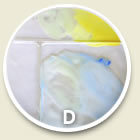
This close-up of the final painting shows the contrast between areas of heavy pigment (in the vase and orange flower) and areas of thin pigment (in the table cloth).
It is worth noting that this lifting technique is unique to watercolors. Acrylics, once dry, cannot be lifted in this way. Pastels can be lifted with an eraser, but this may cause a mess and traces of the pigment will remain.
Re-Wet and Re-Work
Because watercolors can easily become re-workable when they are rewet, dabs of paint can be applied to capture the “main ideas” and can be blended in better later. In the above-left image, black paint has been added to the leaves. At this point the black paint is very stark and bold. In the next image, the black paint has been rewet and seamlessly worked into the painting. The strength of the black pigment has been diluted with water and the application of other layers of paint.
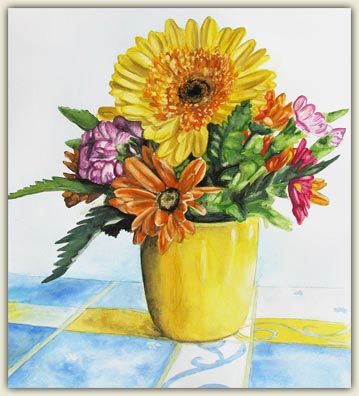
After all of the details have been added to the painting, it is now complete. The final watercolor painting must be sprayed with a protective varnish to make it waterproof.
Finishing the Painting
In the close-up above-right, you can see a detailed view of the different applications of the pigment in this painting. The flowers and the vase have a relatively thick application of the paint, as opposed to the tablecloth, in which the pigment is more watery and translucent.
Since watercolors can be reactivated once they are rewet, it is possible to set aside a watercolor for days, months, or even years and then pick it up again and make further adjustments. Care must be taken when storing an unfinished watercolor painting, in order to avoid the collection of dust upon the surface of the paper.
Once it is decided that a watercolor painting is finished, the watercolor painting will need to be sprayed with a varnish to "seal" the paints and make them waterproof. If a finished watercolor is not sprayed, the paints will become reactivated if they become wet, leading to damage. The final spray provides a clear protective coat that not only makes the painting waterproof, but usually also helps prevent damage from environmental factors such as UV rays, dirt, dust and moisture.
Thank you to Thaneeya McArdle, who contributed this page and based the information upon her work.