Acrylic is an appealing medium because of its versatility. When it is watered down, acrylic paint can become thin and watery like watercolors. Acrylic paint can also be applied thickly, mimicking the appearance of oil paints. Additionally, there are several different acrylic mediums, gels and pastes that artists can add to the paint to alter the texture, sheen, consistency, and various other characteristics of the acrylic paint. This versatility allows for a wide range of expressive techniques that captivate both artists and viewers of the artwork.
The versatility of acrylic paint allows it to mimic the very different qualities of both watercolors and oil paints. Acrylics allow artists to capture bold colors and create images that appear solid and substantial.
What is Acrylic?
Acrylic paint consists of pigment suspended in a binder of acrylic polymer emulsion. Water is the vehicle for the acrylic polymer emulsion.
Acrylics are sold in tubes or jars. Acrylics can be applied to the support (i.e., canvas, paper, etc) in a number of different ways – via a paintbrush, palette knife, fingers, or just about anything. They can be used right from the jar or tube, although in most cases the paint is mixed on a palette first.
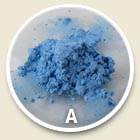
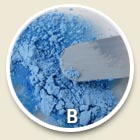
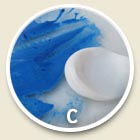
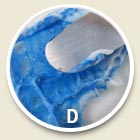
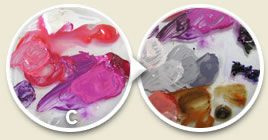
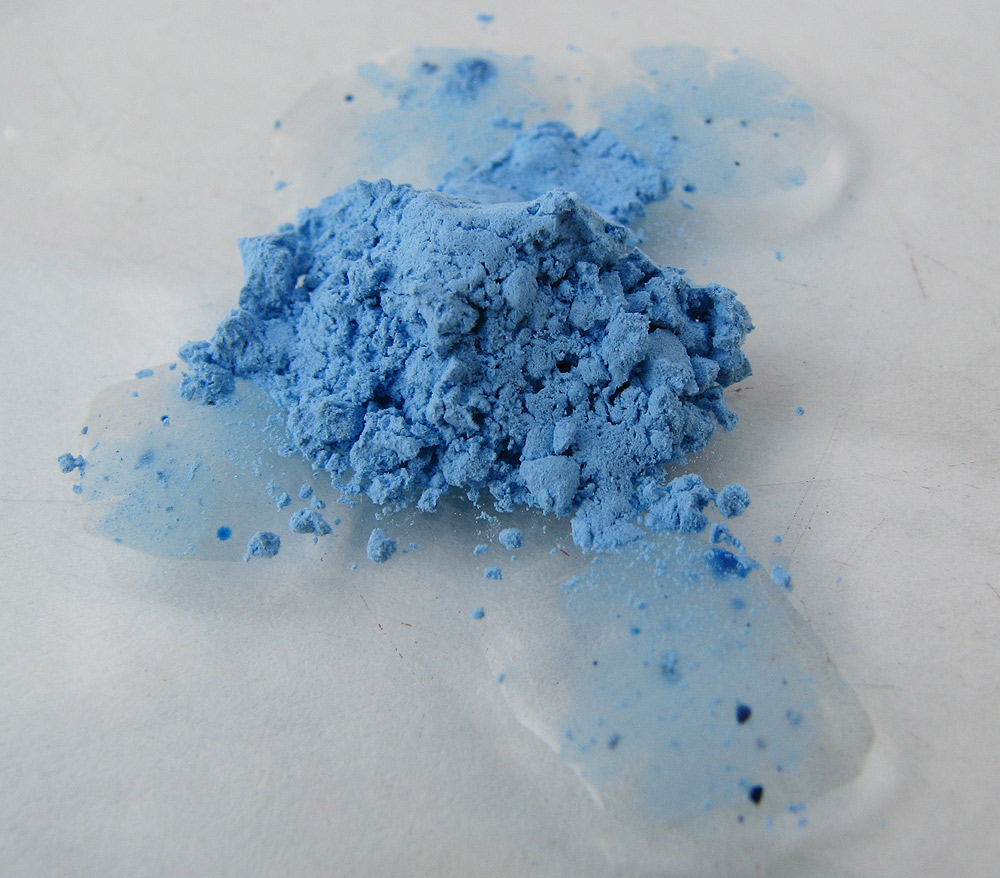
You can make acrylic paints by mixing pure powdered pigment with a binder and a solvent. Below are the steps to creating your own acrylic paints:
|
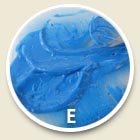
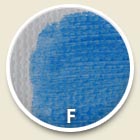
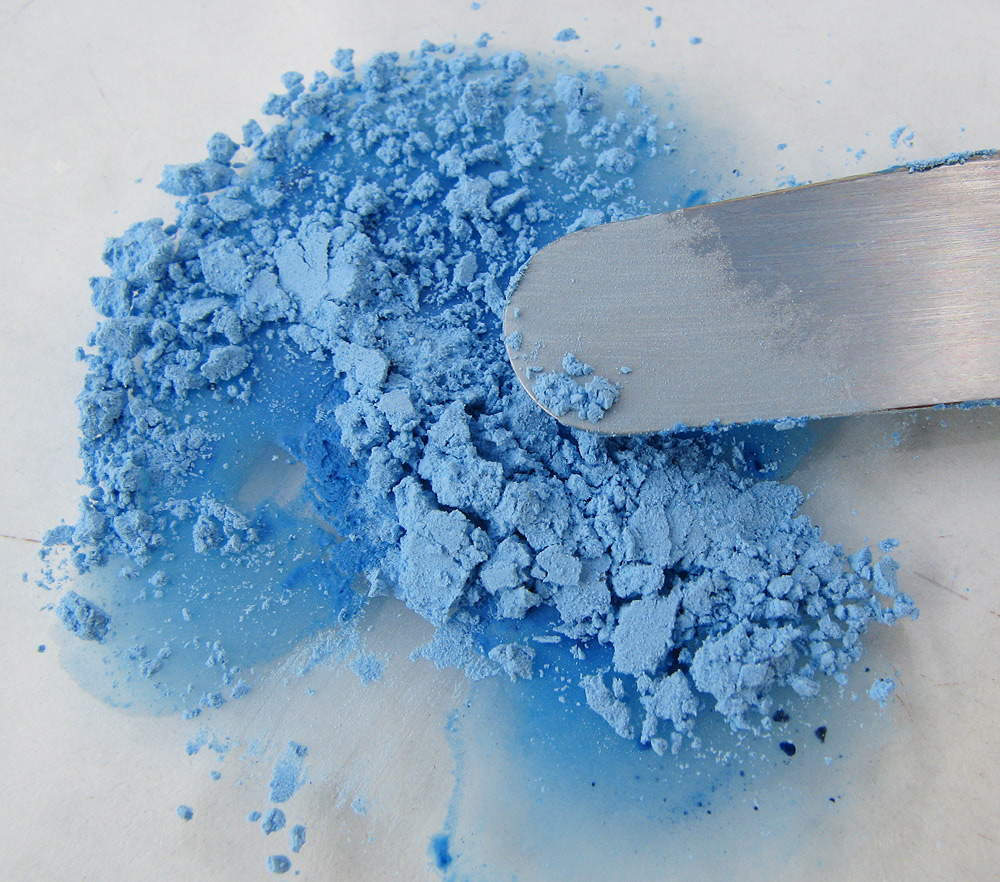
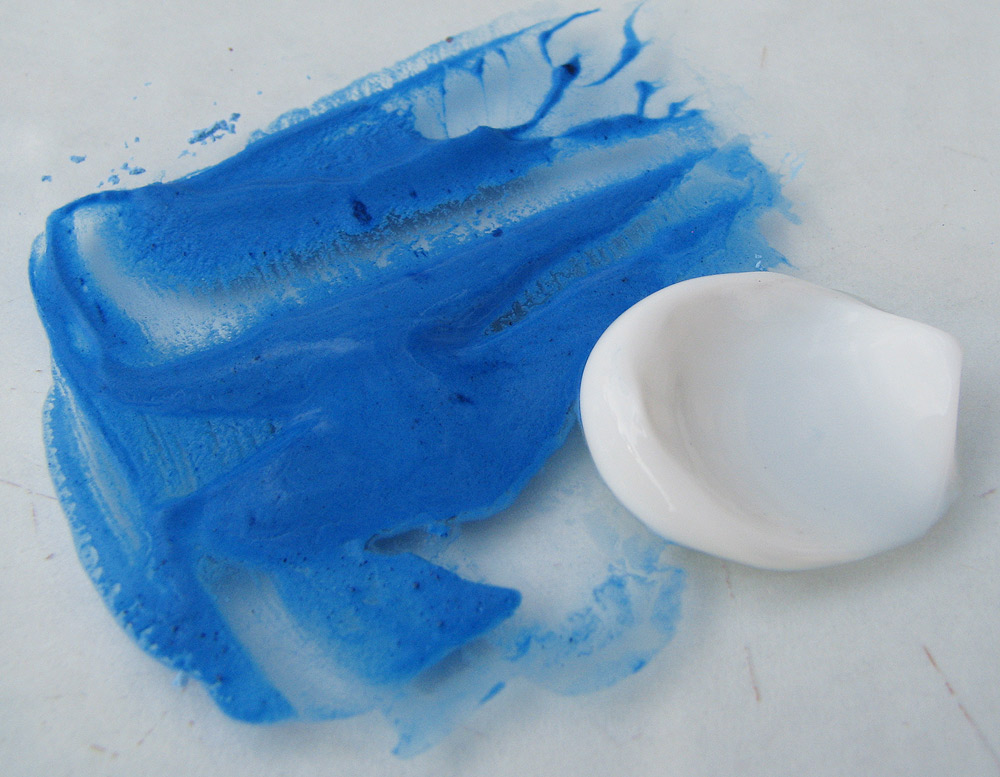
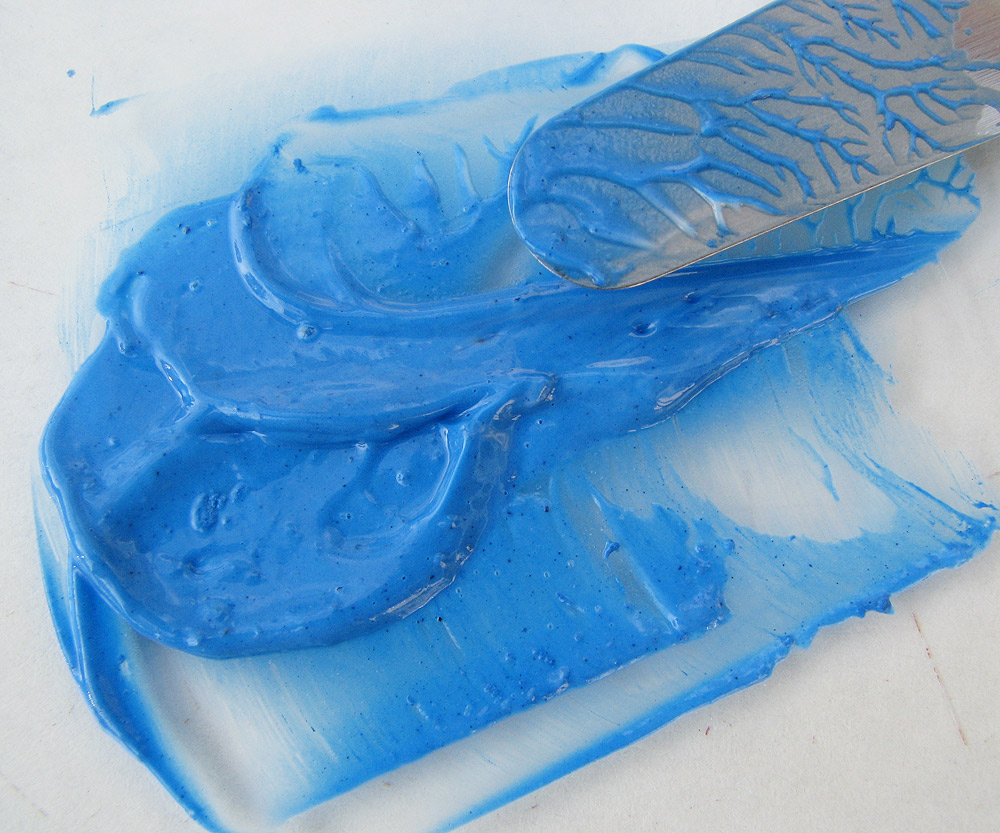
Listen: The artist talks about making acrylic paint. (A) Add water or a clear alcohol, such as vodka, to a pile of pure ground pigment. (B) Mix with spatula. (C) Once the pigments are completely dispersed, add the binder - in this case a matte acrylic gel medium. (D) Mix with spatula. (E) The result is an acrylic paint that is similar to manufactured acrylic paint. (F) Using a paintbrush, the acrylic paint is applied to a white canvas. |
|||||
Mixing Paints
Throughout the process of creating an acrylic painting, the paints are mixed on the palette to create new hues, tints and shades. Because acrylics dry quickly, only a small amount of paint is applied to the palette at a time. Only the necessary colors are used.
The paints on the palette need to be kept moist in order to remain workable. If they are allowed to dry, they will harden and will no longer be useful for painting. For this reason, it is handy to keep a small spray bottle of water on hand to continually spray the palette with a fine mist of water.
The amount of water that is used when painting with acrylics will have a strong bearing on the consistency of the paint and its appearance on the canvas. Usually when an artist is mixing acrylic paint, it is ideal to have a balance between thick and watery paint.
Explore how an acrylic painting is created, from start to finish. This painting example was created using traditional acrylic painting supplies: acrylics in both tubes and jars, paintbrushes, canvas, a palette and a cup of water, as well as a graphite pencil to create the initial sketch.
Listen: Using acrylic paint.
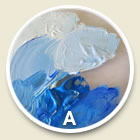
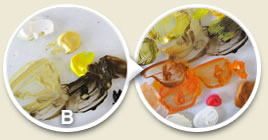
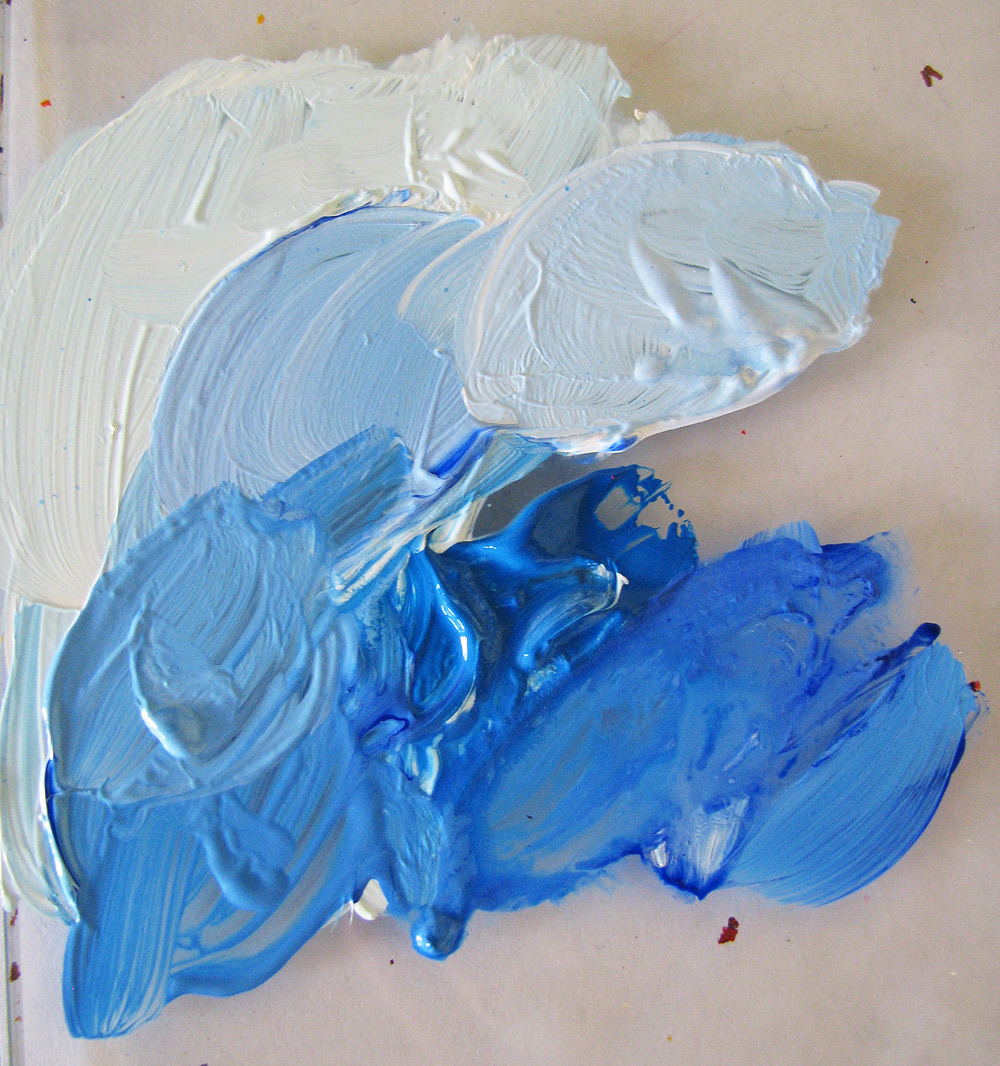
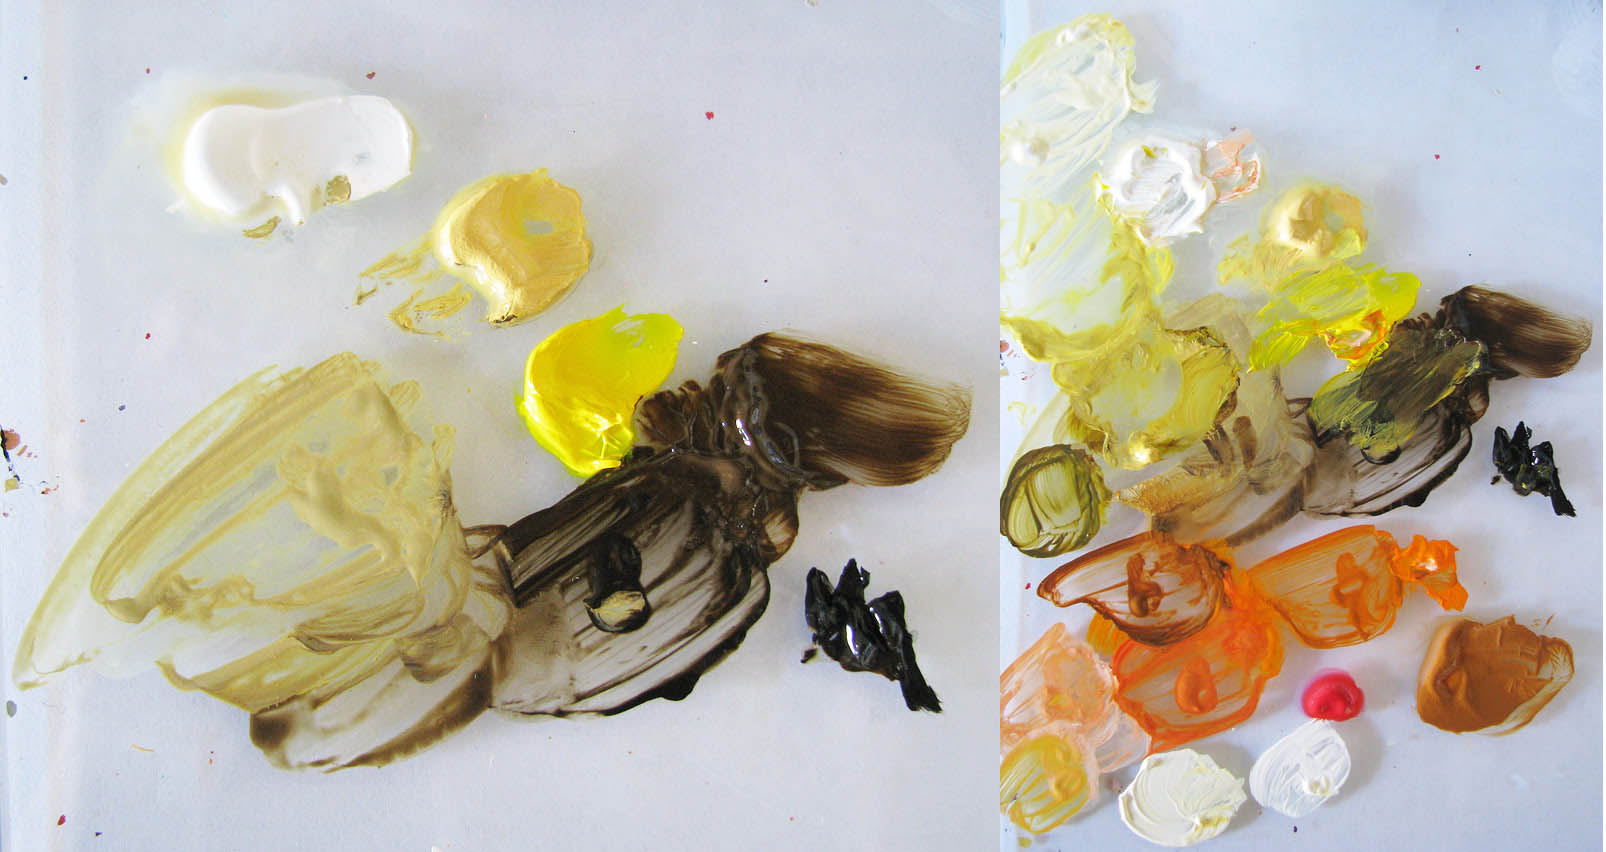
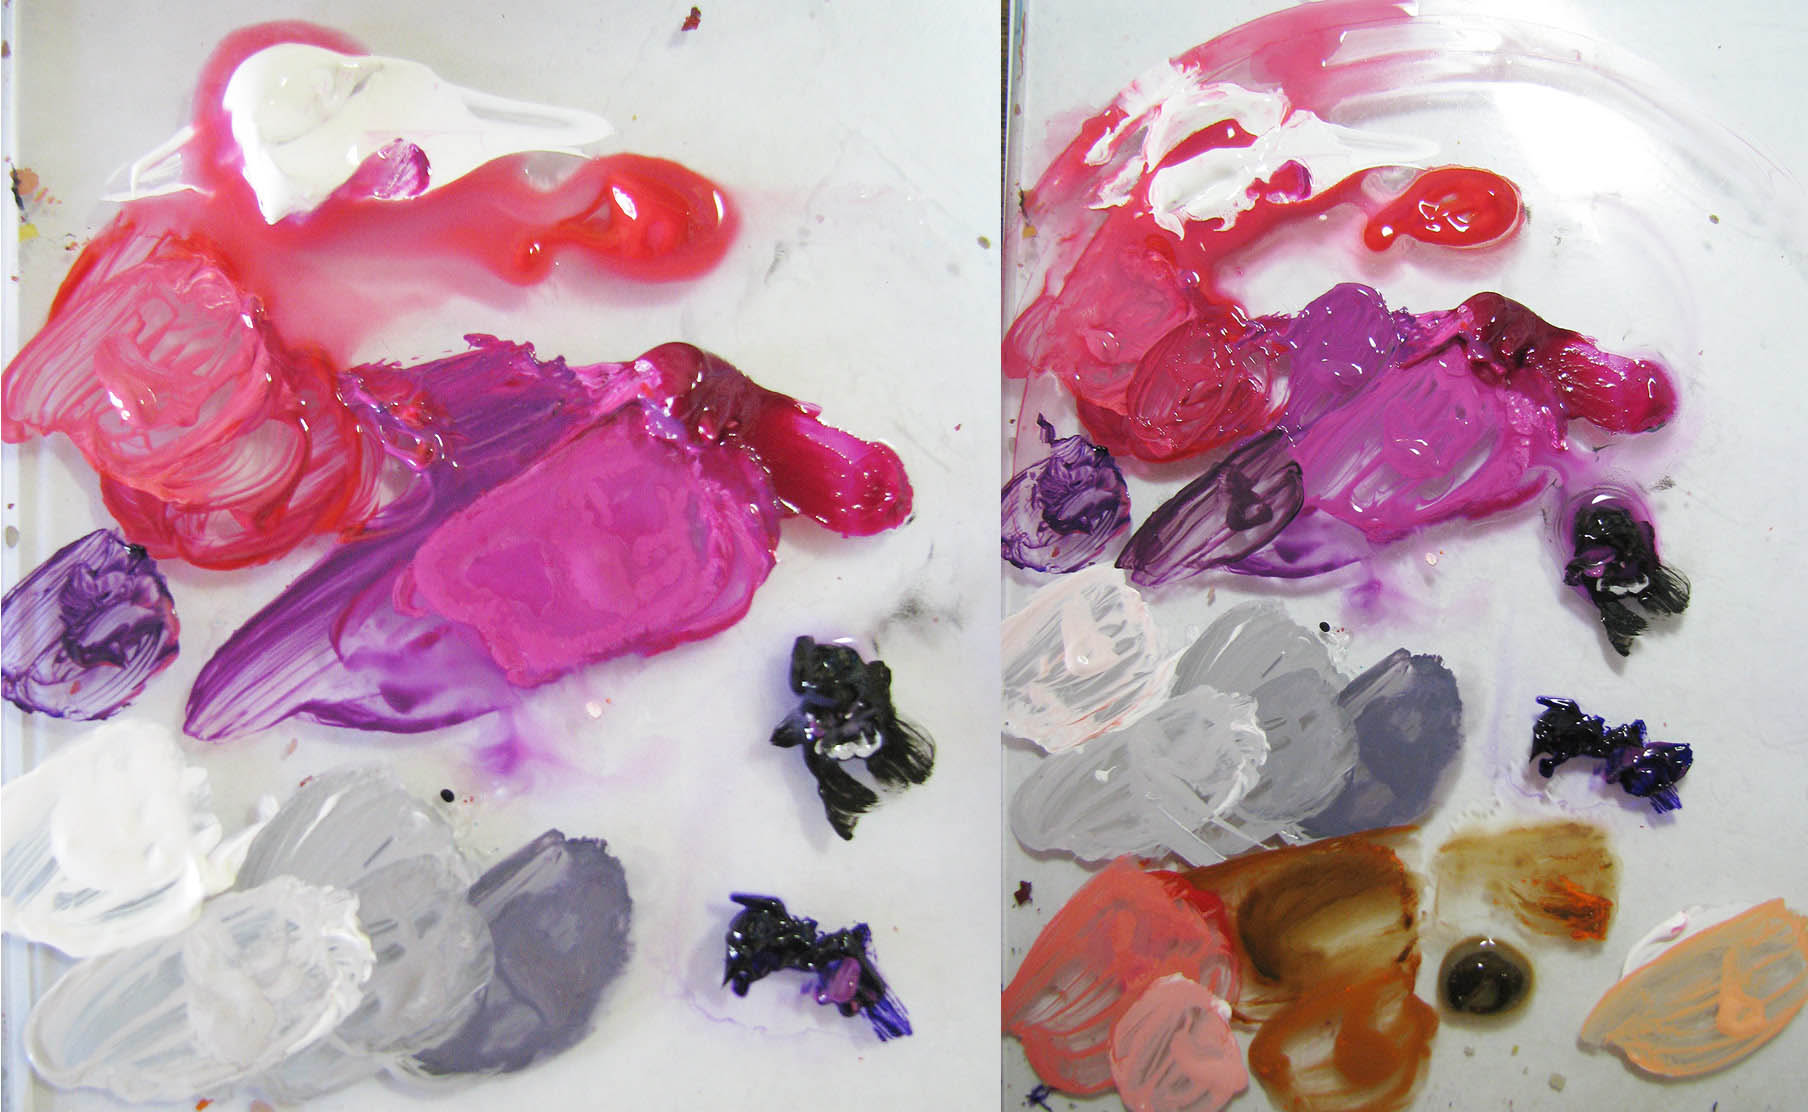
(A) Colors for the background underpainting, in this case: white and blue. (B) The underpainting is created using white, titan buff, yellow, umber, and black. As more details are added, more colors are added to the palette and mixed with the colors that are already on the palette – keeping the new colors within the same color families. After these colors are no longer necessary, they are washed off the palette so that new colors can be applied. (C) Moving on to a new section of the painting, new colors are laid on the palette. In the upper left of these photos, you can see what happens when too much water is sprayed and some of the paints become runny - such as the red running into and surrounding the white blob of paint. In this palette photo, you can also clearly see the contrast between acrylic paint that is thick (such as the white acrylic paint) and acrylic paint that is very watery (the red acrylic paint that surrounds it).
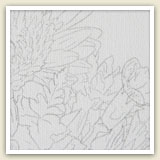
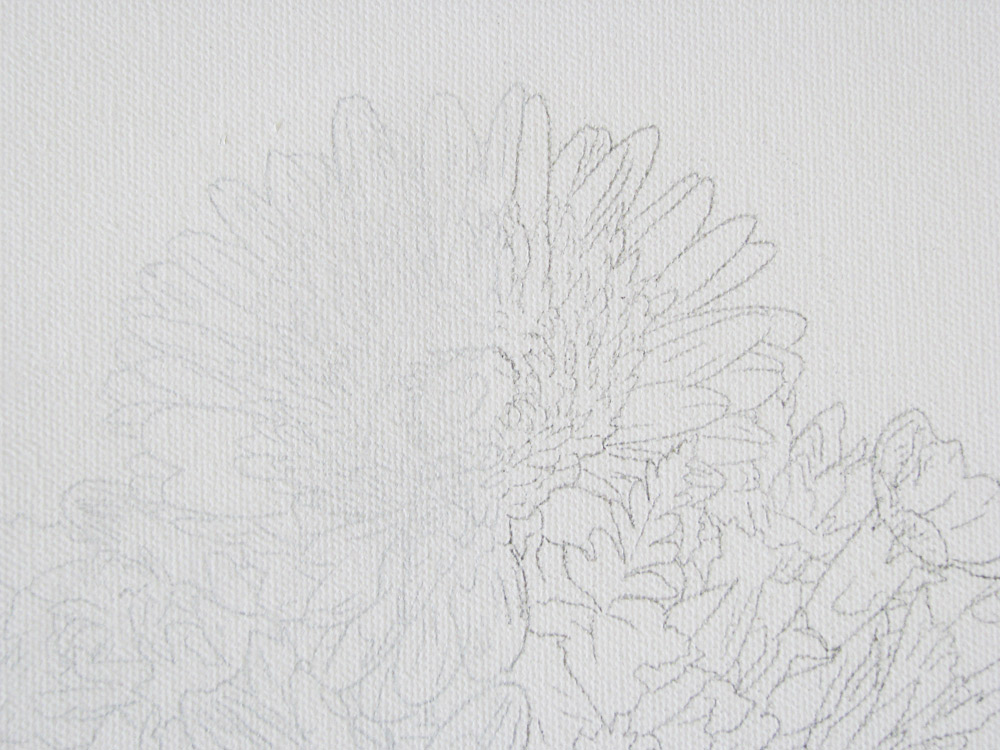
In the image above, one half of the graphite drawing has been covered with a light coat of acrylic gesso, while the other half has not yet been coated. Can you tell which side is which?
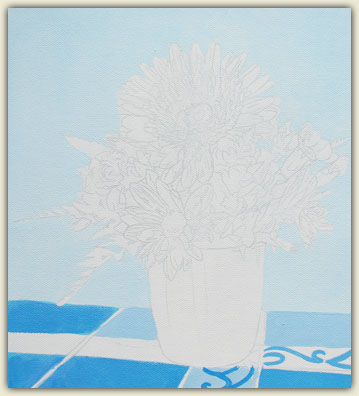
Sketch & Gesso
To start this acrylic painting of a vase full of flowers, first a graphite drawing was made from a reference image. The graphite rests directly on top of the canvas. Before beginning to paint in the graphite, it is a good idea to paint a light coat of acrylic gesso over the graphite. Acrylic gesso will essentially “lock in” the graphite so that it won’t smear or become messy when acrylic paint is added.
What is acrylic gesso?
Acrylic gesso is a combination of acrylic paint (typically, titanium white for white gesso) mixed with calcium carbonate, an acrylic polymer medium latex, and other chemicals that adjust the consistency, applicability and durability of the gesso. Gesso is often used as to prime the canvas before starting an acrylic painting, because it makes it easier for the work surface (i.e., canvas) to accept the paint. Gesso is a bit thinner than regular white acrylic paint.
Gesso is a handy tool for painting with acrylics, but it is not necessary for use with any other mediums, such as watercolors, pastels, or oils.
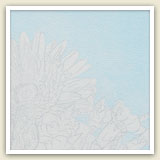
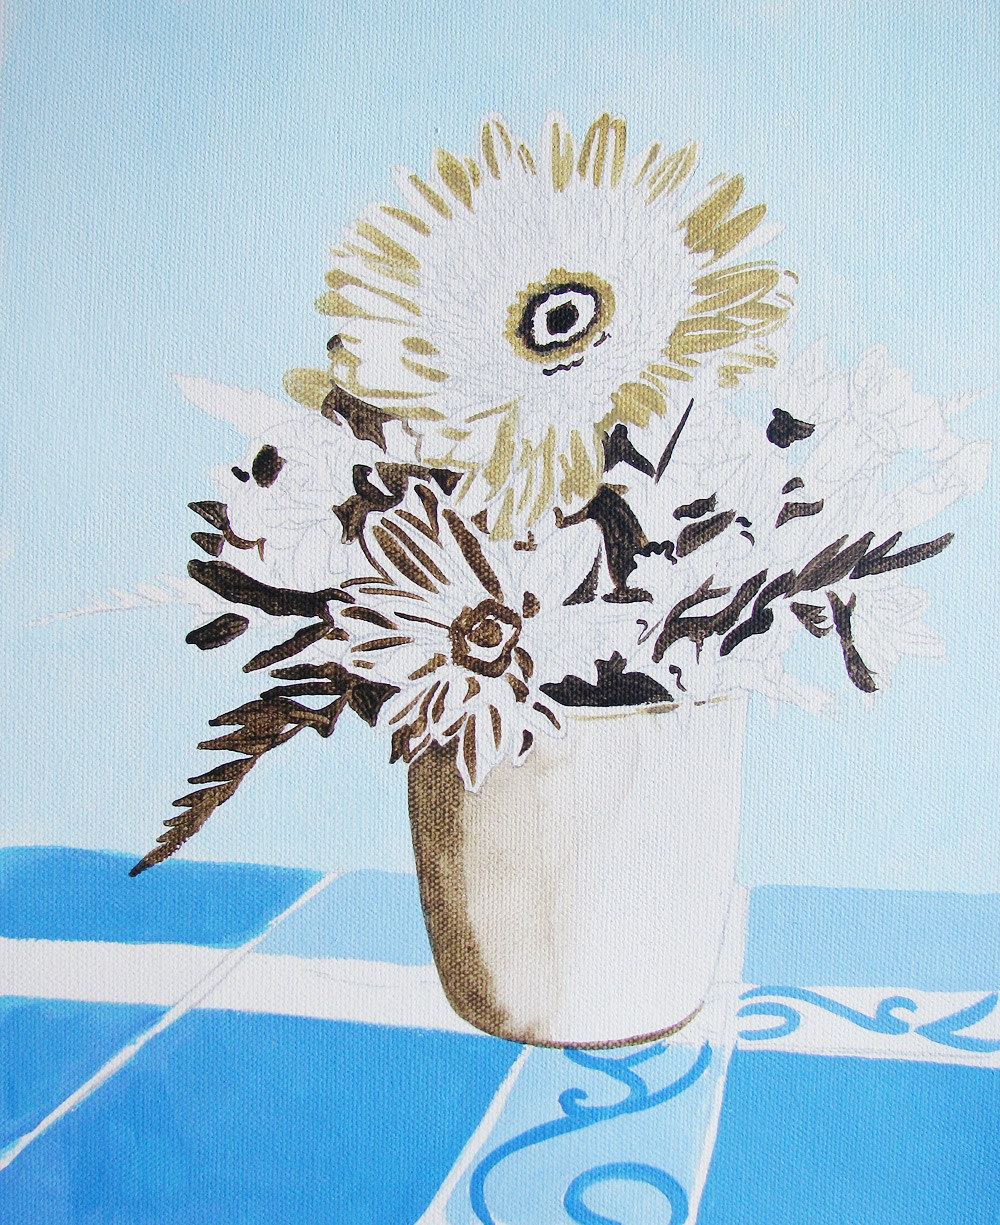
First, the blue background and the blues of the tablecloth are quickly painted. This helps to outline the vase and flowers, making the work surface a bit easier to navigate.
Underpainting
Now that the canvas and the graphite drawing have received a light coat of white gesso, it is time to paint the “underpainting”. Creating the underpainting basically involves quickly blocking in the main areas of color, as well as blocking in the dark and/or light spots.
The image to the left shows the beginning of the underpainting. Notice that in this image, only the blue hues in the tablecloth have been painted, and not the yellow hues. Keeping in mind the characteristics of acrylic paint, can you think of why it might be useful to work with one color of acrylic paint at a time?
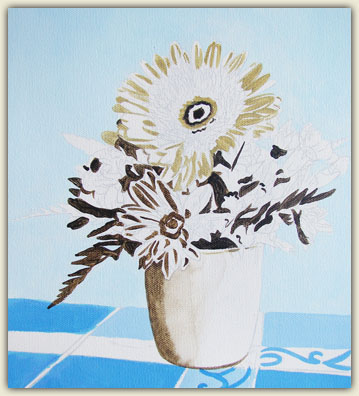
At this stage, painting the dark areas helps the painting begin to have a form - transitioning the painting from a flat graphite drawing into an image that has a 3-dimensional appearance.

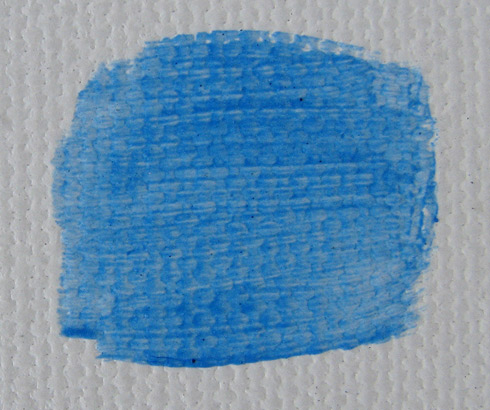
This close-up of the vase demonstrates a watery application of the acrylic paint
Lights & Shadows
The underpainting continues by observing the light and dark areas in the reference image, and painting in the dark areas using raw sienna and umber. These types of brown hues are ideal for underpaintings, because they can easily be painted over or blended with another layer of paint.
Although acrylics can be applied thickly or thinly, the underpainting is typically painted using fairly thinned acrylic paint. The initial umber underpainting of the vase was created using a watery “stain” technique, in which the paint gradually gets lighter because more water is added. This is similar to techniques used in watercolor painting.
|
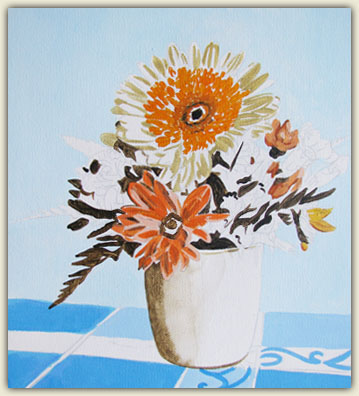
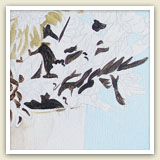
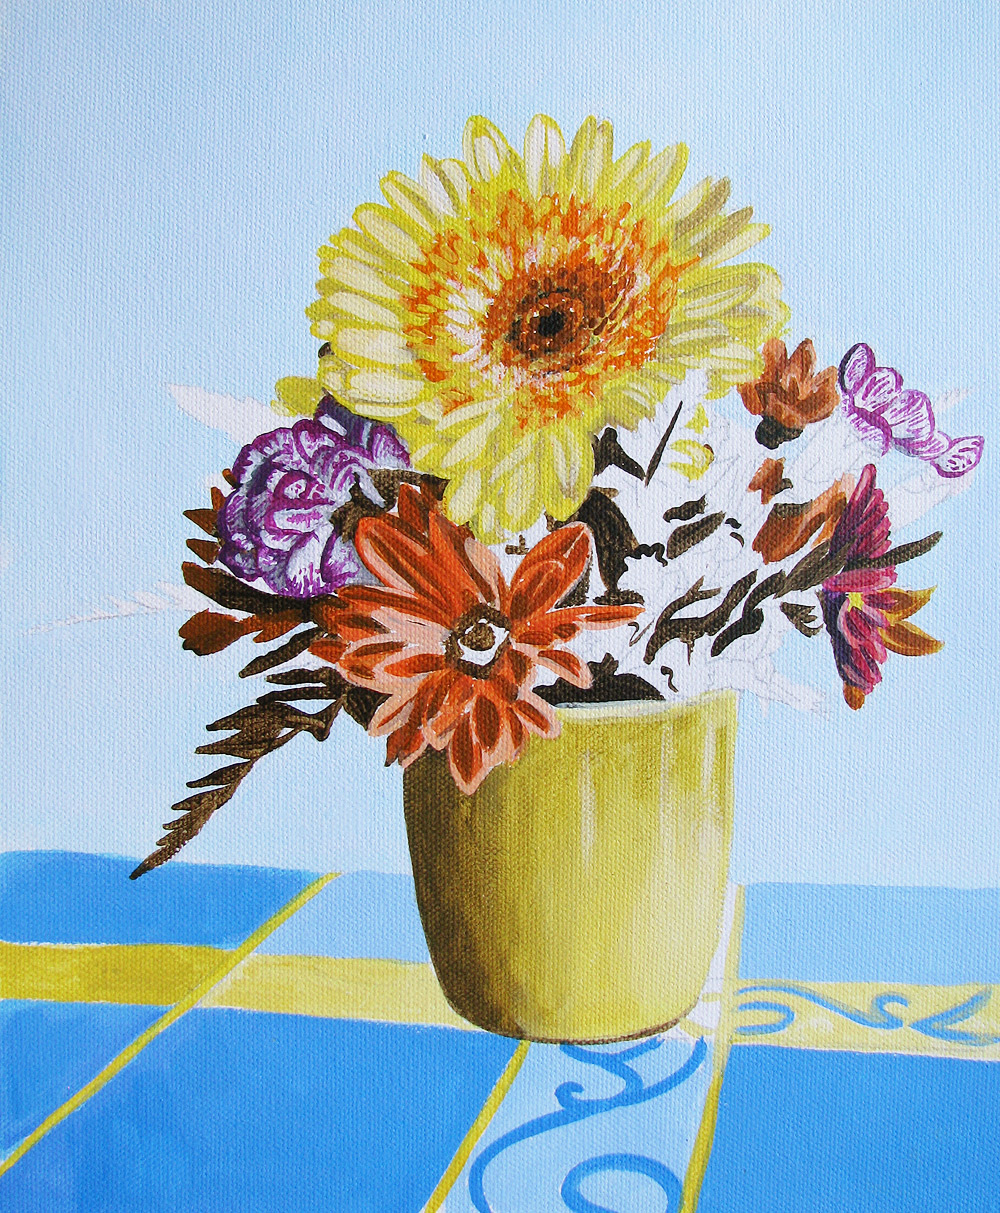
In these images, the focus is on adding the oranges and yellows. This is all still part of the underpainting. The underpainting is basically “finished” when the entire canvas is covered with an initial layer of paint. |
Next, the magentas and pinks are added to three of the flowers. Because these are the only areas of magenta and pink in the painting, these flowers were painted to completion, in order to save the effort of resqueezing the necessary paint colors later. |

Adding Color
The next step, now that the major shadow areas are denoted with umber paint, is to identify similar hues throughout the entire painting and quickly paint those areas with color. This technique of quickly identifying and demarking similar hues is also handy when working with pastels.
Artists can choose to work with underpaintings in different ways. For example, some artists will make sure the entire surface is covered with paint before working on the details. Alternatively, it is perfectly possible to bring one specific area of the painting to completion, while the rest of the painting has not even had a touch of paint.
At this point, the entire surface of the canvas is covered in a layer (and in some places, several layers) of paint, so the underpainting can be considered finished.
Details
After the greens are added, the underpainting is considered finished. The task now is to tighten up and perfect all of the various elements in the painting – adding detail, honing the lights and shadows, and blending in the colors a bit more. This is similar to the process of building a pastel artwork through layers of pastels.
Because acrylics dry quickly, it is easy to layer the colors over top of one another. This makes it easy to fix mistakes. Contrast this with watercolors, where it is possible to layer colors - but the translucency of watercolors means that mistakes are much more difficult to cover up in this way.
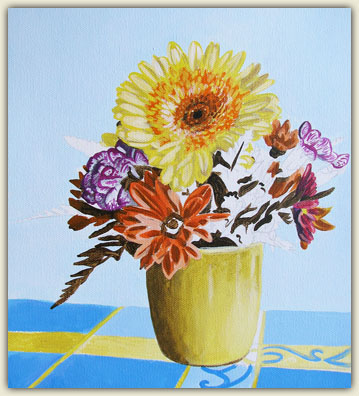
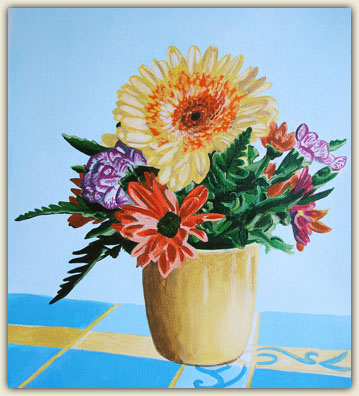
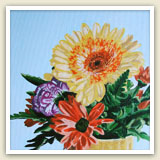
As this point in the painting, the flowers and the vase are now complete. The next step is to complete the tablecloth.
Layering & Glazing
Most of the painting was created using a layering process, in which one layer of paint is added on top of another. Because acrylics dry quickly, this is fairly easy to do. While acrylics are still wet, it is possible to use the brush to gently blend or adjust the pigment until it looks right.
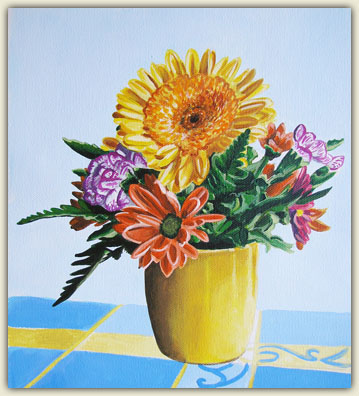
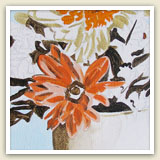
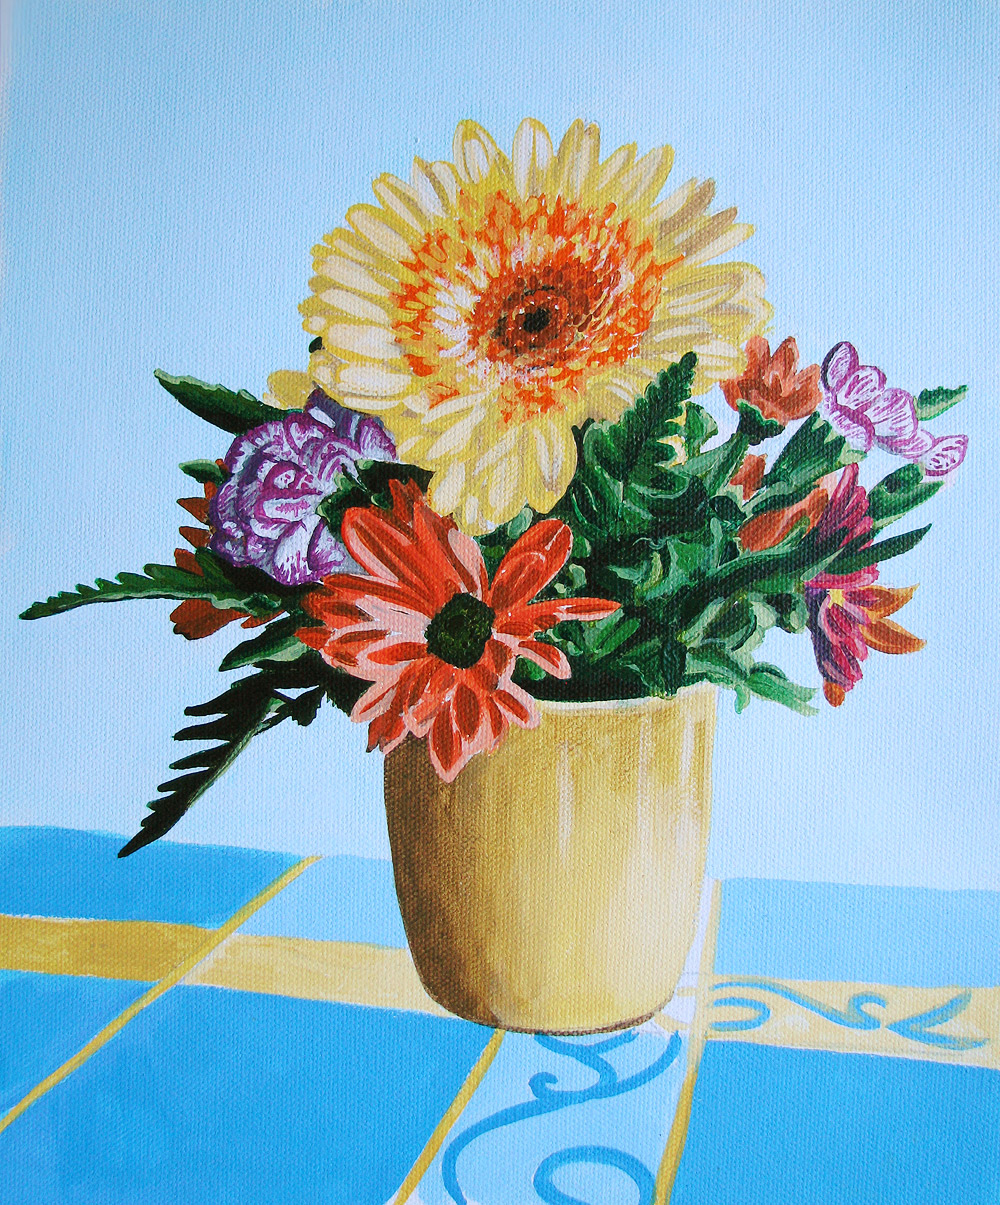
Once the paint is dry, it is possible to use a “glazing technique” in which a watery (and therefore, translucent) layer of acrylic paint is added to certain areas to help blend that area and/or bring depth to that area of the painting. This technique was especially helpful in the petals of the orange flower, the green leaves, and the surface of the yellow vase. Can you think of any other examples of when it might be helpful to use a glazing technique?
In addition to water, there are also acrylic mediums that can be used to create an acrylic glaze, such as Acrylic Retarder (which slows the drying time of acrylics, thus extending the workability) and Glazing Liquid (which is quite similar to retarder, except it also disperses the pigments a bit more to make the paint easier to blend).
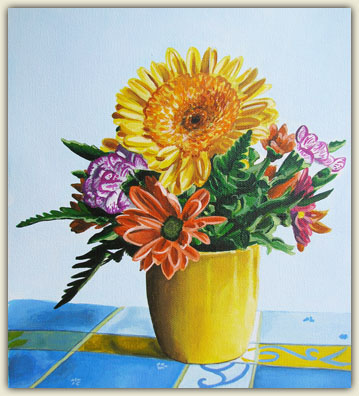
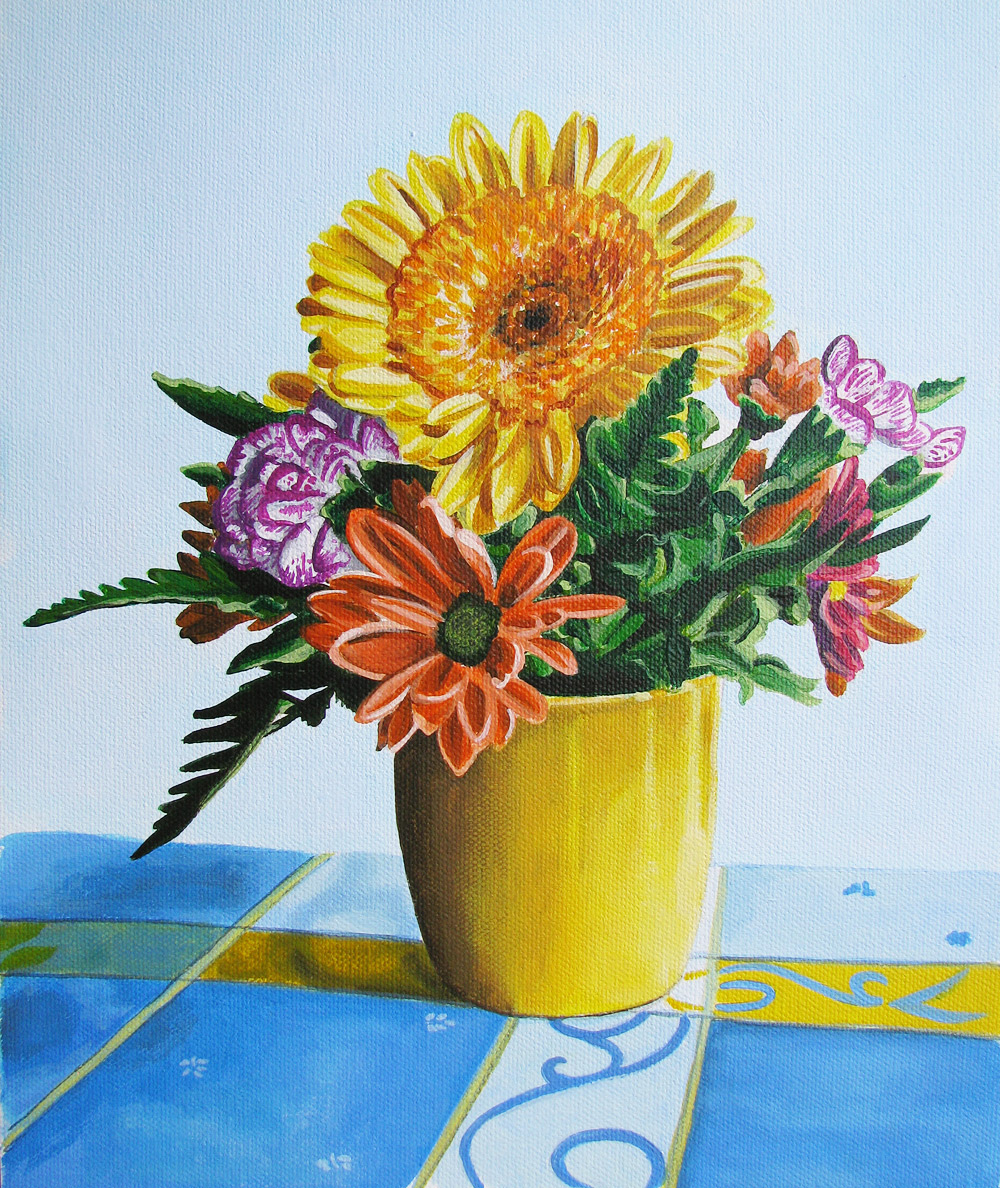
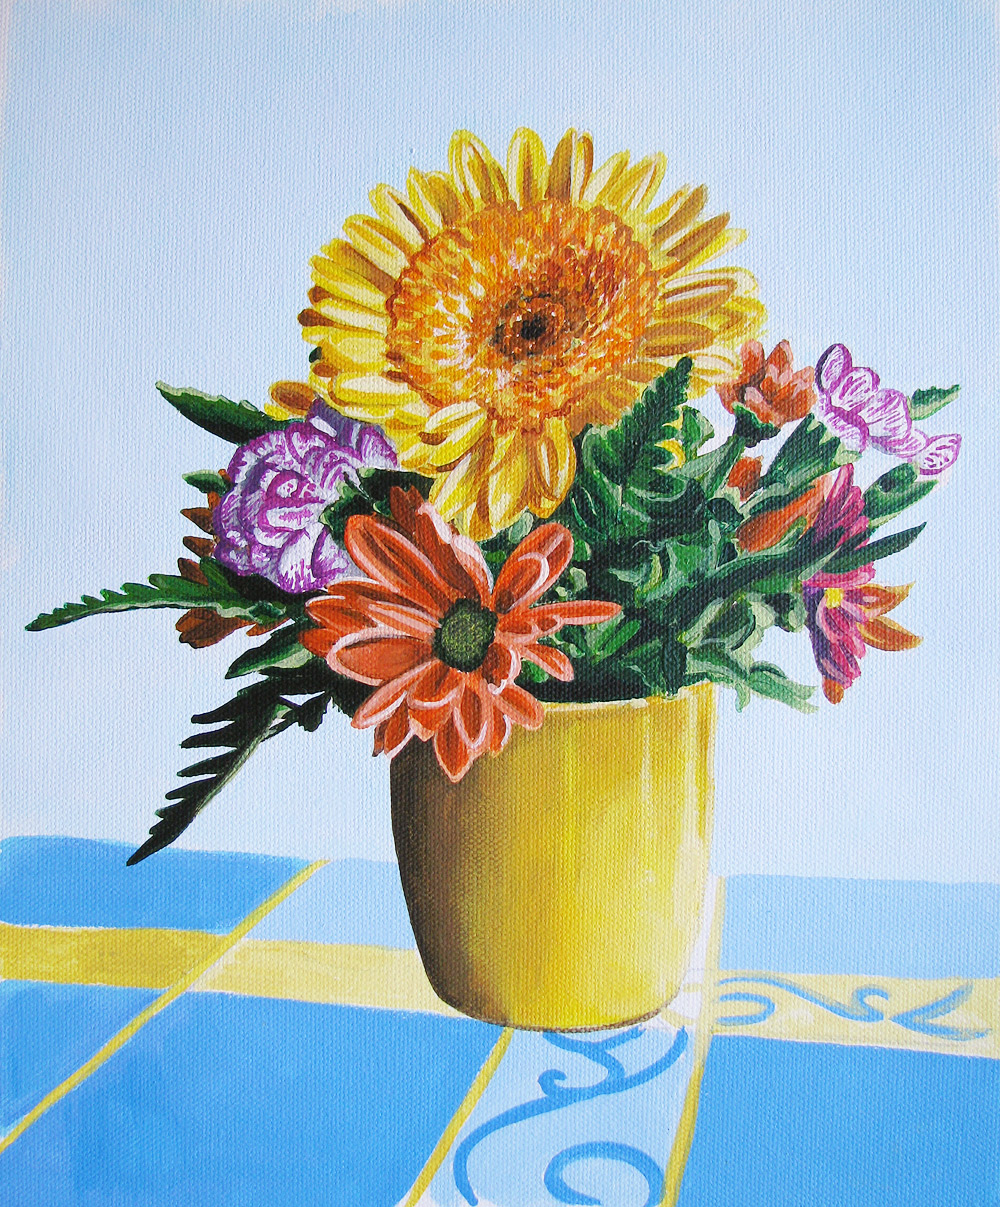
The finished acrylic painting. The final step is to seal the painting with a protective layer of varnish.
Listen: How acrylic paint dries.
Finishing the Painting
It is generally advisable to varnish a finished acrylic painting. The varnish will provide a protective layer over the paint, protecting the artwork against UV rays, dust, dirt, and many other unforeseen calamities. If the painting should get dusty or dirty, it can simply be gently wiped clean with a soft, wet cloth, with no worry about removing or damaging the paint. For these reasons, varnish also helps to preserve the longevity of the acrylic painting. Additionally, because varnish “seals” the painting, it also helps to bring the painting together, making all the various areas of paint appear more unified.
A protective layer, such as a spray sealant, is also essential for protecting watercolors. Pastels, on the other hand, are best left unsprayed and unsealed, making pastels a much more fragile and vulnerable medium to work with.
Thank you to Thaneeya McArdle, who contributed this page and based the information upon her work.