Egg tempera is known for its linear qualities and capacity to produce jewel-like paintings. While it was once a popular medium that reached its peak during the Renaissance, egg tempera fell out of favor with the rise of the more versatile oil paints. However, a few modern painters have embraced the medium, adopting the labor-intensive practice of creating both the paints and the panels. Some have even taken more experimental approaches.
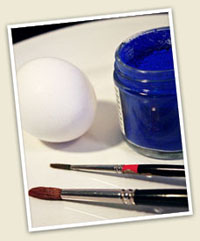
Egg tempera is a classic painting technique, tracing back to antiquity. Egg tempera is composed of ground pigment, water, and egg yolk.
In some ways, egg tempera shares more commonalities with pastels or colored pencils than with acrylics, oils, or watercolor paints. Because it does not lend itself well to blending or color mixing, egg tempera relies on cross-hatching and overlays of glazing to achieve dimensionality.
What is Egg Tempera?
Egg tempera is composed of egg yolk, powdered pigment, and distilled water. The egg yolk serves as the binder that holds the pigment together. The addition of water turns the paint into a usable paste-like form. Manufactured egg tempera also includes gums that act as dispersants.
Although egg tempera can be purchased commercially, most egg tempera artists prefer the purity of creating their own paints, which is a relatively easy process. However, homemade egg tempera can only be used for a single painting session. As the tempered pigment sits, the yolk begins to cure, so it becomes thicker and more difficult to paint with. The water also evaporates, changing the chemical composition. Adding water doesn’t help, as the yolk becomes too dry to mix properly. Therefore, egg tempera cannot be stored for future use.
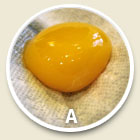
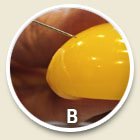
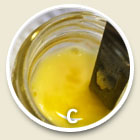
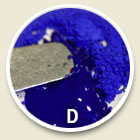
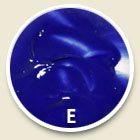
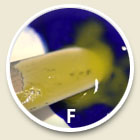
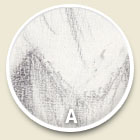
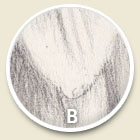
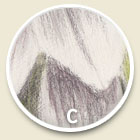
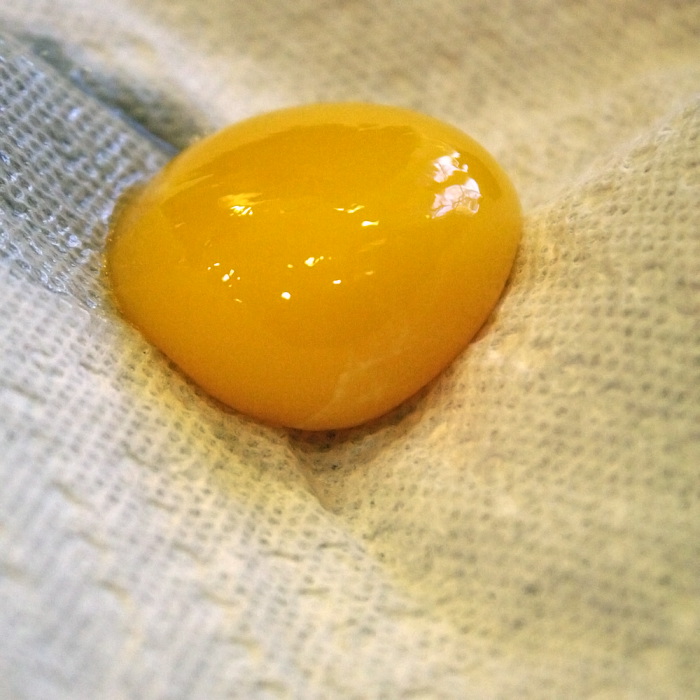
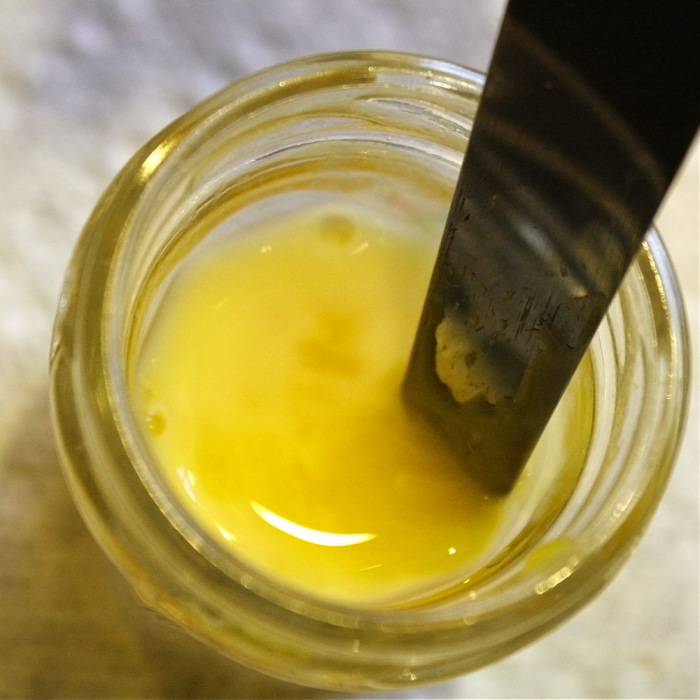
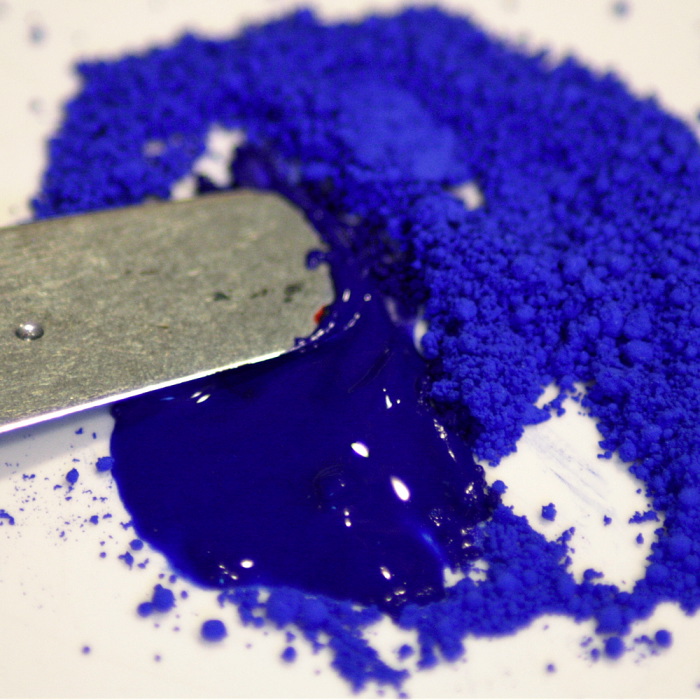
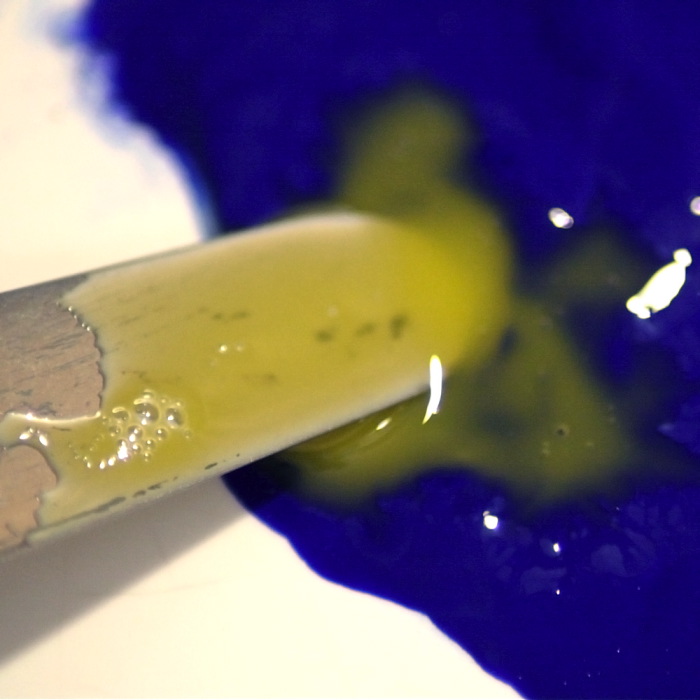
Steps to create your own egg tempera paints: A) Roll the separated egg yolk on a paper towel to absorb excess white. B) Break the yolk sac with a pin. C) Mix the contents of the yolk sac with ½ -1 tsp. of water and stir. Do not include the yolk sac. D) Add water to the dry pigment to create a creamy paste. If necessary, add a drop of denatured alcohol to disperse the pigment. Mix with a palette knife. E) The pigment is now a paste. F) Add an equal amount of egg yolk to the pigment paste. Thin the tempered medium with more water as needed.
When making egg tempera paints, it is important to use only the egg yolk, minus the sac and egg white. Albumen, the protein found in egg white, prevents the paint from adhering well to the panel surface. To ensure that only pure yolk is mixed with the pigment, the egg must be gently broken, the yolk separated from white (by holding the yolk and letting the white fall through your fingers, or shifting the yolk from broken shell to broken shell, allowing the white to seep out), and the yolk carefully rolled onto a paper towel to absorb any egg white. Then the yolk is gently picked up and pierced with a needle, allowing the yolk to drain into a clean container. Approximately ½ - 1 teaspoon of distilled water is added to the container and stirred so that the egg yolk is thinned out uniformly.
The goal when mixing egg tempera is to add just the right amount of egg yolk. When the right amount is used, the paint will dry to a slightly glossy finish. Too much egg yolk will make the paint appear greasy, and too little will make the paint appear chalky.
To make sure the egg yolk is properly binding the pigment, the paint can be dried on a plate. If the paint curls when scraped with a razor blade, then the mixing process was successful.
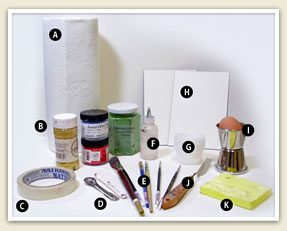
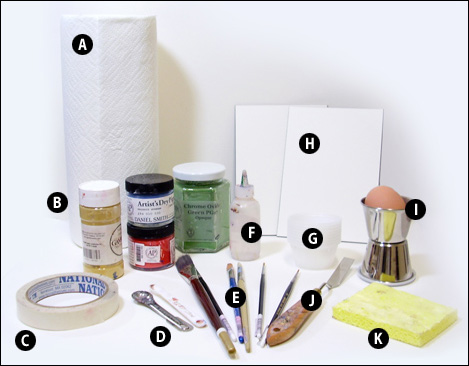
Common egg tempera materials include: A) Paper towels; B) Dry pigments; C) Drafting tape; D) Measuring spoons; E) Soft-hair brushes; F) Water; G) Mixing cups; H) Gessoed panels; I) Egg; J) Palette knife; and K) Sponge.
Egg Tempera Supplies
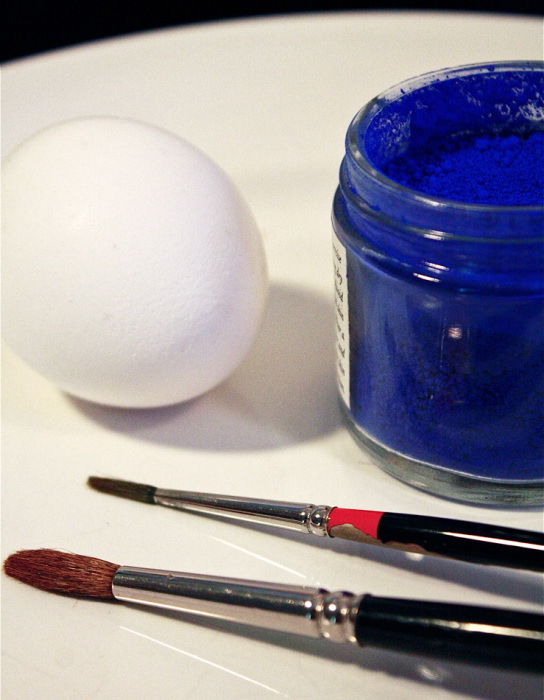
The basic supplies needed to paint with egg tempera consist of dry pigments of various colors, an egg for each new painting session, distilled water, and a painting surface. Other supplies include synthetic and sable brushes in a range of sizes, a palette, palette knife, fine sandpaper, India ink, a gesso mixture, drafting tape, mixing cups, a sponge, a pencil for drawing the initial sketch on the panel, and a couple of clean jars for water. Ivory soap and a roll of paper towels are necessary for cleanup.
Common colors used by egg tempera painters are titanium white, ivory black, yellow ochre, cadmium yellow medium, cadmium red dark, cadmium red light, alizarin crimson, brunt sienna, burnt umber, ultramarine blue, cobalt blue, oxide of chromium, and viridian.
Unlike oil paint, egg tempera is inflexible when dry, so it is best applied to a rigid, dry wood support.
Preparing the Support
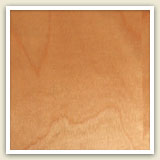
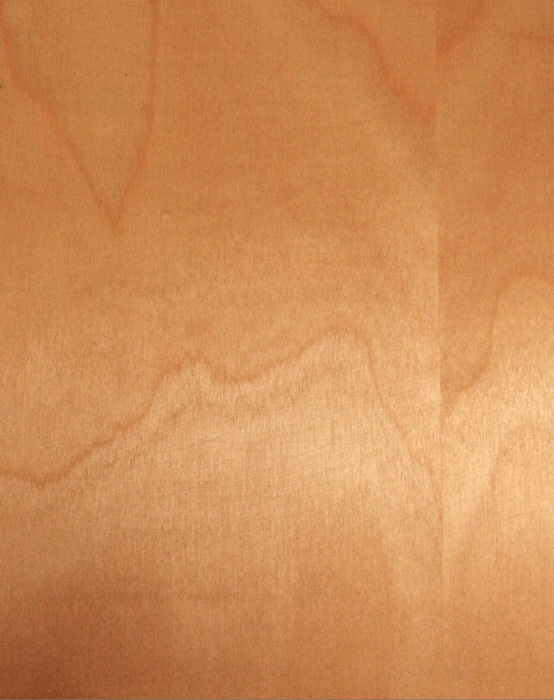
Before painting, a wooden support is prepared, such as poplar, birch plywood, or untempered masonite. The support must be absorbent so that the egg tempera can properly adhere to the surface.
To achieve this, the artist first creates a rabbit skin glue, which preserves and protects the support. Rabbit skin or hide gelatin is mixed with water, allowed to sit overnight, then slowly heated with a double boiler. Once it reaches a broth-like consistency, the heated glue is then applied thinly to the front, back and sides of the panel and allowed to dry for 24 hours.
The next step is to apply a heated gesso mixture. To make the gesso mixture, precipitated chalk, whiting, and titanium white are mixed together with the rabbit skin glue water, which serves as an aqueous binder. (Alternatively, an artist can take a shortcut by using a product such as “Fredrix Dry Gesso Mix,” in which the ingredients are already pre-mixed, and the artist only needs to add water.) The mixture is gently heated with a double boiler until the gesso has a cream-like texture. The artist then applies the warm gesso to the front, back and sides of the panel, waiting until each coat has a slight sheen before applying the next coat. Generally, four to six coats are applied and then the panel is allowed to dry for another 24 hours. Once dry, the panel can be sanded until it has an ivory finish.
Transferring the Image
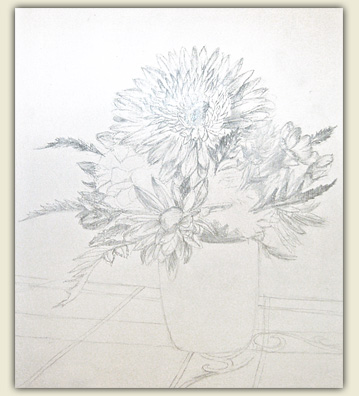
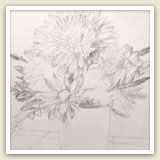
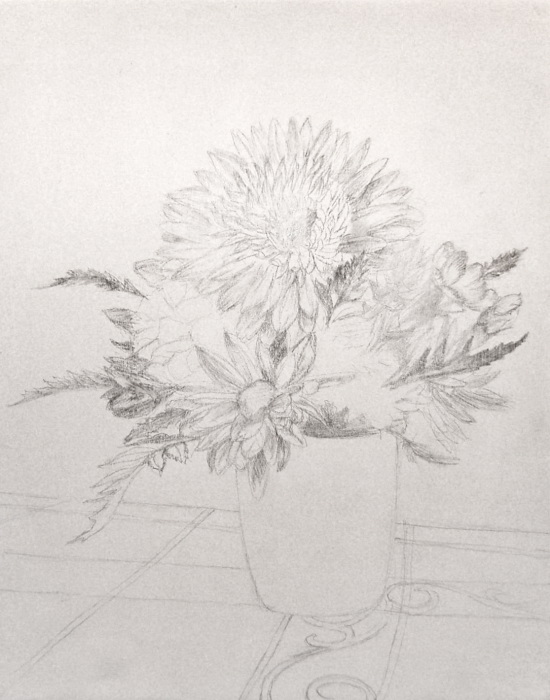
Many artists draw directly on their panels, while others transfer their images onto panels using graphite paper or tracing paper. To ensure proportional accuracy, tracing paper was used to create the under-drawing for this painting.

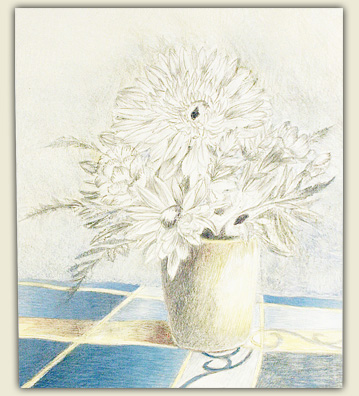
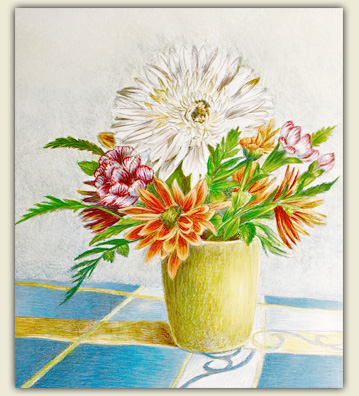
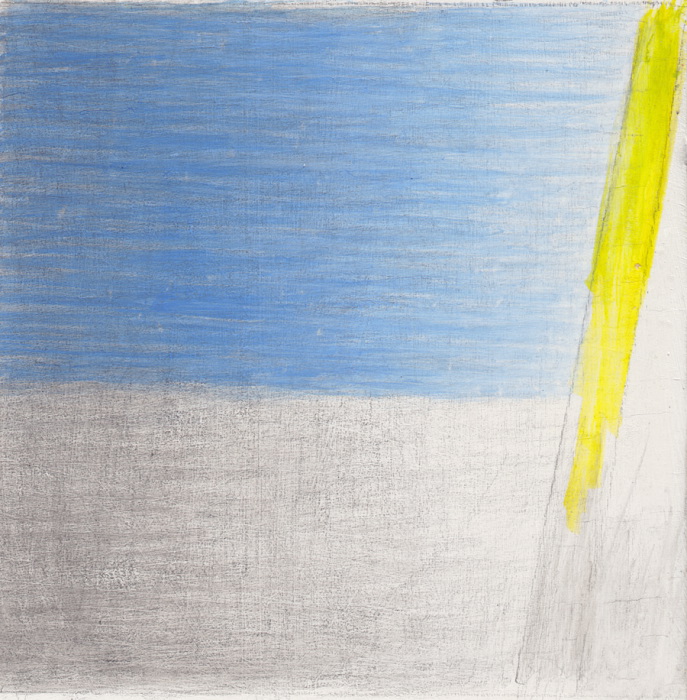
Adding the darkest color values. Place darker color values over the darkest ink underdrawing areas. This is accomplished in the shadow of the yellow vase using violet mixed with black. The first color layer is applied thinly and the ink underdrawing shows through.
Using a graphite pencil, the image is traced onto the tracing paper, which lies on top of the original image. Once completed, the tracing paper is flipped over and the outlines are once again traced in graphite on the reverse side of the paper. The tracing paper is placed on top of the support and traced for a final time, transferring the graphite on the back of the paper to the painting surface. This process ensures an exact pencil rendering of the image to be painted.
Adding Values
To add values to the pencil outlines and shading, graded tones of India ink and water are applied to the underdrawing. Five different values from light to dark are created by adding one drop of India ink into a mixing cup, adding two drops in another cup, and so forth, each time adding more drops into a new receptacle until five drops are added. Into each cup, ½ teaspoon of water is added. The ink and water mixture is stirred with a synthetic brush.
Using a synthetic brush, the artist paints over the pencil drawing with the lightest value of India ink. The darkest ink mixtures are reserved for the darkest values in the underlying pencil drawing. This is the classic means of laying out the values in an egg tempera painting. Once the ink drawing is finished, the painting begins.

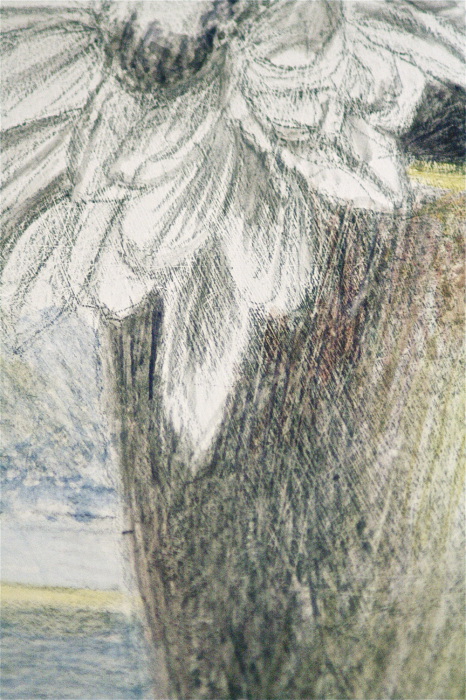
Example of detail from the tablecloth. Progressive degrees of cobalt blue alter the value. When the blue is placed over the darkest area of the ink underdrawing, there is an opalescent effect. Note how the values of the cobalt blue match with the values of the underlying ink.
Applying the Paint
The first applications of paint on the inked surface are applied thinly and loosely. The ink value can be seen through the surface of the first coat of color applied in middle value. It is generally a good idea to work background to foreground. Egg tempera dries very quickly, so the painting must be worked section by section.
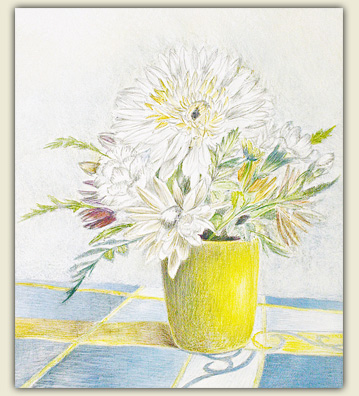
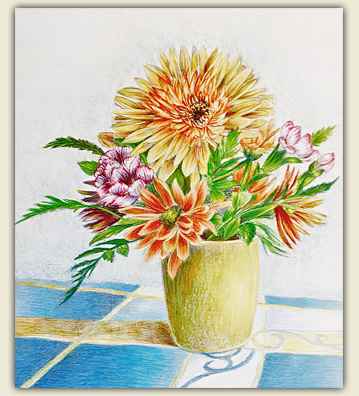
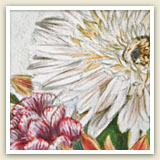
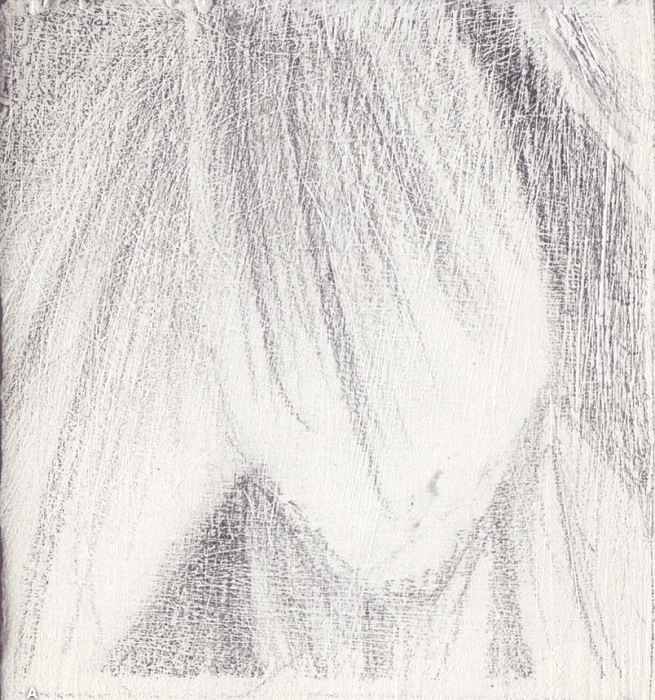
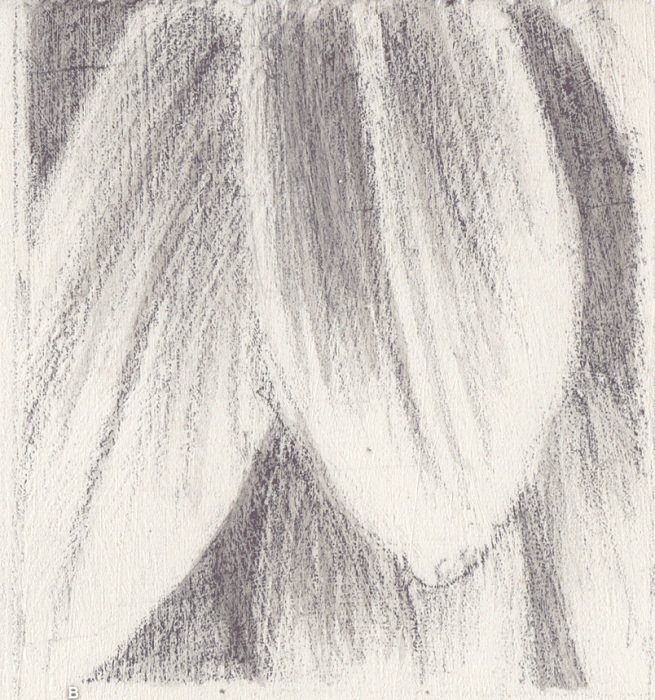
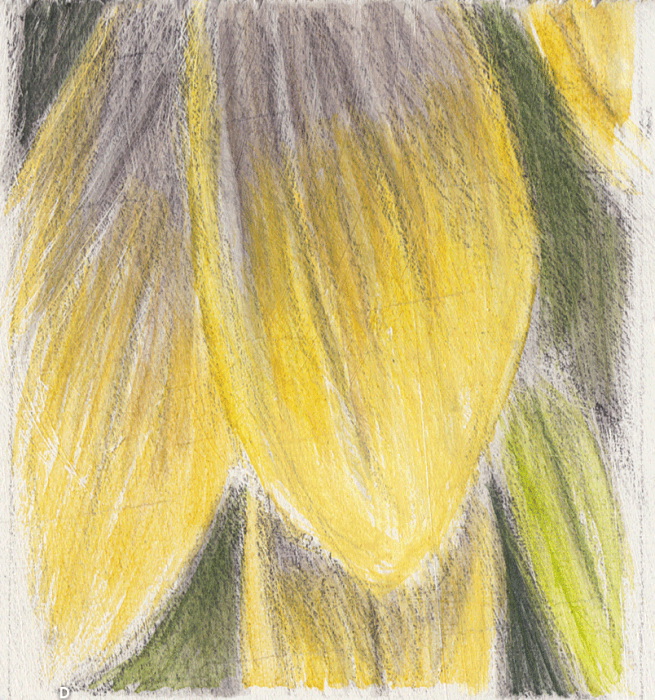
To create the underpainting, the darker areas are first blocked in. For example, in the beginning stages of the sunflower, the petals are blocked in with thin layers of violet mixed with black, as well as straight violet pigment. Once this underpainting is dry, different values of yellow, yellow ochre and vermillion are mixed and added. The lighter the color, the more opaque it will appear. Note where the lighter areas of yellow are placed; these areas have been mixed with white.
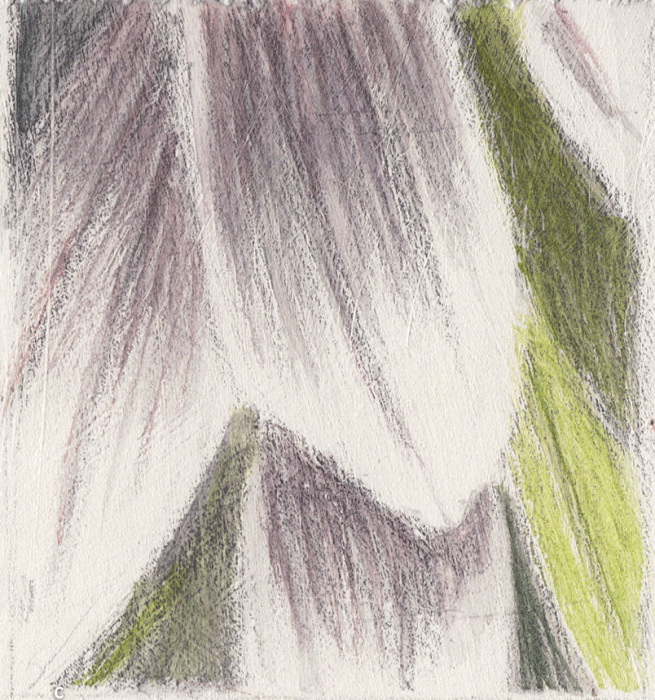
Blending with egg tempera is not achieved in the same manner as oil or acrylic painting. The paint values must be “blended” by overlays of linear strokes. Opalescence is achieved by the application of a light blue value over a darker one and the ink underdrawing in the tablecloth. To create a sense of depth, warm colors can be glazed over cool colors and cool colors can be glazed over warm colors. This can be seen in the vase, where layers of purple, green, and yellow are alternated.
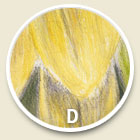
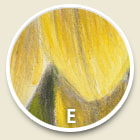
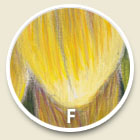
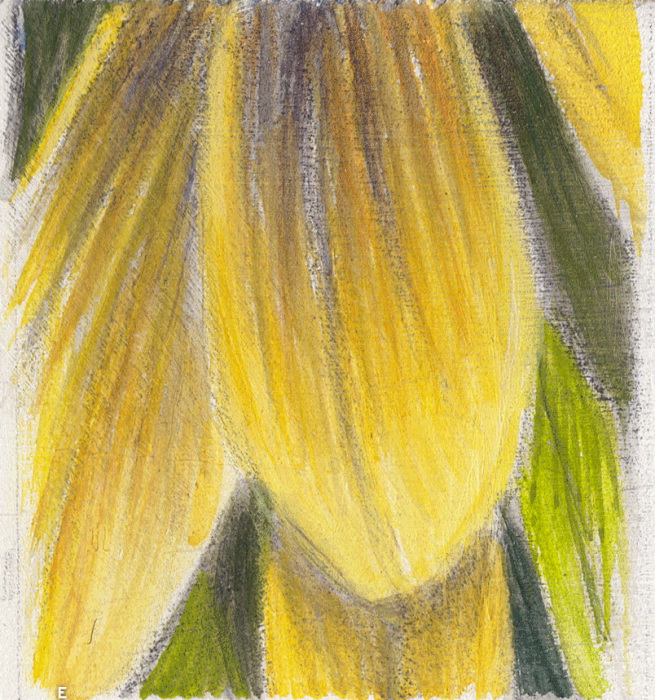
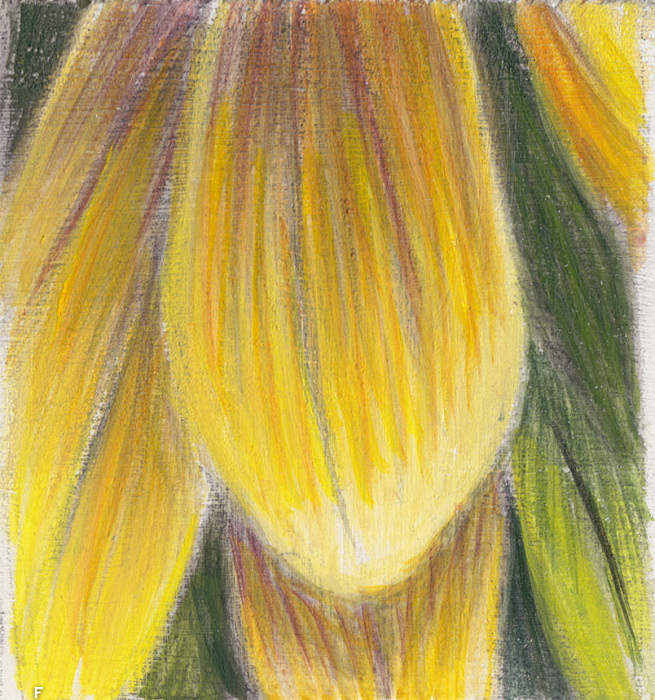
Steps for painting petals: A) Draw with a 8H pencil on gesso. B) Ink over the drawing in corresponding values. C) Apply thin glazes of ultramarine blue and vermillion, plus black in dark areas. D) Apply a thin layer of cadmium yellow and yellow ochre to the petals for a base coat of color; light green for leaf. E) Continue with a linear approach, applying different gradations of cadmium yellow, yellow ochre, and white. F) Add darker lines of violet and vermillion to form curve of the petal, and white to highlight the base and sides of the petal.
Painting with Egg Tempera
With egg tempera painting, small strokes of thinned color are applied almost in the manner that one handles a colored pencil. These small strokes of color are woven onto the picture plane through cross-hatching, glazing, and with tiny touches of more opaque paint. When thinning the tempered paint with more water, it is important to wipe the excess pigment on the brush onto a paper towel or cloth.
The tempera should be applied as dryly as possible to avoid the creation of “dots” of pigment. Dry brush applications of tempera are especially needed in the mid-stages of painting. Egg tempera is never applied heavily, as that would cause the paint to crack and flake off.
Glazing & Opacity
“Glazing” is one of the techniques used when painting with egg tempera. To create a glaze, thin, broad strokes of color are placed on top of another color (light red and blue placed over yellow ochre). The resulting effect is similar to that of watercolors and creates a jewel-like appearance.
Through various techniques, egg tempera can achieve opacity, translucency, and opalescence. When the same value and hue of a color are cross-hatched with thin lines of the same color on top of itself, the result is opacity (cobalt blue strokes placed upon a lower layer of cobalt blue). To create translucency, a dark glaze is applied over a lighter color or value (a layer of cobalt blue placed over yellow ochre). Opalescence is produced by placing a lighter color over a darker one (white strokes of paint placed over ultramarine blue). This creates a pearl-like effect in which thin strokes of light color help to emphasize light.
Masking
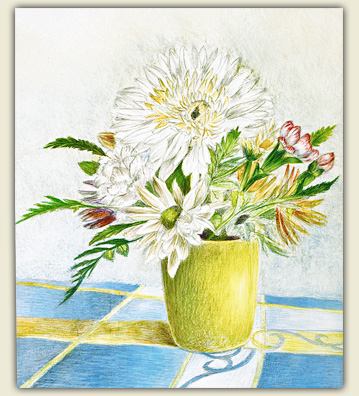
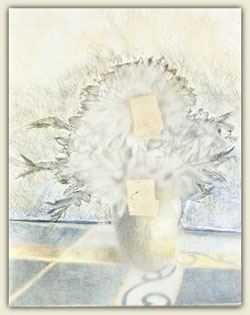
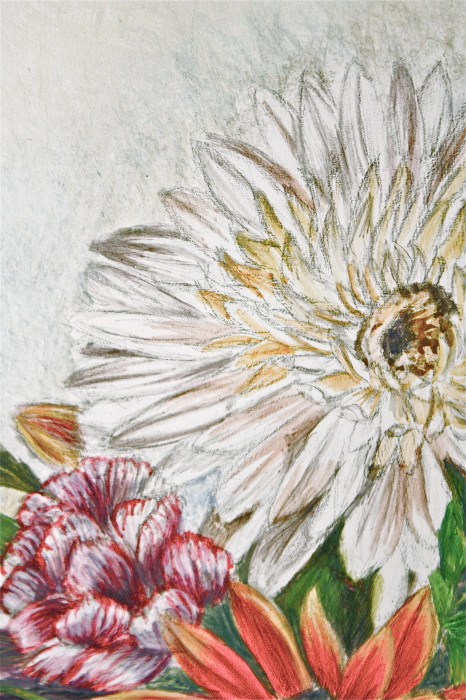
In this painting, a tracing paper mask was used to protect the foreground flower arrangement in the vase, as well as the tablecloth. Acid-free drafting tape was rolled sticky side up to adhere the back of the mask to the panel. The darker colors in the background were laid in thinly and broadly with a hake brush. Later, smaller strokes of white with yellow ochre were applied to bring up the lighter color and value.
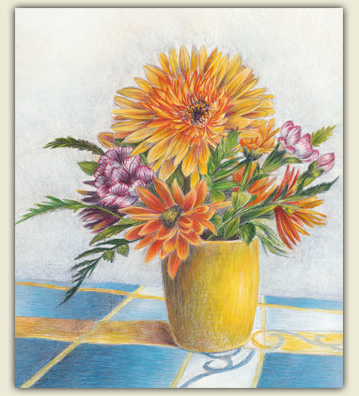
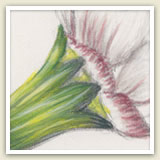
In this detail of a petal, a linear approach is utilized. Strong lines help to form the structure of the receptacle. The lightest values and colors (yellow and white) were applied last, as accents.
Lights and Darks
Egg tempera dries quickly, making it difficult to blend edges. Instead of blending the paint softly with a brush — as with oil painting — the different values of color must be mixed and applied near or on top of one another to create transitions in hue or value. The edges of different values can be “blended” by glazing or using linear strokes of color over an edge. For example, for the middle value of green in the leaves or the receptacle (the green area holding the petals), linear strokes of lighter green and yellow were used to bring up the lighter tones. It is akin to working with colored pencil, in that strokes of color are applied. Fine details can be added with a liner brush or brush sizes (0 -1). The fine lines can help delineate an object and also create areas of light values.
Overall, tempera has a cooler color range than oils. With egg tempera, it is not possible to achieve the deeper, warmer blacks of oil paint.
Finishing an Egg Tempera Painting
Egg tempera paintings take approximately six months to one year to dry completely. Unlike oil paintings and acrylic paintings, egg tempera paintings are usually not varnished. Varnish would drastically alter the appearance of the tempera painting, so most tempera painters avoid it. Some tempera painters frame their paintings by placing them under glass.
Thank you to Diane Savino, who contributed this page and based the information upon her work, and David Haas for most of the photographs.