|
Choose: |
|
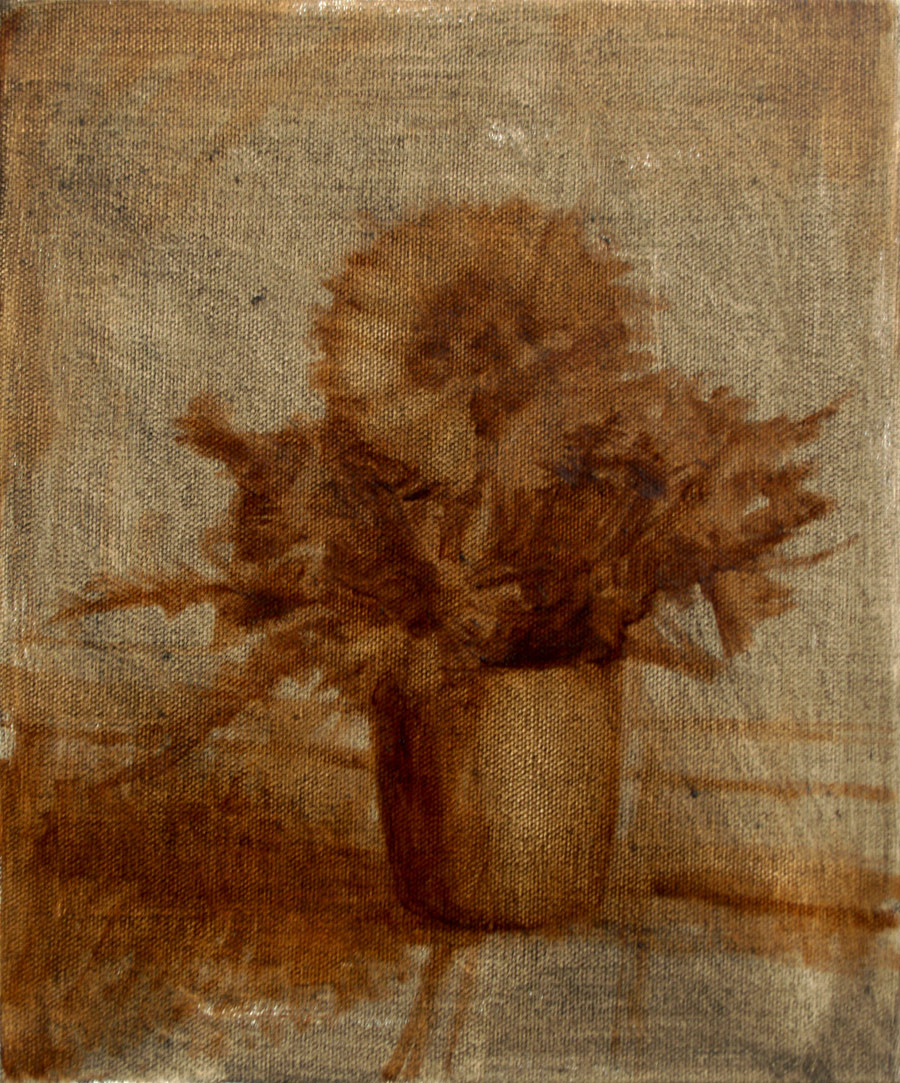
Watch Still Life with Flowers (oil on canvas, Ursula Andrejczuk, 2009) come to life by clicking on the 12 stages to the left of the picture. |
|
Oil paints are a popular medium due in part to their versatility and archival properties. Oil paintings often possess an unsurpassed richness, depth and luminosity that lends itself well for capturing highly realistic objects and scenes. Oil paints became popularly used in the 15th century in Europe, and many of these paintings exist today with the same vibrancy and color saturation as they had when they were first created.
Colors used to paint the floral still life (from upper right, counterclockwise): titanium white (opaque), cadmium lemon (cool yellow, opaque), cadmium yellow (warm yellow, opaque), cadmium red (warm red, opaque), ultramarine blue (transparent), alizarin crimson (cool red, transparent), burnt umber (earth pigment, transparent), raw umber (earth pigment, transparent).
What are Oil Paints?
Oil paints are comprised of pigments ground with oils, most commonly linseed oil. The mixture of pigment and oil is then dried to the consistency of butter, causing the applied paint to dry slowly without changes in color intensity. When oil oxidizes, it forms a solid film that binds the pigments, allowing oil paintings to be enjoyed for hundreds of years.
Oil paints may be used on their own, or their properties may be modified by adding various mediums, such as linseed oil and turpentine (or its non-toxic equivalent). Oil paints may be used to paint in thin, semitransparent layers or thick, sculpted impasto. When painting with oils, an almost infinite number of colors can be created from a relatively small group of basic pigments.
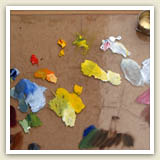
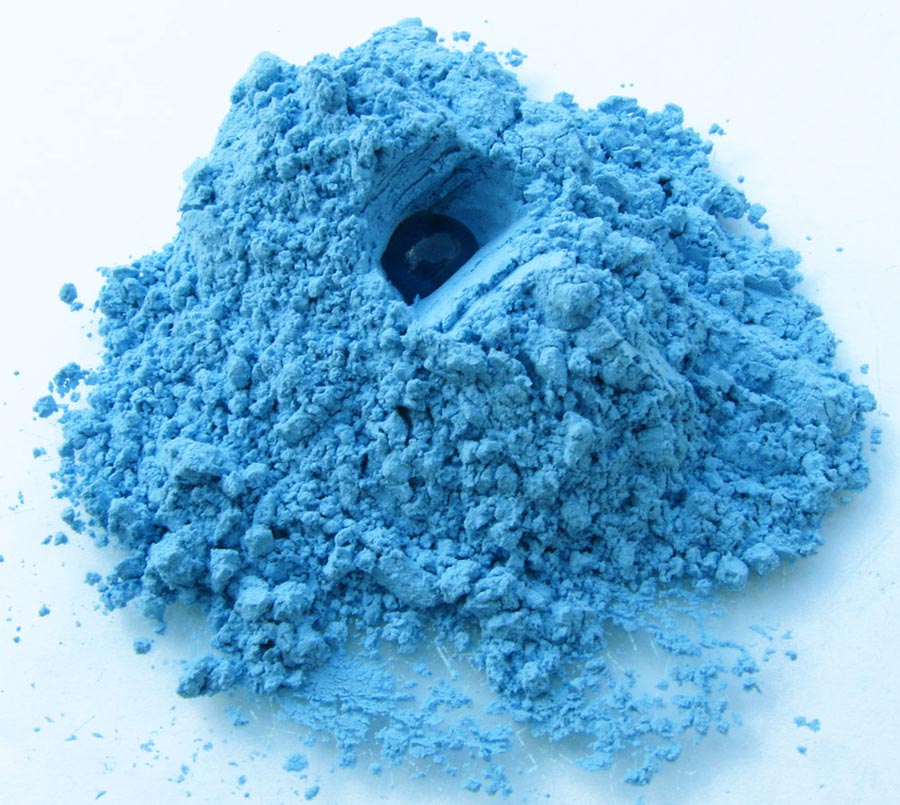
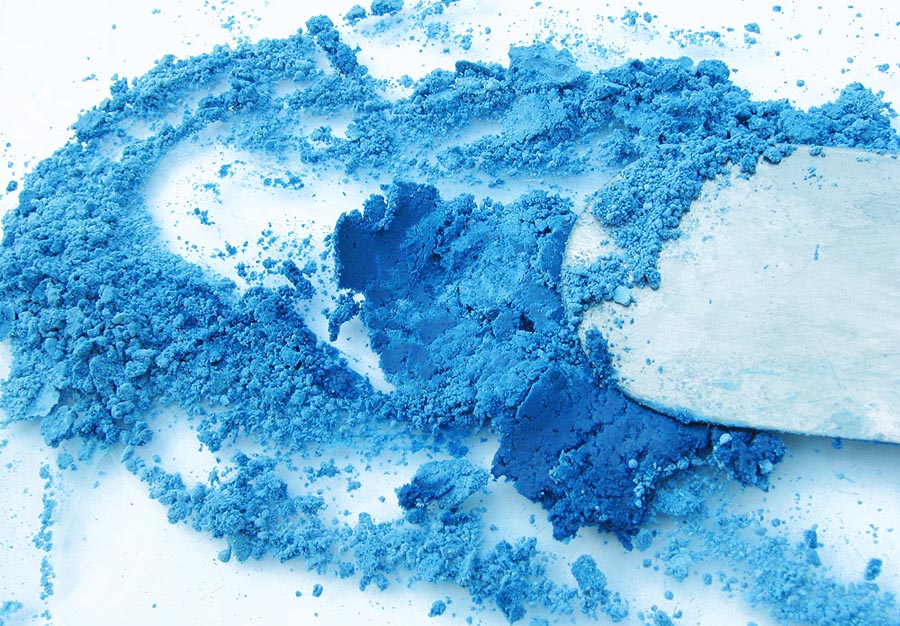
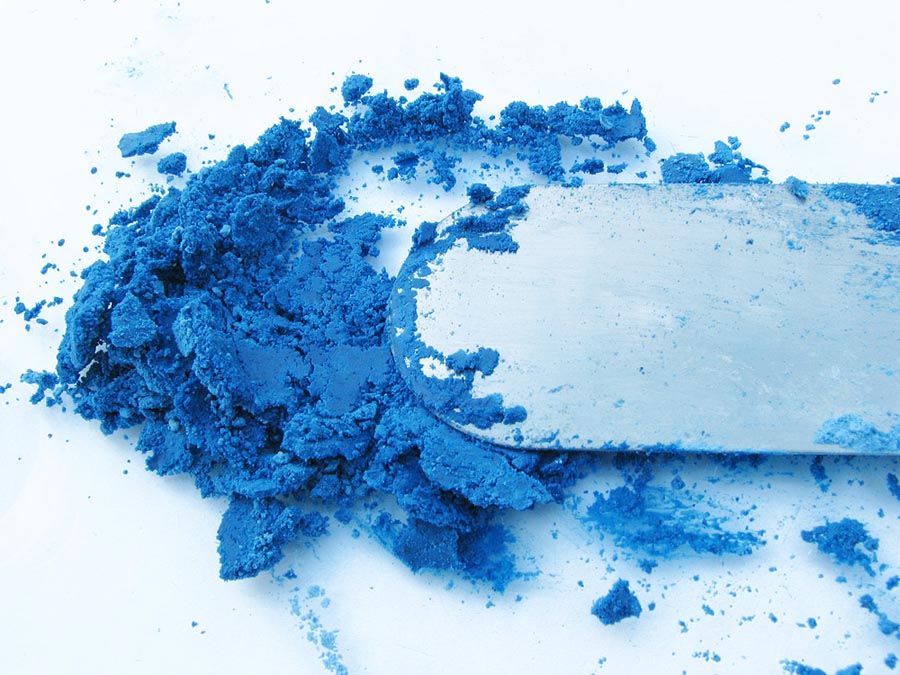
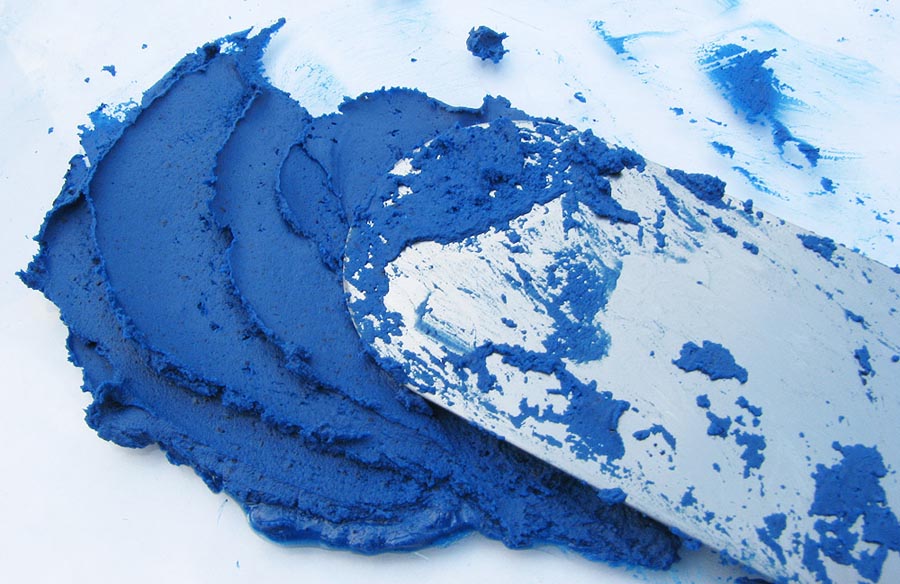
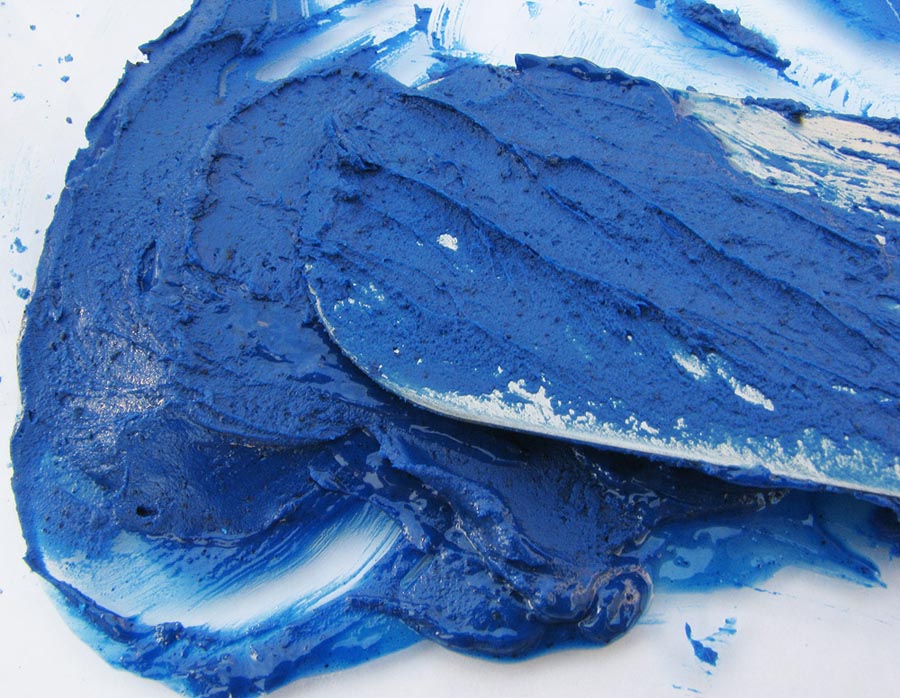
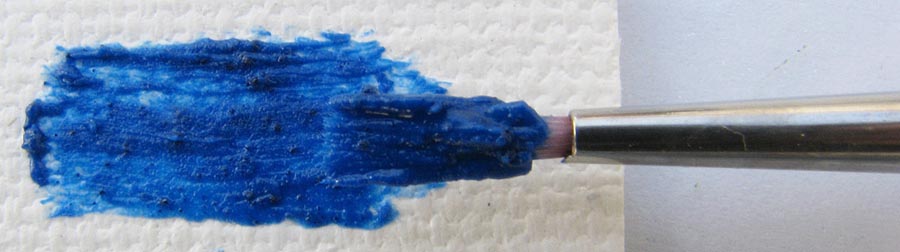
Making oil paint is very easy. The main necessary materials for artists to make their own oil paints are powdered pigment and an oil, such as linseed oil or walnut oil. These are mixed together using a spatula on a glass surface until they are thoroughly ground together. Check out the steps for making oil paints below.
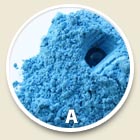
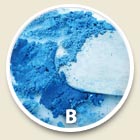
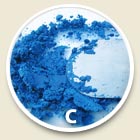
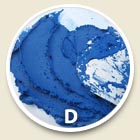
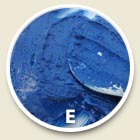
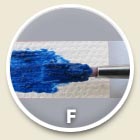
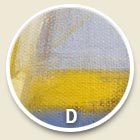
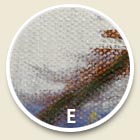
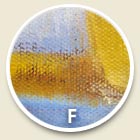
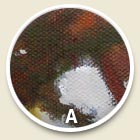
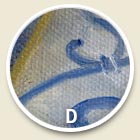
A) Place a pile of pigment on a glass surface. Make a hole in the center and add a small amount of oil (such as linseed oil or walnut oil). B) Mix the oil and pigment with a spatula. C) Continue to mix, adding more oil if necessary. D) As the pigments become more mixed with the oil, it becomes darker. E) The mixed paint has a buttery consistency. F) The oil paint applied to canvas.
Oil Painting Supplies
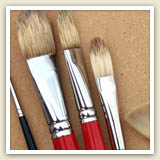
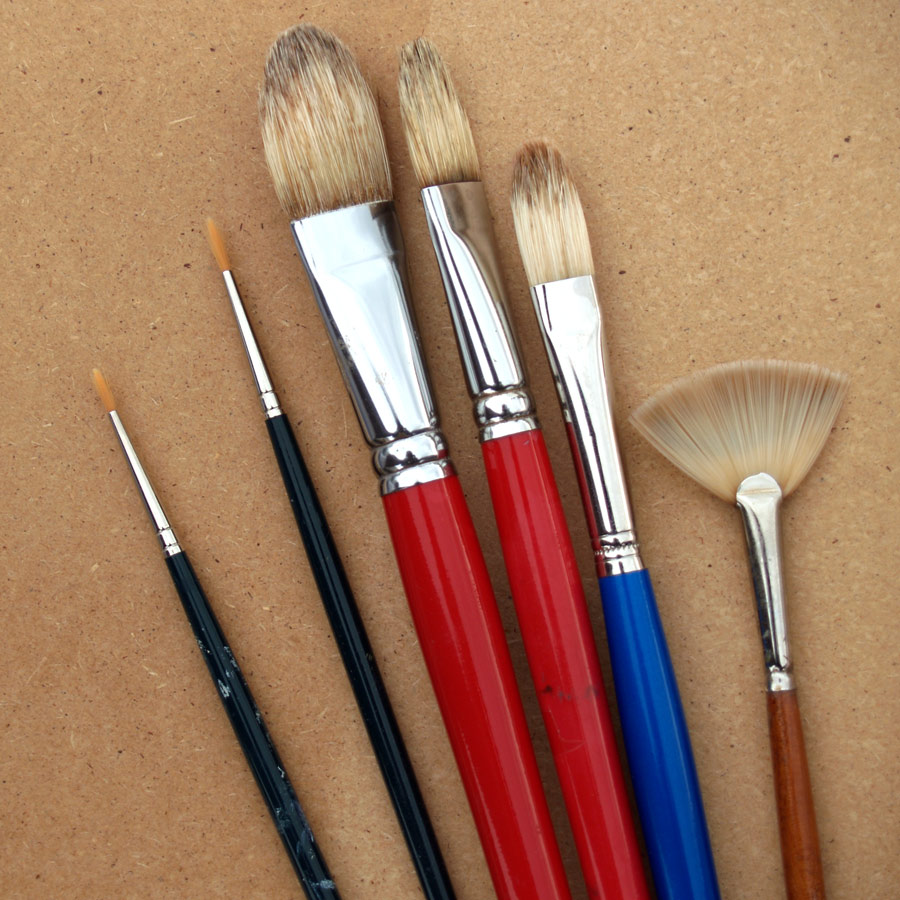
The most essential oil painting supplies are oil paints, paintbrushes, and a painting surface. An artist only needs a few tubes of oil paint in basic colors, such as white, yellow, blue, red, black, and an earth color. Most colors can be mixed from these basic colors. There are several different types of brushes that can be used for oil painting, depending on which type of technique you would like to use. Palette knifes can also be used to apply the oil paint to the surface. Additional oil painting supplies include linseed oil, turpentine or mineral spirits for cleanup, and 2 small glass jars or metal containers to keep a small amount of mediums while painting. Paper towels are also handy for cleanup.
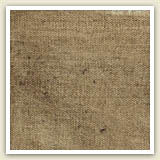
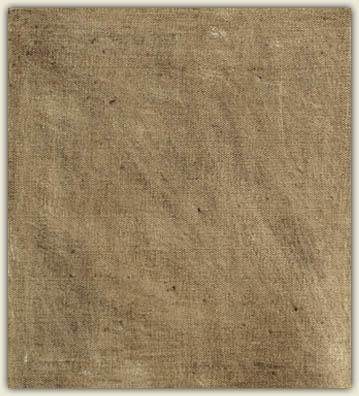
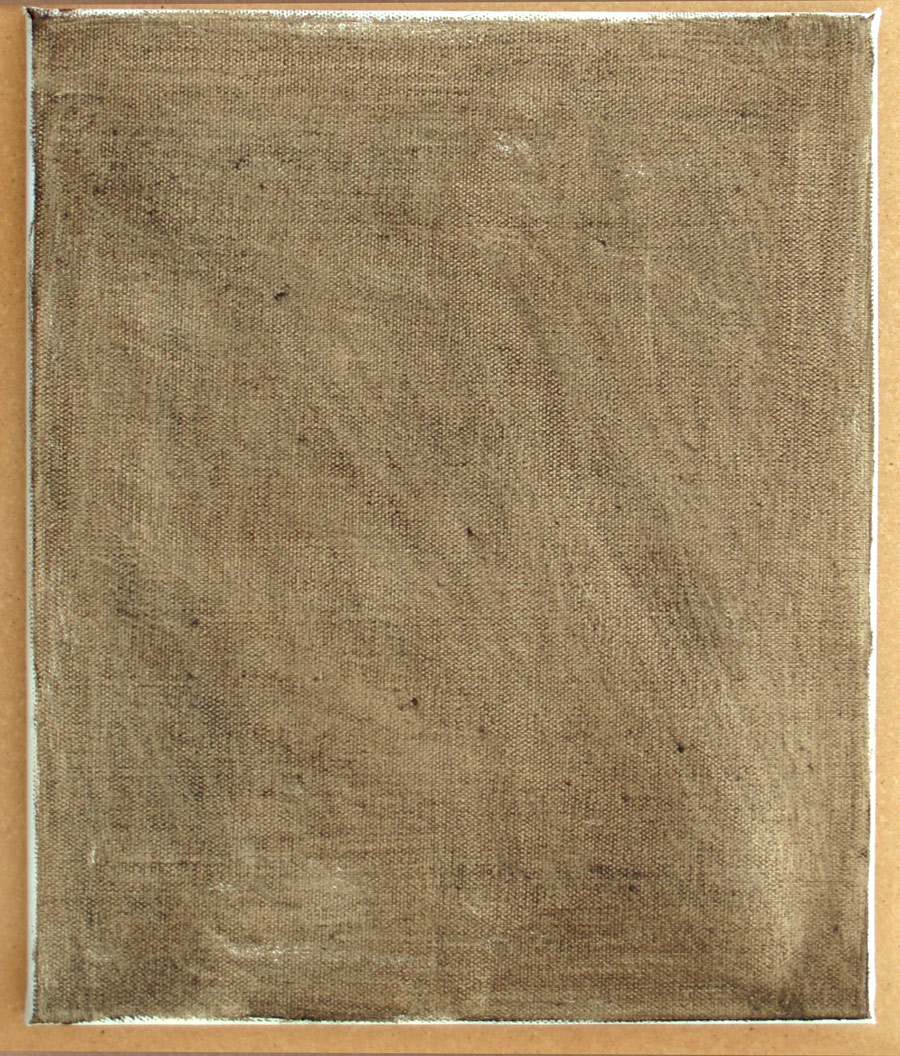
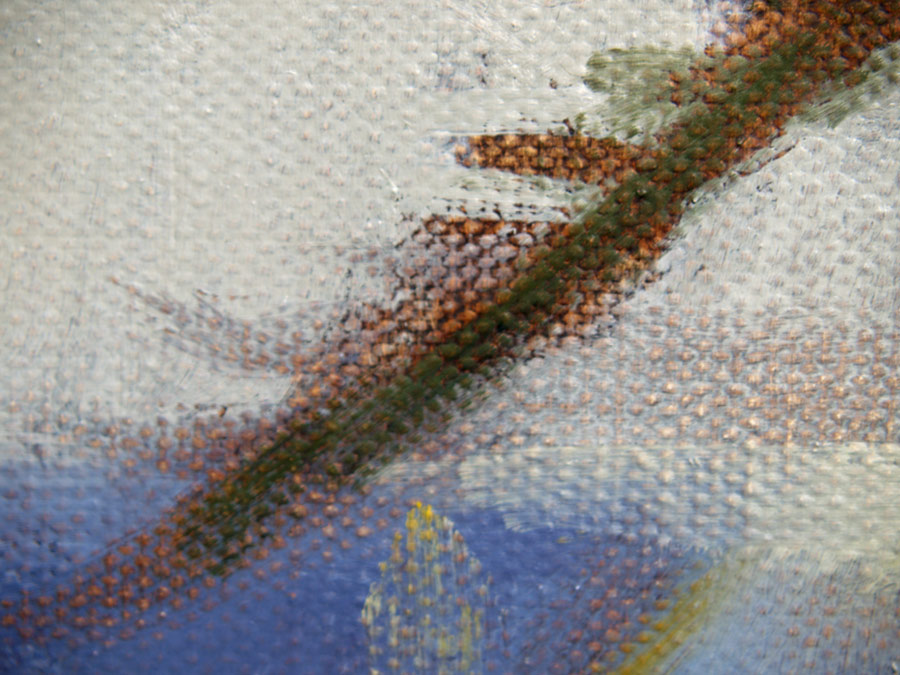
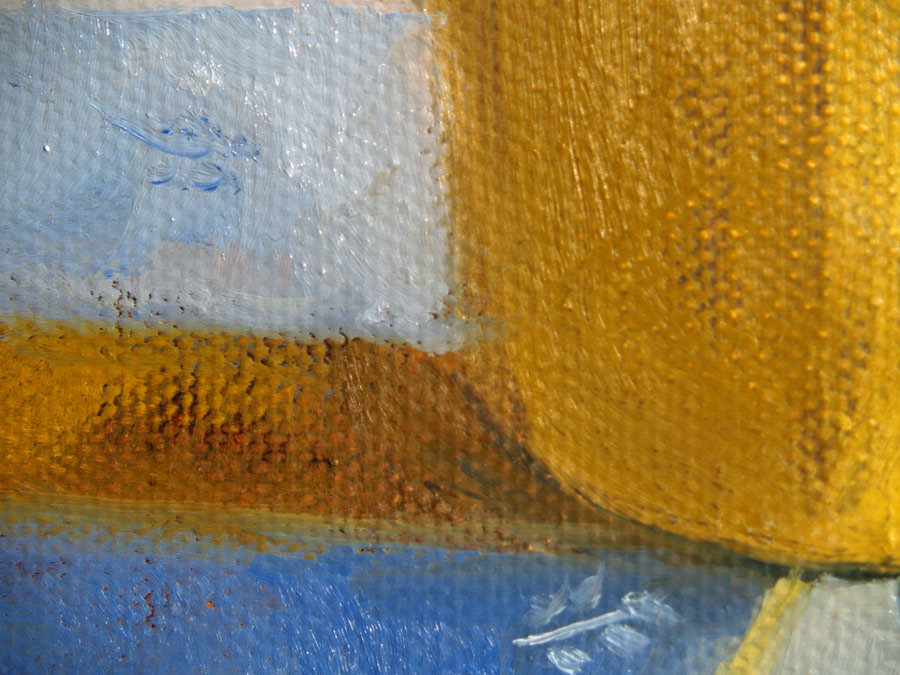
The stretched cotton canvas is painted with oil-based ground. Next it is tinted with burnt umber and ultramarine blue thinned with turpentine.
Preparing the Surface
Oils can be painted on surfaces such as canvas (linen or cotton), wood, Masonite, or even paper. It’s important that the surface is sealed with rabbit skin glue and painted with gesso; this helps prevent the migration of the oil from the paint to the ground and helps the paints adhere more easily to the surface.
An oil painting is typically started by painting the surface with a neutral, transparent color. This underpainting is called imprimatura and was traditionally used to speed up the process of painting. For this painting, the middle value of the color scheme was chosen as the imprimatura.
|
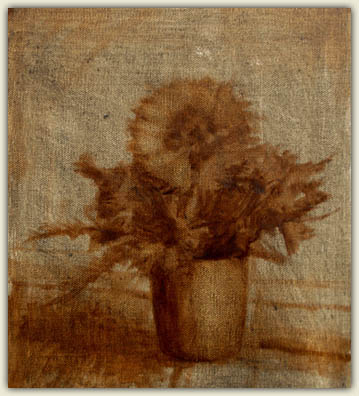
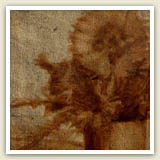
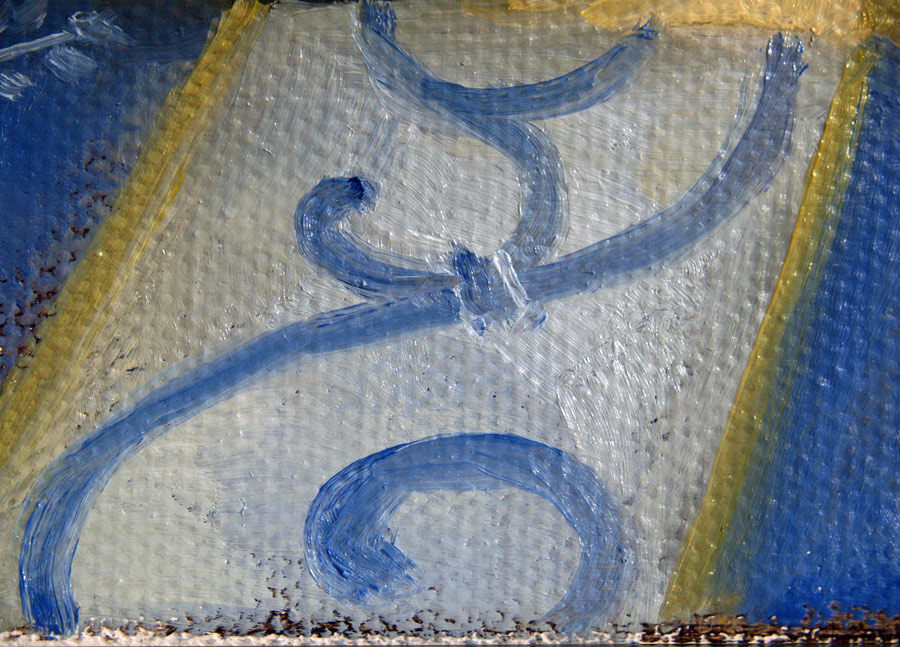
Start with painting basic shapes and main areas of light and shadow using one color (here burnt umber thinned with turpentine). The lights may be wiped off with a paper towel. |
The paint is diluted with turpentine, making it more transparent and speeding up the drying time. |

Establishing the Composition
To start the painting, the outline of the flowers, vase and table are quickly blocked in using burnt and raw umber. This establishes the composition of the painting and indicates the lights and darks in the composition (also known as “values”). At this point, the objective is to capture the main idea of the painting (the most important shapes and dominant values) rather than focus on details. This is similar to the underpainting technique used when beginning a painting in acrylics, except in the case of oils, the underpainting is entirely monochromatic.
It is advisable to use pure thinner in initial layers (it speeds up the drying time), but when the work progresses, the subsequent layers should have less thinner and more oil or no medium at all. In general: upper layers should be fatter then those underneath. This rule is called fat over lean. Why is it important? Lean layers (that dry quickly because they contain very little oil content) will crack if put over fat layers (which are slow-drying and oily).
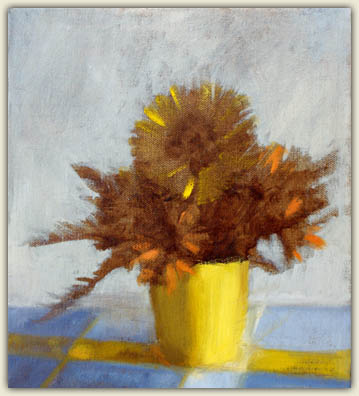
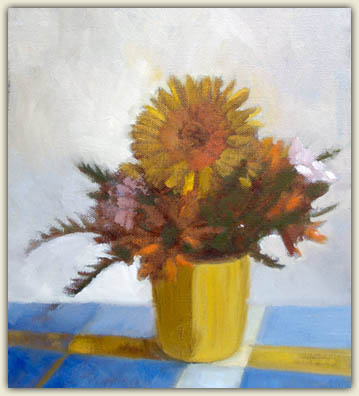
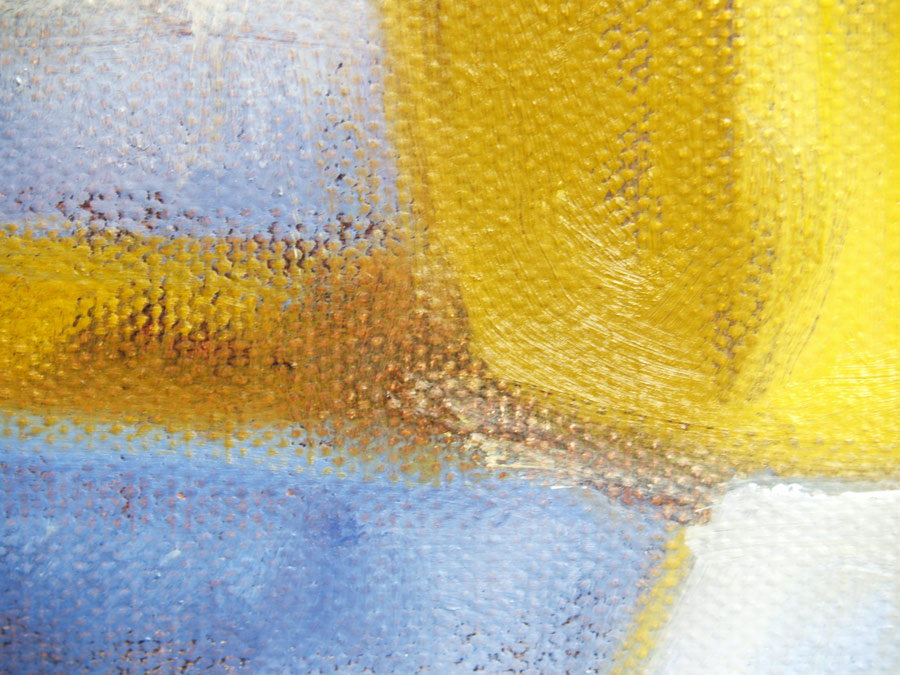
Blocking the Colors
After quickly defining the basic values of the composition, the next step is to bring the painting to life by building up the appropriate layers of color. This method of working is also used when creating acrylic or pastel paintings.
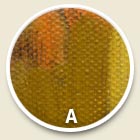
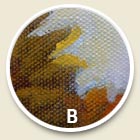
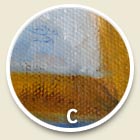
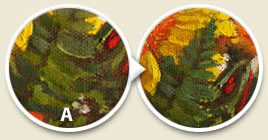
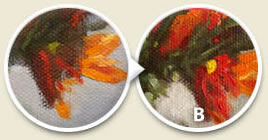
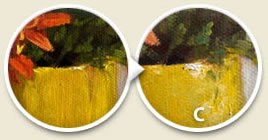
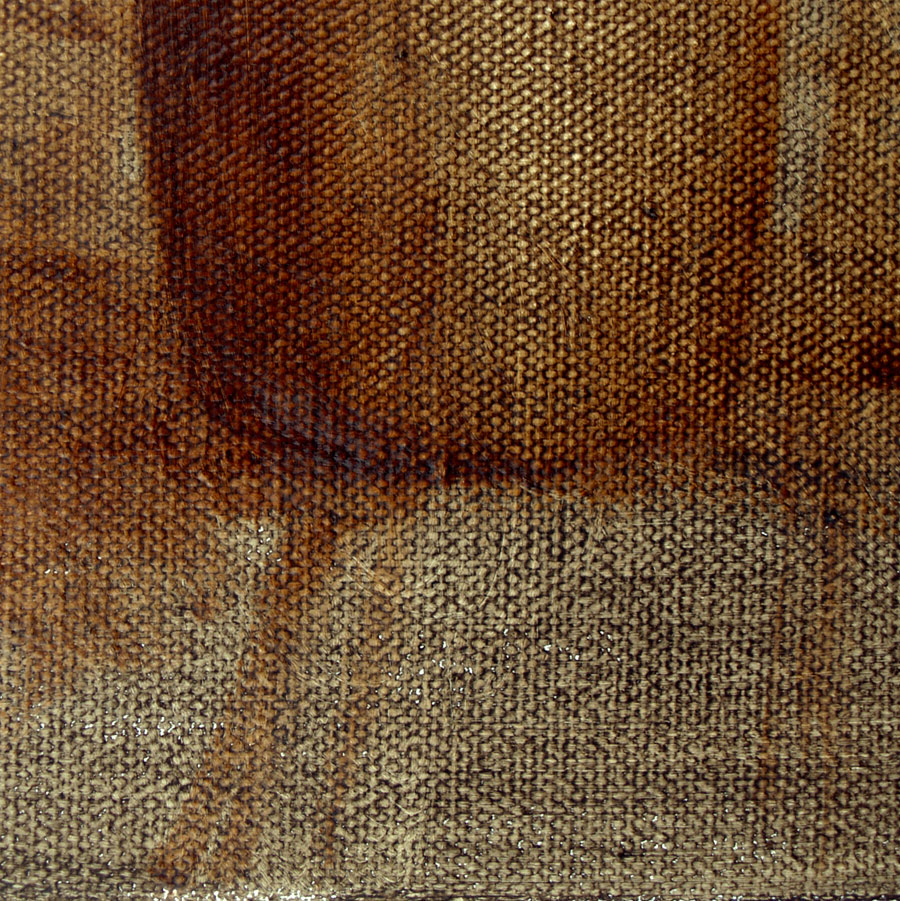
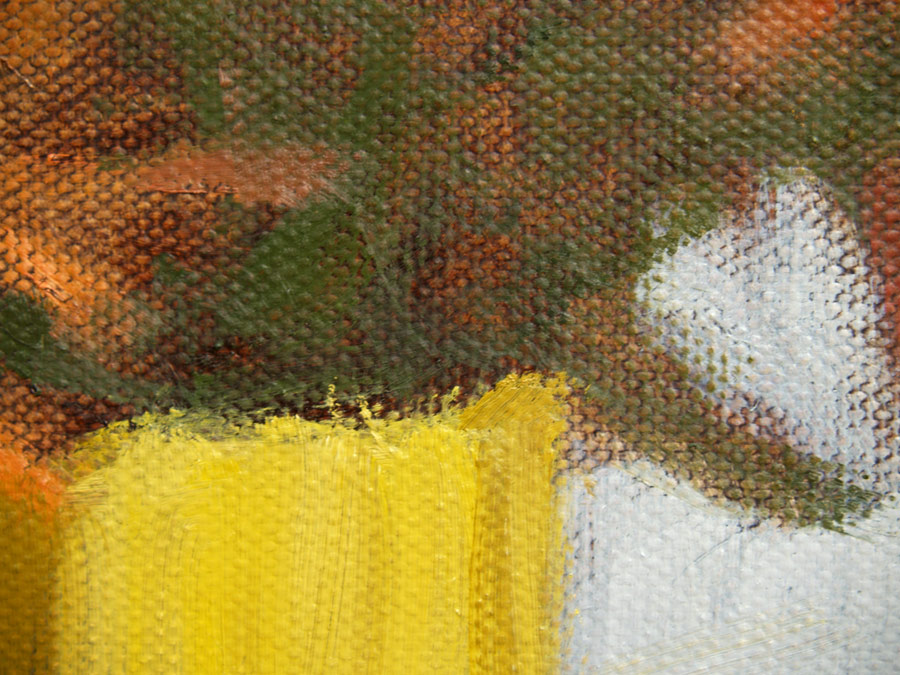
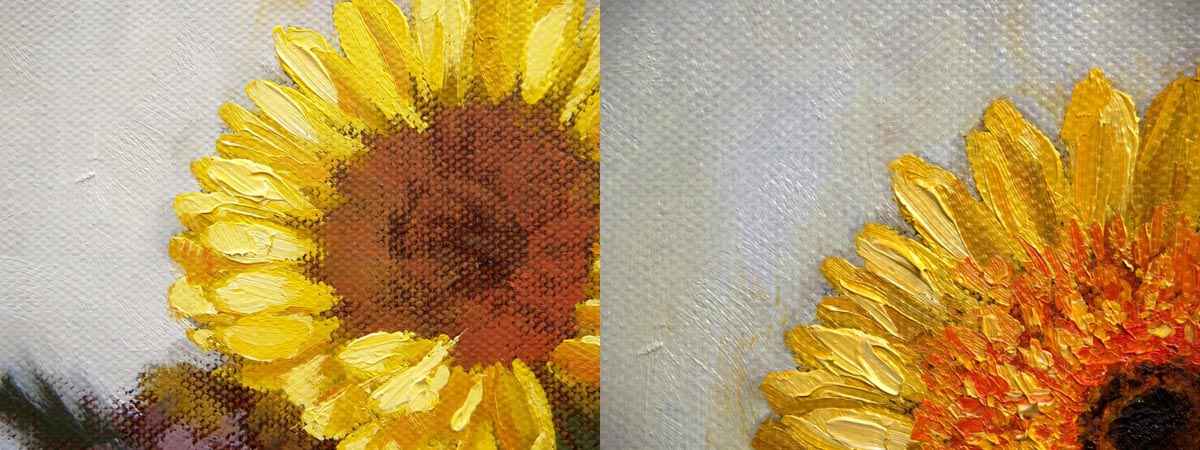
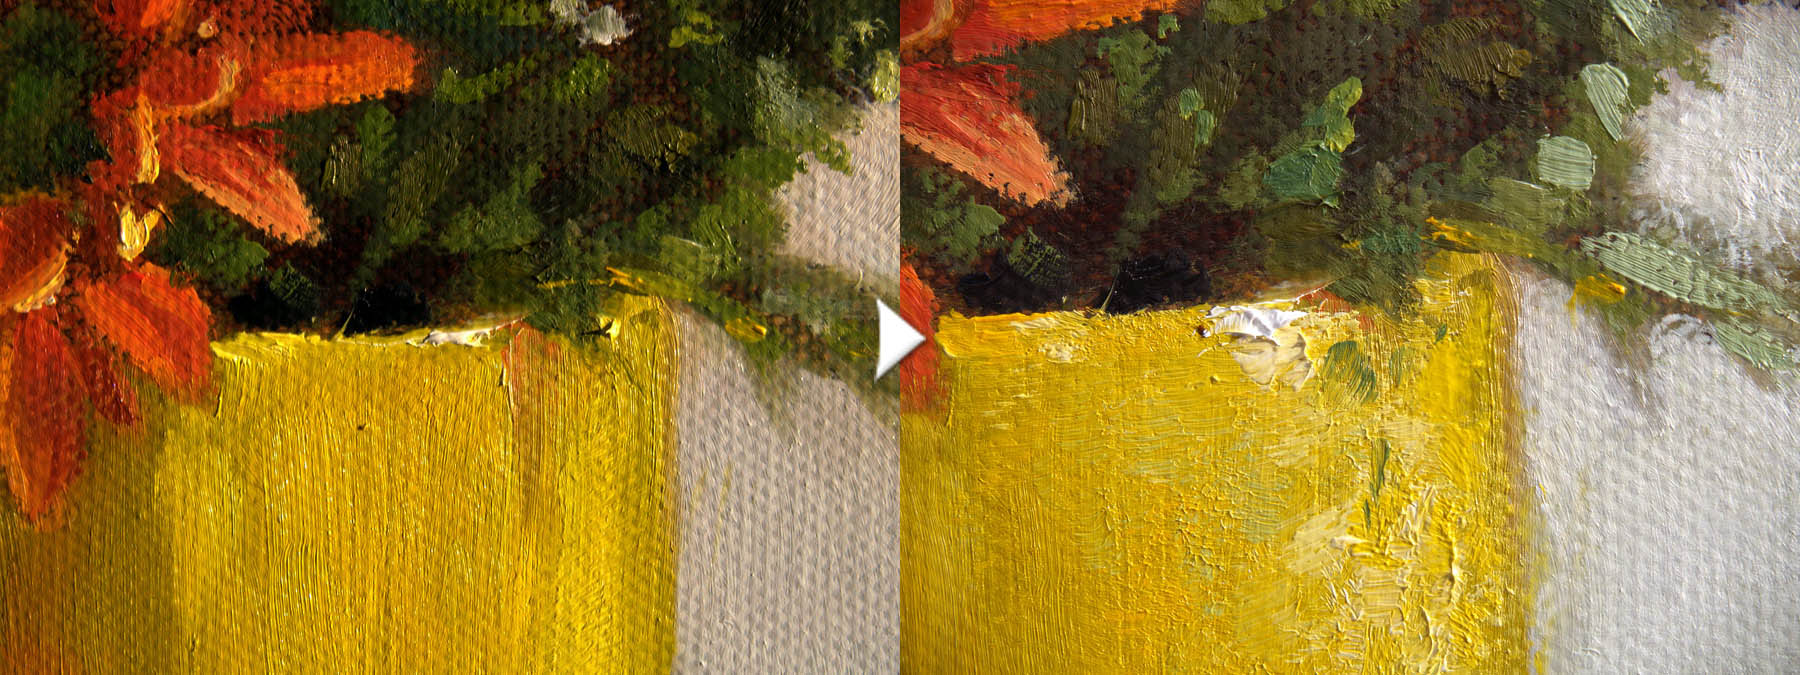
These photos demonstrate how all of the major elements of the bouquet are roughly blocked with thinned paint. For example, the yellow stripes on the cloth and pot are painted thinly with a clean brush and a mixture of cadmium yellow and raw umber.
At this point everything is kept loose. For example, notice that in (B) to (F), edges of the elements are soft and don’t always follow the underlying drawing. Should you always start loose? Not necessarily. It depends more upon your style and underlying “philosophy” than on technique. Oil paints are versatile, in that you can use them in an undefined, painterly manner or you can paint tightly by hiding any signs of brushstrokes and blending the colors seamlessly. These qualities are shared by acrylics and to some degree, watercolors.
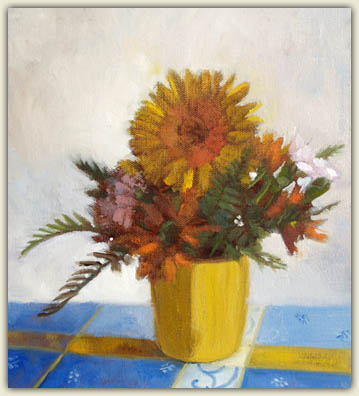
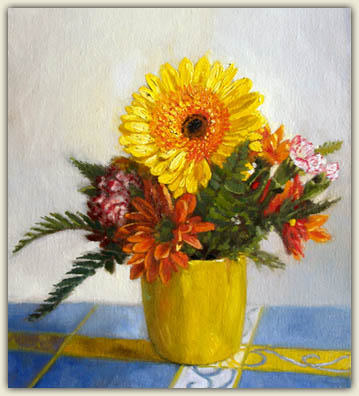
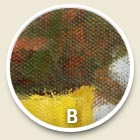
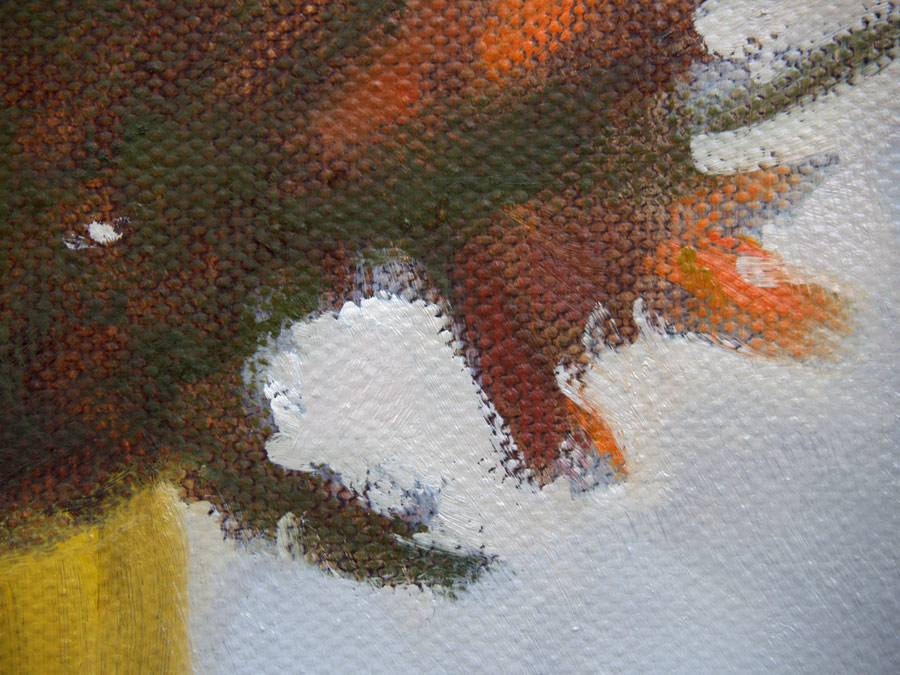
After the initial layers have dried, work continues on the cloth, white background, and some of the petals. More detail is added to the leaves and to some of the designs on the cloth.
The paint is now mixed with a touch of oil and applied in thicker brush strokes, especially where light hits the object in (B) and (C). Dark passages are painted using thin transparent or semi-opaque layers, resulting in shadows that are deep and rich.
Later, the pattern on the cloth will be checked to ensure that it’s not competing with the flowers. Oil paints are very forgiving; when the paint is still wet it can be wiped off, or when it’s dry it can be painted over. However, it’s important to resist the temptation to brush new paint into existing wet paint, as the result may look muddy. Instead, the proper technique is to load brush with paint and touch (but not smear) the area you want to repaint.
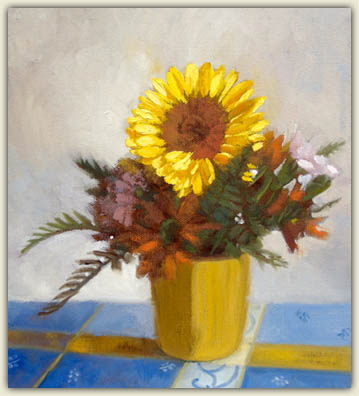
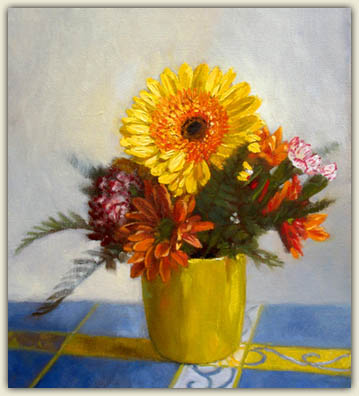
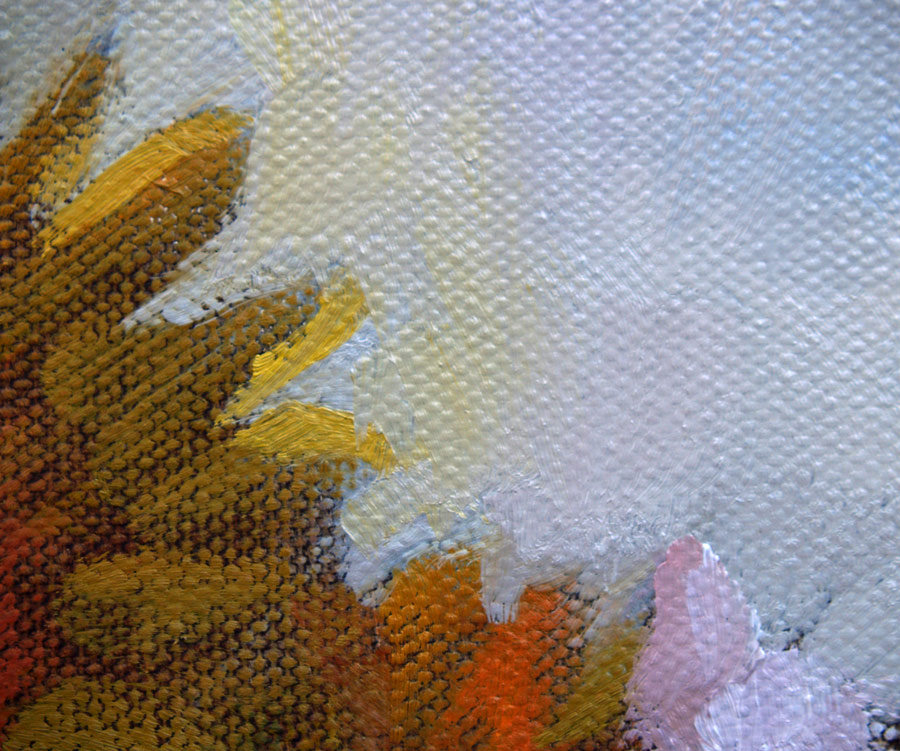
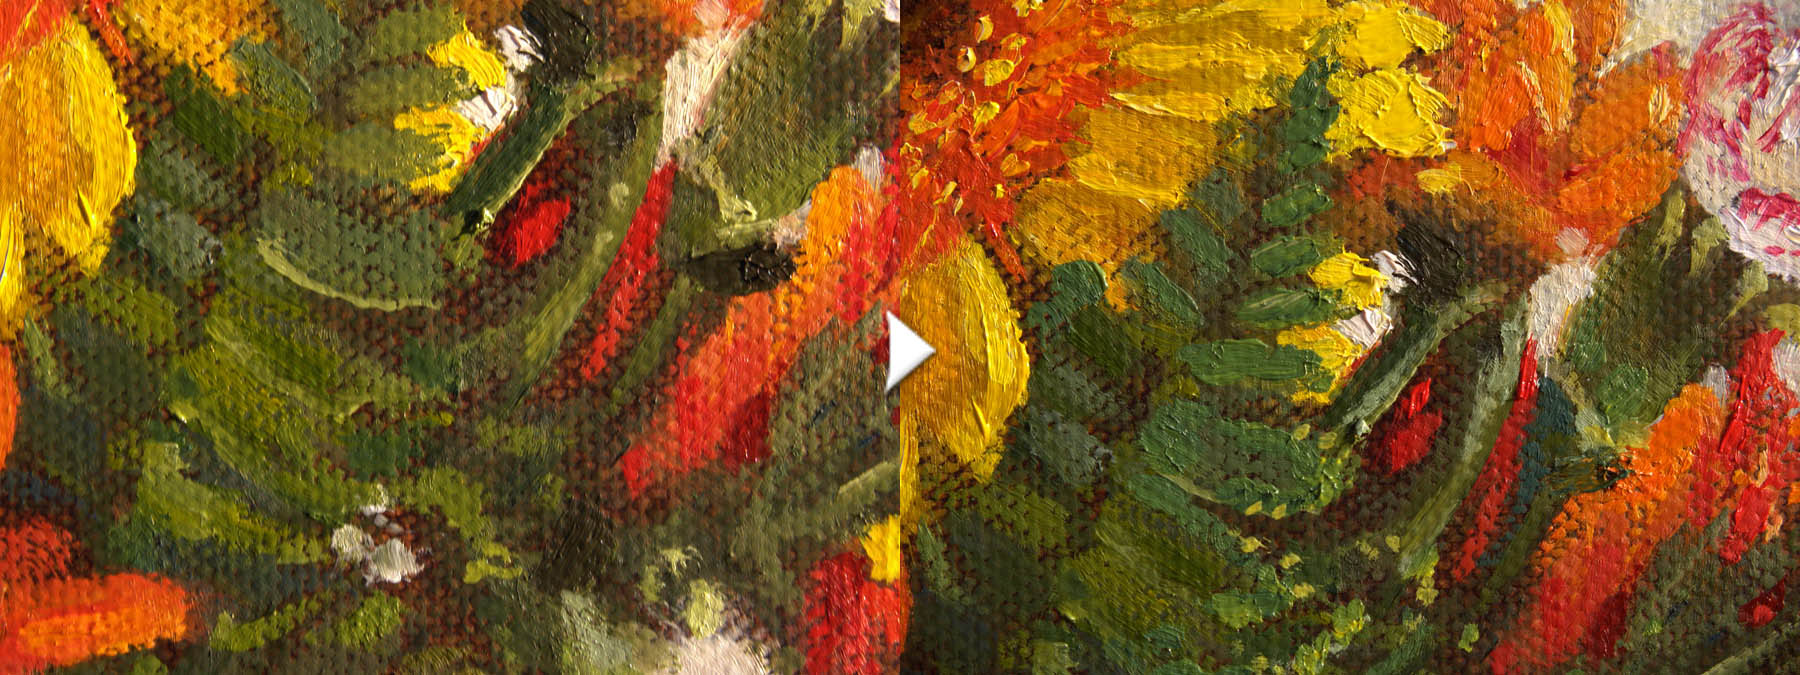
Working Alla Prima
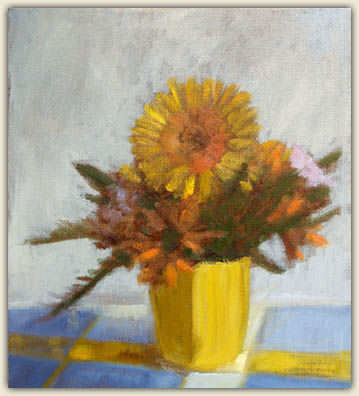
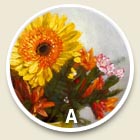
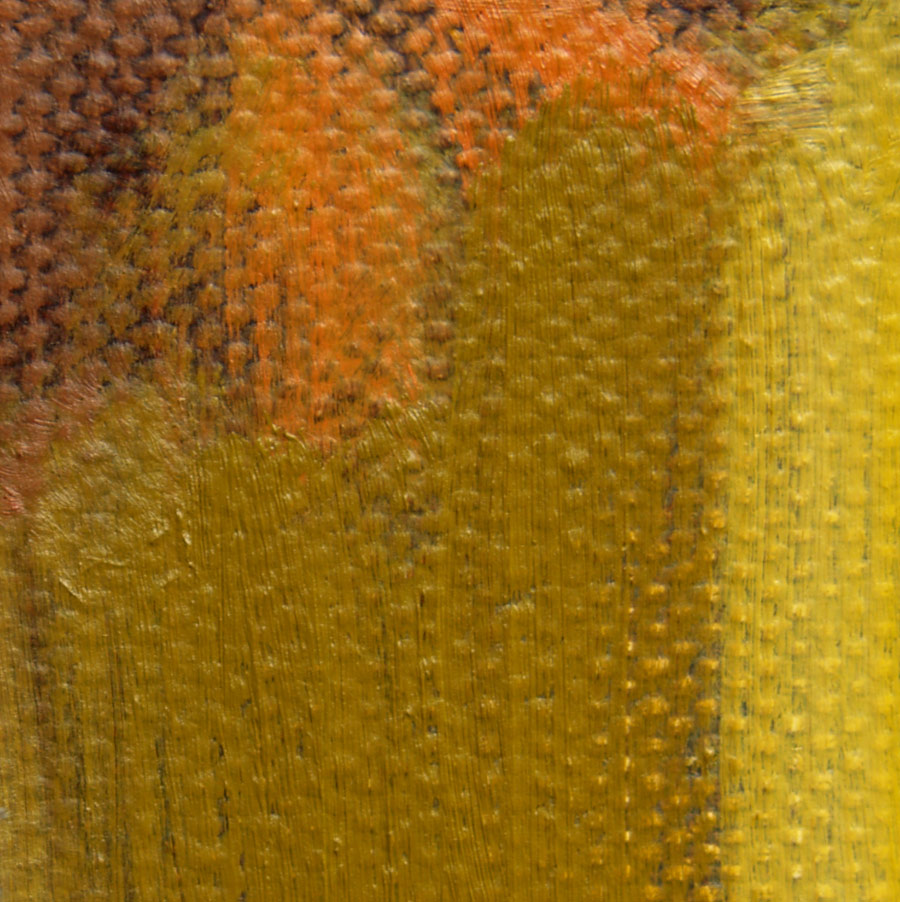
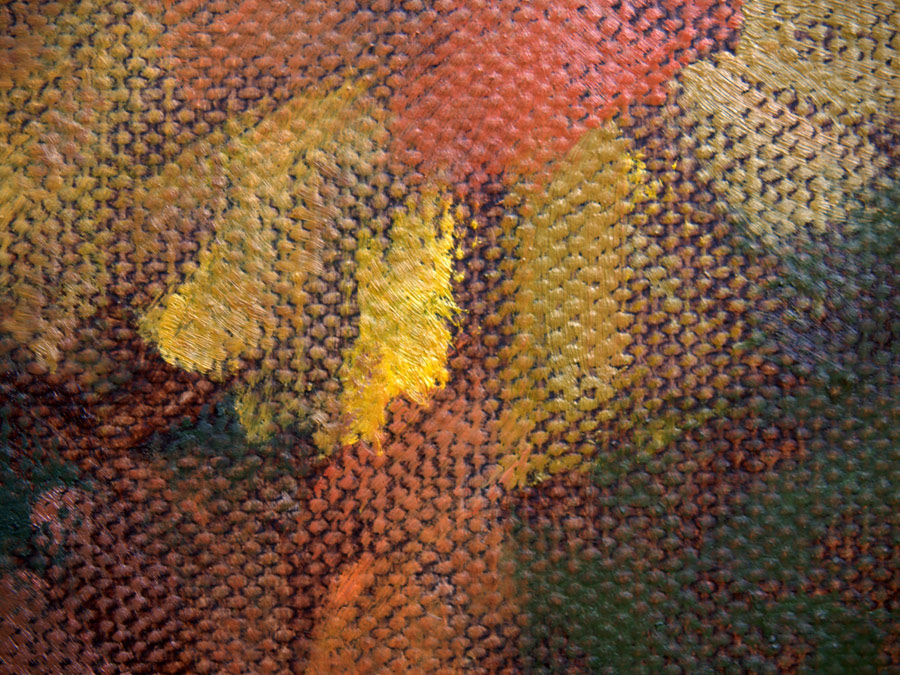
The petals of the yellow and orange flowers are painted in a direct, expressive style, with minimal preparation. The Italian term “alla prima” (meaning “at once”) is used to describe a technique where an entire picture or its fragments are painted in one session while the paint is still wet. Under this technique, paint is applied loosely, “purposely messy,” and usually thickly, using harder brushes with longer bristles and palette knives that can be loaded with a lot of paint. Colors are mixed on the canvas as well as on the palette. The result looks vivid and spontaneous. What subject would lend itself perfectly to the alla prima technique?
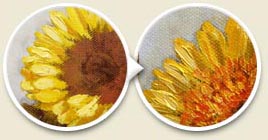
The big yellow petals are painted using various mixtures of titanium white, cadmium lemon, cadmium yellow and cadmium red. In some areas, the dark yellow underpainting is left untouched, helping to create the illusion of depth. Small orange petals are then painted using the same colors. Notice how the size of the brush strokes has changed to suggest greater texture.
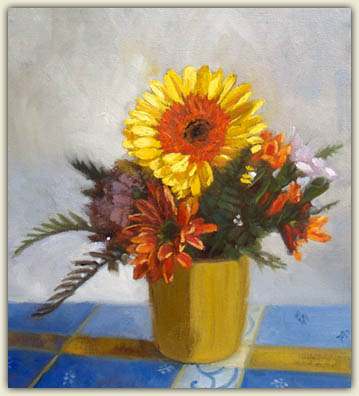
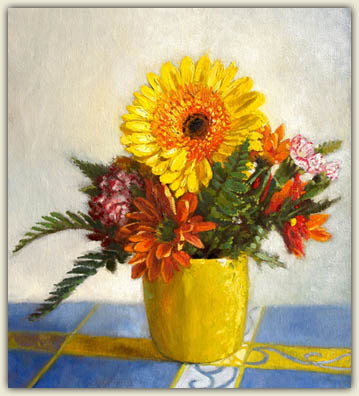
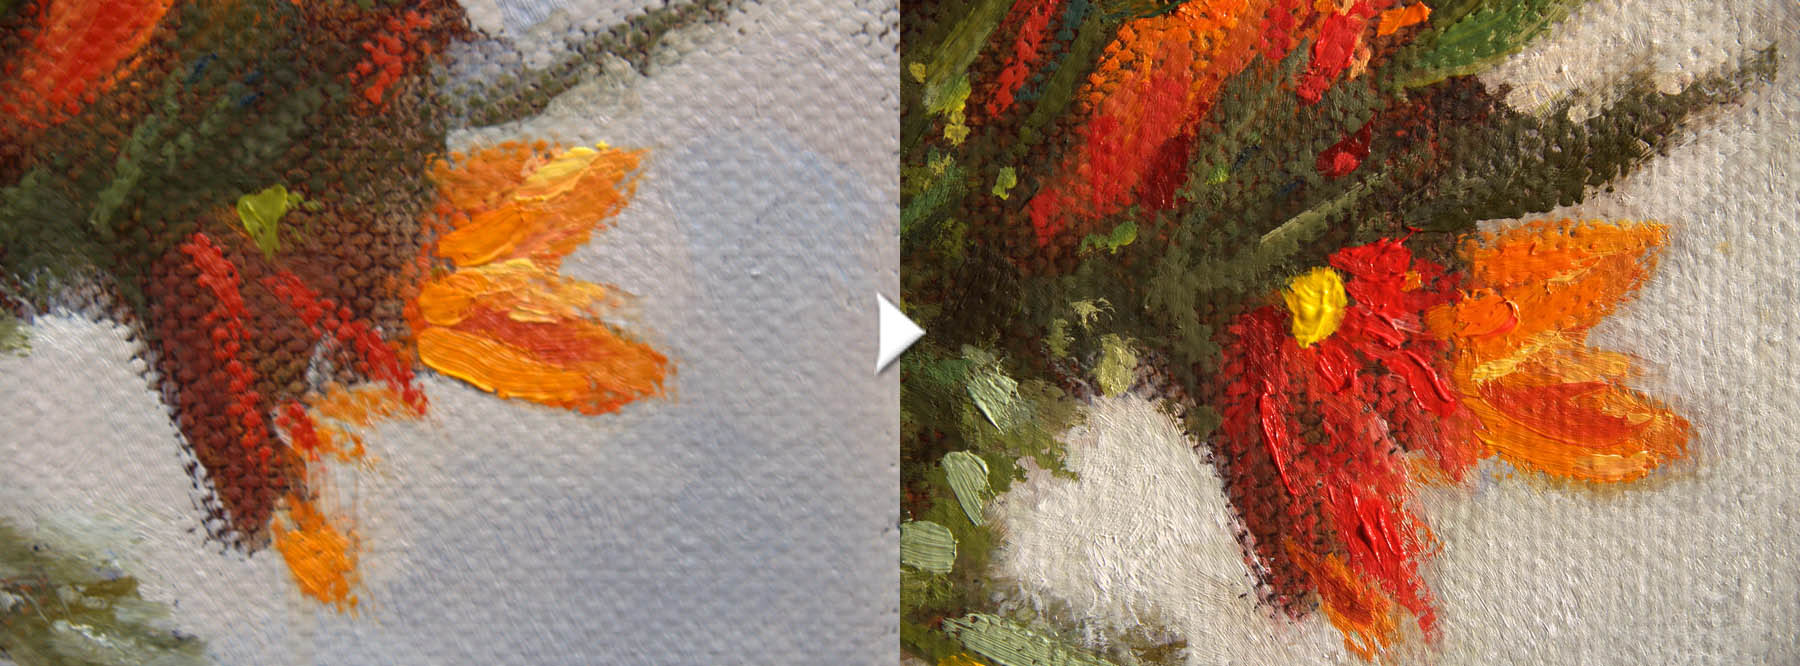
Glazing and Scumbling
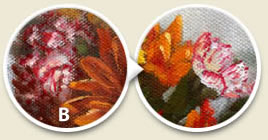
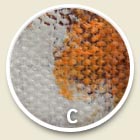
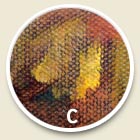
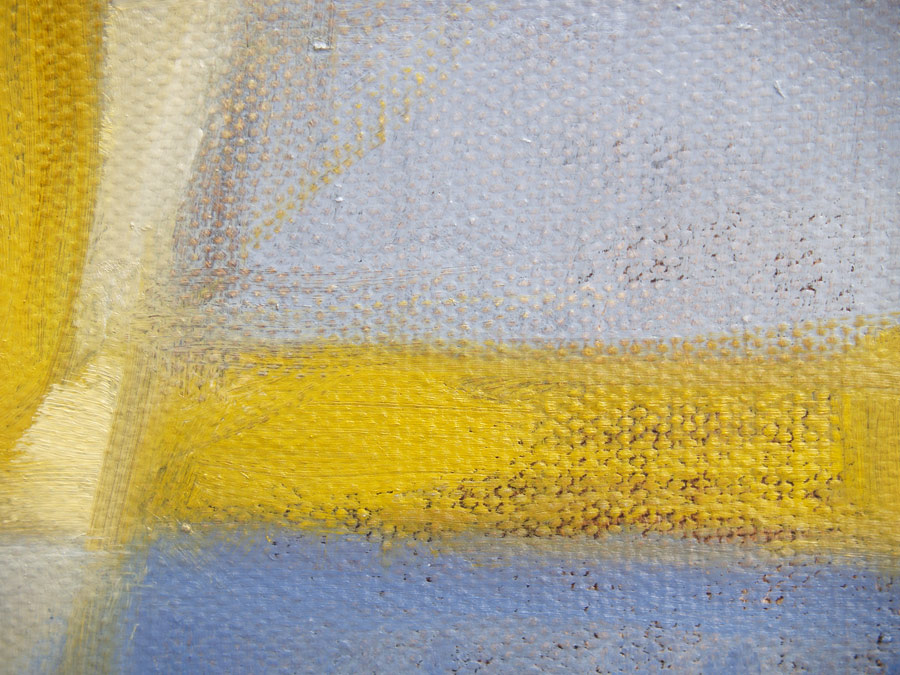
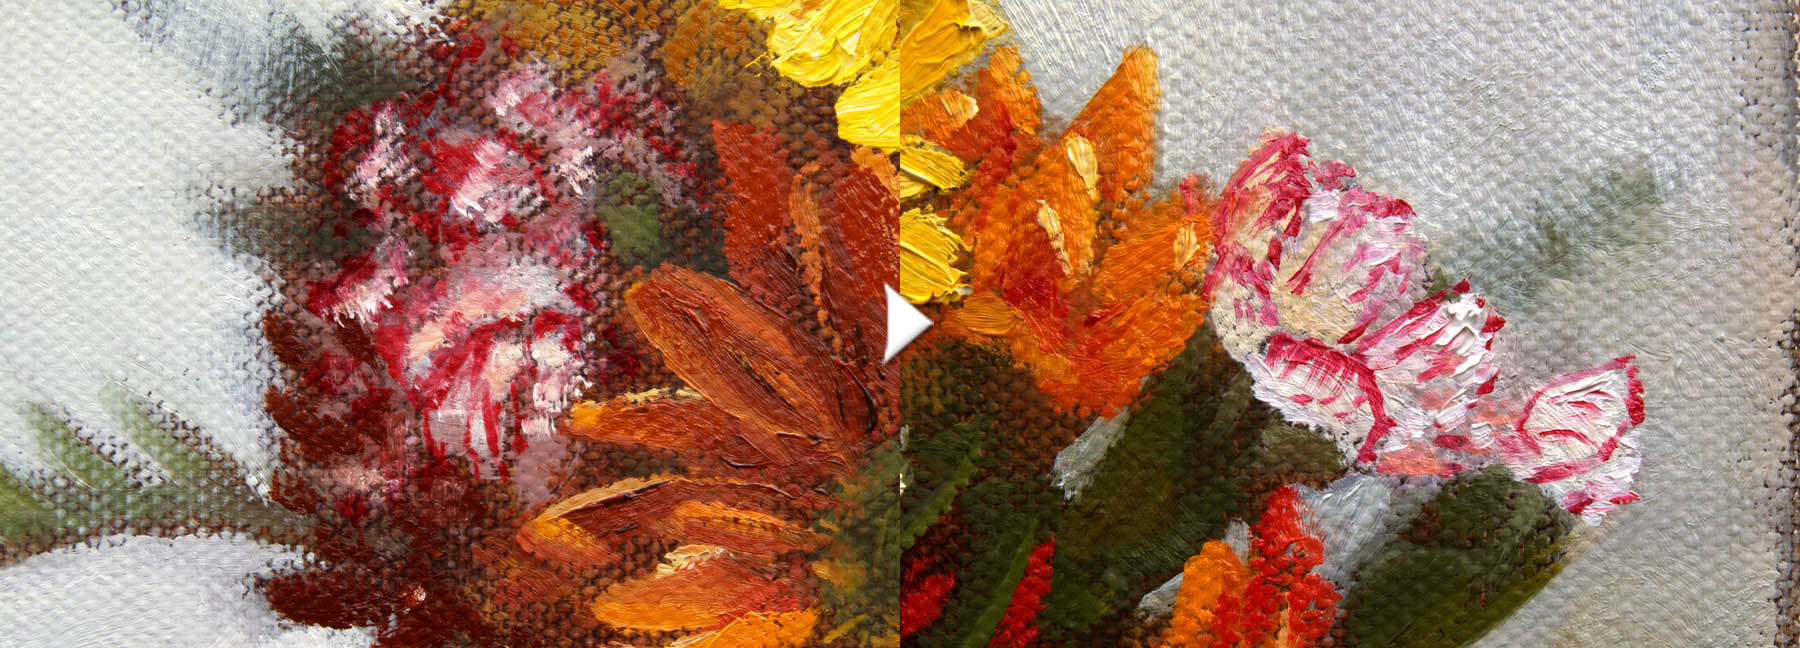
(A) Using a small, soft brush, intricate patterns on the carnations’ petals are painted by placing alizarin crimson over dry light pink areas. (B) Notice how the layer of alizarin crimson changes its color depending on the underlayer; it becomes vivid pink over white and deep red over brown. (C) This photo demonstrates the scumbling technique: a thin layer of titanium white mixed with ultramarine blue and raw umber.
Glazing is a technique where a darker transparent oil paint is applied over dried underlayer. The paint needs to be almost fluid, so it’s usually mixed with oil and a bit of turpentine. The layer may be then smoothed with a fan brush and left to dry before applying the next coat.
The scumbling technique is the opposite of glazing, in that its purpose is to lighten the color underneath. Scumbling means applying a thin, semi-opaque layer over a dry underlayer. Any color mixed with white and applied thinly over a darker layer will soften and cool this layer. The technique is perfect for softening textures, painting young skin, or painting a distant sky.
Finishing Touches
Finishing the Painting
It is generally advisable to varnish a completed oil painting after it has fully dried. Damar varnish will protect the oil painting from dust and other airborne contaminants. Varnish will also bring out the richness of the colors and provide a consistent overall finish to the painting. However, it is worth nothing that oil paintings can take 6 months to 1 year before they are fully dry. It is important not to attempt to varnish them before they are completely dried, otherwise there is the risk of damage.
Thank you to Ursula Andrejczuk, who contributed this page and based the information upon her work.