


A page from the "Causes of Color" exhibit...

If you’re feeling adventurous and are willing to shop for a few laboratory chemicals, you can easily make your own glowing light. The process is called chemiluminescence, which is the term for light that’s emitted as a product of chemical reactions.
Make your own glowing light with some cups and a few chemicals.
Materials
- Luminol (available at Amazon or the Crime Scene Store for $10 - $25)
- Hydrogen peroxide
- Copper sulfate (unless you buy “Blue Luminol” from the Crime Scene Store
- Small plastic cups and coffee stirrers or plastic spoons
- A dropper or pipette
- Safety equipment: plastic or vinyl gloves, and goggles, safety glasses, or a face shield
- Note: If you buy the “Cool Blue Light Experiment Kit” for $10.95 at the Crime Scene Store, you will have all three chemicals you need to see chemiluminescence.
How To Do It
- Add ½ teaspoon of Luminol to a plastic cup, and then add 2 tablespoons of water.
- Add ½ teaspoon of the perborate mixture OR hydrogen peroxide.
- Add a few crystals of copper sulfate (unless you purchased the “Blue Luminol,” which has the copper sulfate added). Mix all the ingredients.
- Take the cup to a darkened room (a bathroom without windows, a closet, or a laundry room). If it is night, just turn off the lights, and you will see the blue light! The light will last a few minutes, until the reaction is used up.

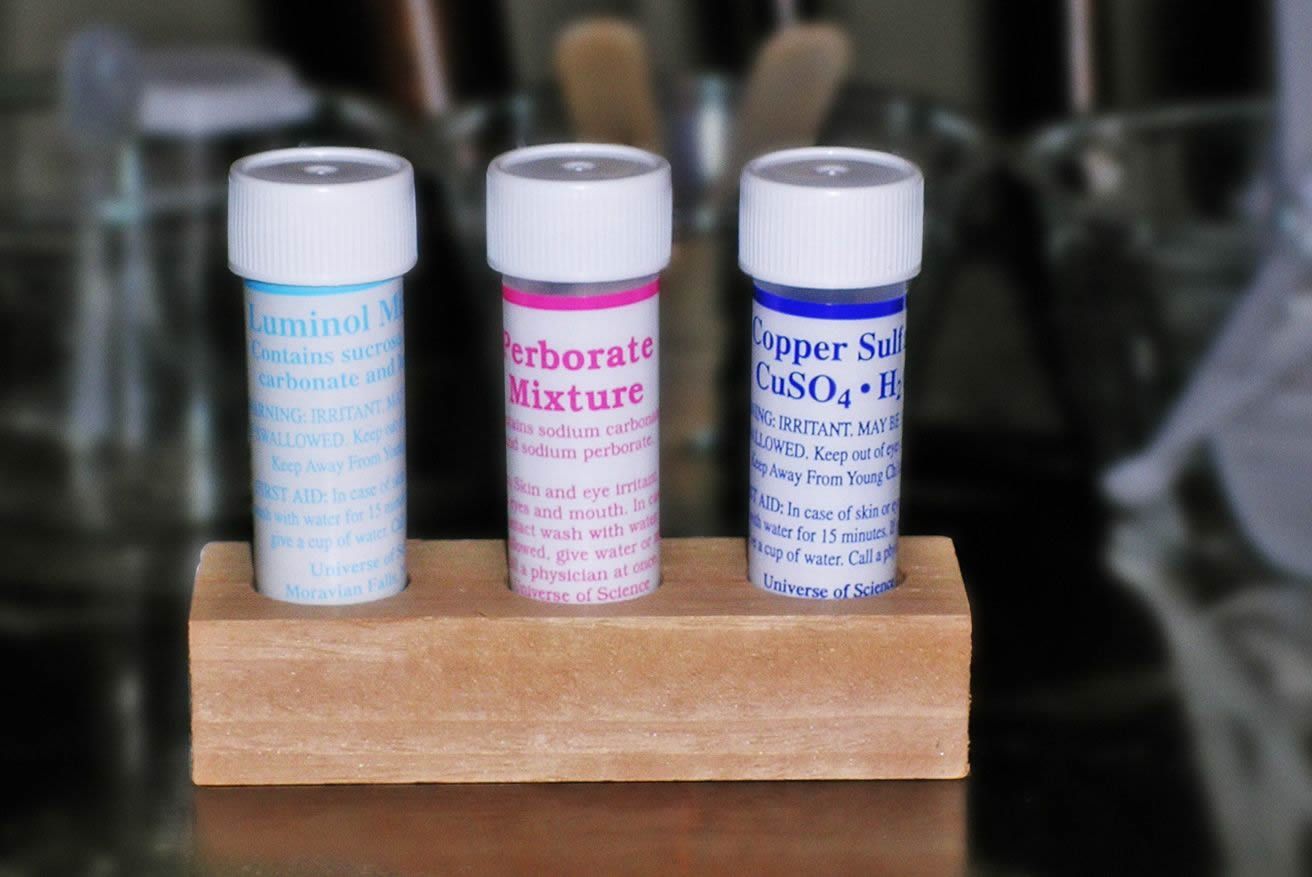
The ”Cool Blue Light Experiment” Kit
You can purchase the “Cool Blue Light Experiment Kit,” which contains a luminol mixture, a perborate mixture, copper sulfate crystals, vial, rack, spoon, small scoop, stirrers, and cups.
How It Works
Many people – including campers, divers, and trick-or-treaters - use lightsticks or glowsticks. The U.S. Navy first devised them as an inconspicuous illumination device for Special Forces. Divers also use them as a navigation aid in muddy waters. The glowstick is a plastic tube with a glass vial inside. To activate the lightstick, you bend the stick, which breaks the glass. The chemicals mix, a reactions starts, and it produces light that makes the fluorescent dye glow.
If you mix solution A + B → Products + light where A = luminol known as bis(2, 4, 5-trichlorophenyl-6-carbopentoxyphenyl)oxalate (CPPO); and B is known as H2O2 hydrogen peroxide, then the dye is a fluorophor that produces the color of the light.
You can visit the chemistry section of About.com to see drawings of the molecules that react.
The hydrogen peroxide oxidizes the phenyl oxalate ester to form phenol and an unstable peroxyacid ester. The unstable peroxyacid ester decomposes, resulting in phenol and a cyclic peroxy compound. This compound decomposes to carbon dioxide. The decomposition reaction releases enough energy to excite the electrons in the fluorescent dye. The electrons jump to a higher energy level and then fall back down and release light. The decay of the excited state to a lower energy level is responsible for the emission of light. In theory, one photon of light should be given off for each molecule of reactant, or Avogadro’s number of photons per mole.
In 2008, three chemists won the Nobel Prize in Chemistry for discovering and utilizing a protein that emits green light. One of the important medical applications of fluorescent proteins is its use in the study of cancer.
Variations
Use a clean, empty one- or two-liter bottle, and add a tablespoon or two of luminol. Use a coffee filter to help pour the luminol crystals into the narrow neck of the bottle. Add half a bottle of peroxide and a few crystals of copper sulfate. Turn off the lights and you will have a bottle of light!
Fill an 8-oz. plastic cup half full of water and add a drop of laundry bleach (Clorox). Bleach is a 5% solution of sodium hypochlorite, and the dilute solution is about .0005%. Add a drop of this bleach solution to a solution of luminol with copper sulfate. The bleach takes the place of the hydrogen peroxide or perborate mixture. Notice how the light is brighter and notice how the reaction is faster. This is because bleach has available oxygen.
CSI agents use Luminol to detect the presence of blood. You can do this if you have a beef or chicken tray from a supermarket. One drop of blood on a piece of paper towel or meat wrapper is all you need. Add the paper to a small plastic cup with the luminol mixture and copper sulfate in water (the luminol solution.) Go to your dark room and notice the glow! Blood has hemoglobin that has an oxygen atom in every molecule.
You can see the effect of temperature by using cold water and then hot water to make the luminol solutions. Or, you can get some lightsticks and put one in the freezer after you activate it and put another one in hot water, but not boiling, water (boiling water would melt the plastic.) It has been said that a lightstick in a freezer lasts for months!
Instead of copper sulfate, you can use an old (pre-1983) penny. Since 1983, pennies are made of zinc with a copper coating. The copper atoms in the luminol-peroxide solution turn into copper ions. A copper ion loses two electrons. The copper penny takes the place of the copper sulfate, which dissolves and forms copper ions! This reaction may take some time for completion.
You can also see two videos of this luminol reaction on YouTube in German and Spanish.